


Model 9480i IP Phone User Guide
105
Call Forward Key
Using the Aastra Web UI, you can configure the
Call Forward
(CFWD) function on a softkey or
programmable key. Use call forwarding when you want a specific account on your phone to be
forwarded to another number when your phone is in the busy state or the no answer state, or both.
Pressing the Call Forward key on the phone accesses the Call Forward Menus. The menus that
display are dependant on the Call Forward mode (
Account
(default),
Phone
, or
Custom
)
configured for the phone.
For more information about call forwarding and call forwarding modes, see
“Call Forward
Account-Based Configuration”
on
page 170
.
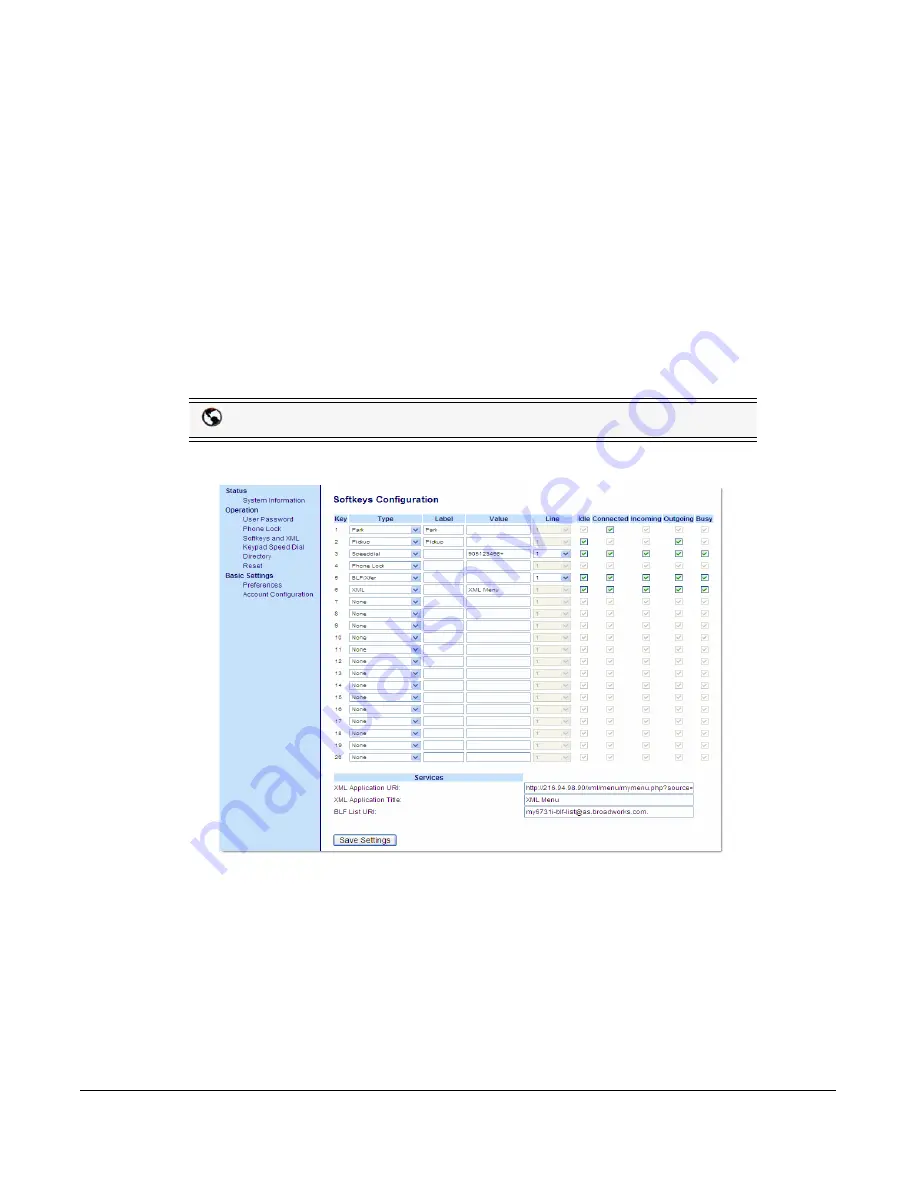
Configuring a Call Forward Key
1.
Click
Operation->Softkeys and XML.
Softkeys
2.
Select from "
Key 1
" through "
Key 20
".
3.
In the "
Type
" field, select
Call Forward
.
4.
Check (enable) or uncheck (disable) the states you want to apply to this softkey.
5.
Click
Save Settings
.
Aastra Web UI


