Administrator’s Guide for SIP-T2 Series/T19(P) E2/T4 Series/CP860 IP Phones
122
3.
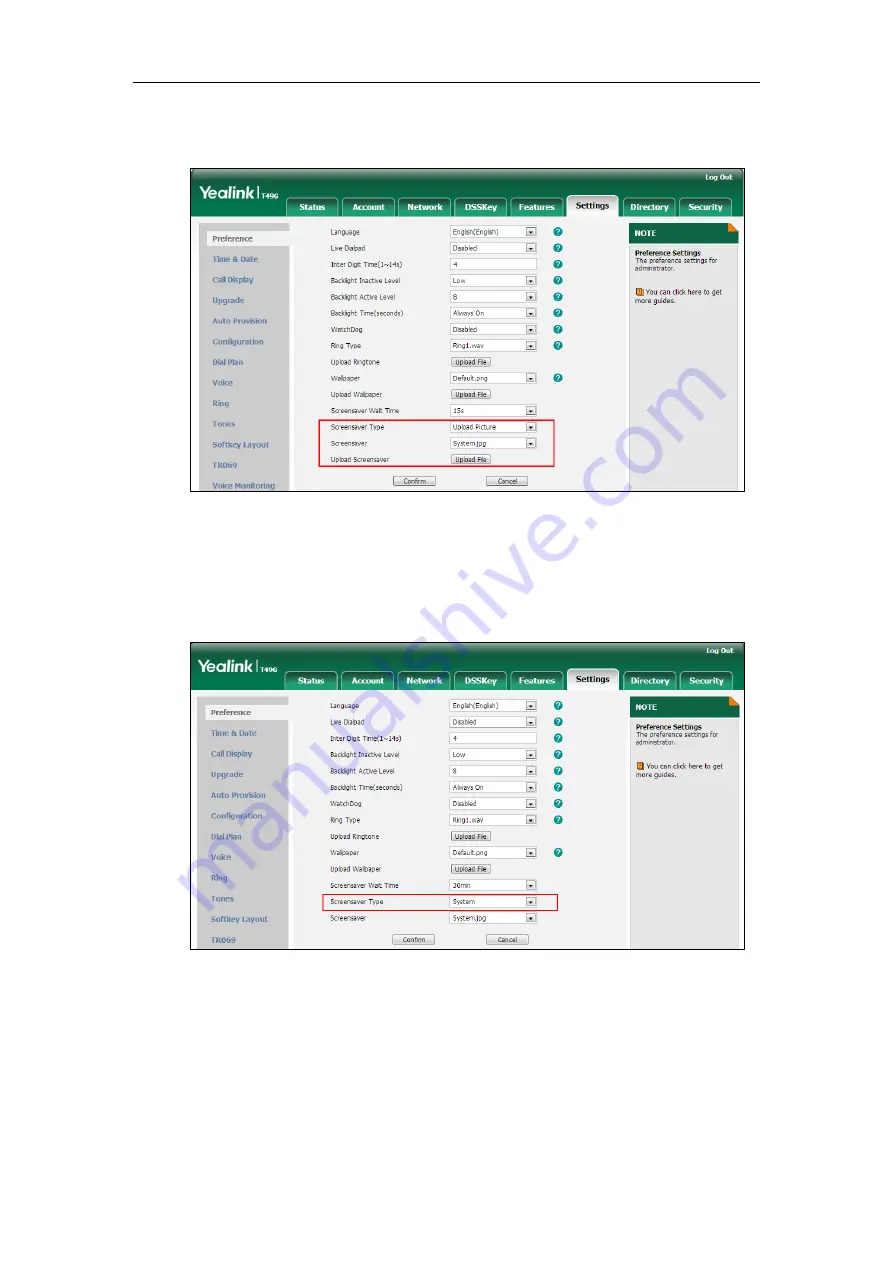
In the Upload Screensaver field, click Upload Picture to locate the screen saver
image from your local system and upload the file.
The custom screen saver appears in the pull-down list of Screensaver.
To set the system screen saver via web user interface:
1.
Click on Settings->Preference.
2.
Select System from the pull-down list of Screensaver Type.
3.
Click Confirm to accept the change.
To configure the screen saver wait time via web user interface:
1.
Click on Settings->Preference.
Содержание SIP-T2 Series
Страница 1: ......
Страница 14: ...Administrator s Guide for SIP T2 Series T19 P E2 T4 Series CP860 IP Phones xiv...
Страница 45: ...Getting Started 23 For SIP T42G T41P T40P Desk Mount Method Wall Mount Method Optional...
Страница 47: ...Getting Started 25 For SIP T23P T23G Desk Mount Method Wall Mount Method Optional...
Страница 122: ...Administrator s Guide for SIP T2 Series T19 P E2 T4 Series CP860 IP Phones 100...
Страница 504: ...Administrator s Guide for SIP T2 Series T19 P E2 T4 Series CP860 IP Phones 482...
Страница 757: ...Configuring Advanced Features 735 The IP phone reboots automatically to make settings effective after a period of time...
Страница 758: ...Administrator s Guide for SIP T2 Series T19 P E2 T4 Series CP860 IP Phones 736...
Страница 812: ...Administrator s Guide for SIP T2 Series T19 P E2 T4 Series CP860 IP Phones 790 6 Click Confirm to accept the change...
Страница 1005: ...Appendix 983...


