


01
5
Before You Start
44
10
IPOD
During IPOD mode, press BACK button
on the remote control to go back to the previous
catalog.
BACK
Note:
During IPOD mode, press ROOT on the
remote control to go back to the root catalog,
press BACK to go back to the previous
catalog.
File Selector
You can touch the track on the screen to
play or touch the folder to open directly.
* Pressing MENU in the monitor or / also
performs the same function.
31
During IPOD mode, to take IPOD out, the
main unit will switch to radio mode.
During other mode, to take IPOD out, the
main unit will keep the original mode.
Eject IPOD
30
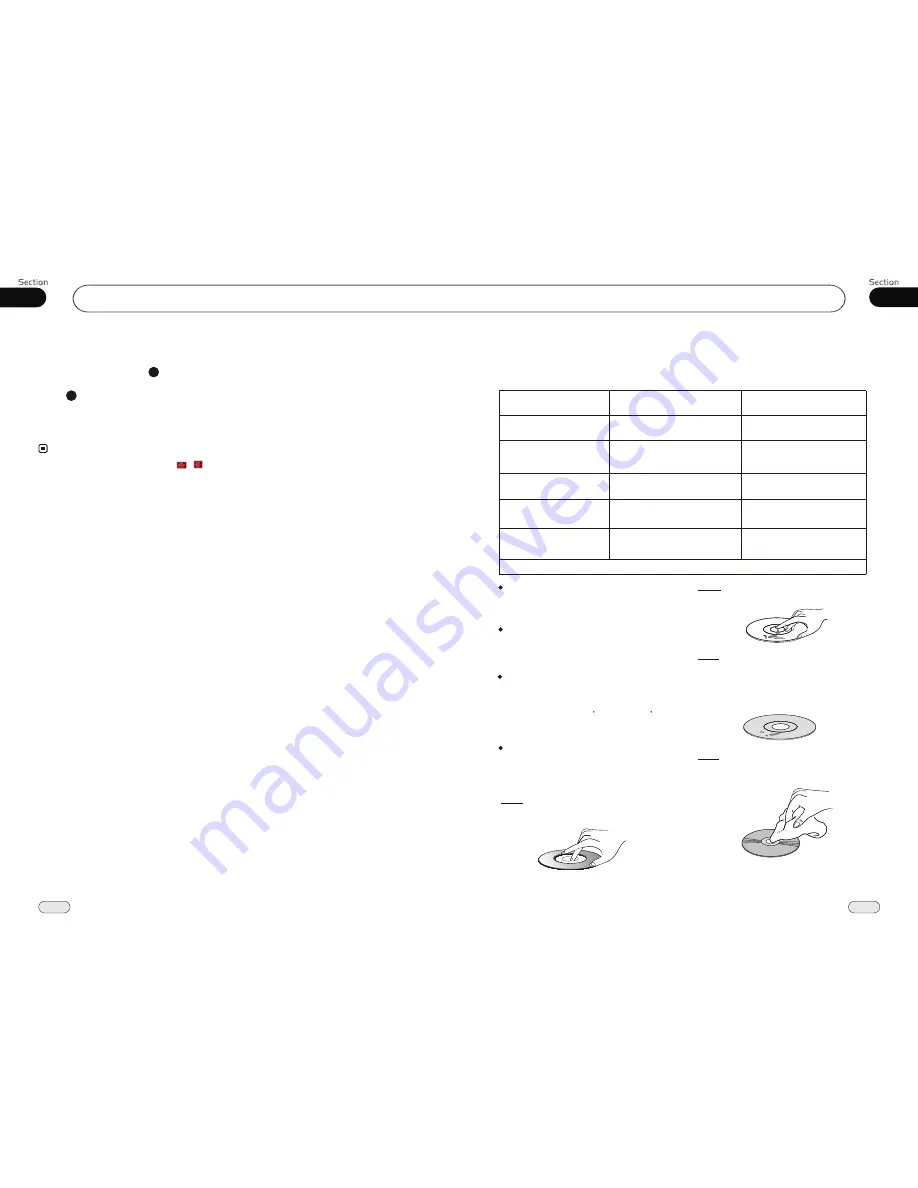
Type of disc
VCD
12cm
MP3
12cm
CD
12cm
NOTE: The unit is compatible with VCD1.0/1.1/2.0/3.0 version and DVCD disc.
12cm
DVD
Handle the disc by its edge to keep
the disc clean, and do not touch the surface.
Do not attempt to modify the unit,
modifying the unit may cause an
accident.
Stop the vehicle before carrying
out any operation that could
interfere with your driving.
Do not use in extremely high or
low temperature. Be sure the
temperature inside the vehicle
is b60 C and -10 C
before turning on your unit .
To enjoy optimum sound and
images while playing, handle the
discs as follows:
Do not use your CDs with paste residue
or ink attached.
Do not use CDs with labels or stickers
attached, which may leave a sticky residue
while beginning to peel off.
(Shown in the picture)
Clean the discs with an optional clean-
ing cloth. Wipe each disc from the center out.
(Shown in the picture)
PRECAUTIONS
This unit can play the following discs only:
Recorded material
Sound and moving
pictures
Sound and moving
pictures
Sound only
Sound only
Size of disc
MPEG-4
12cm
Sound and moving
pictures


