


Disassembly
6-34
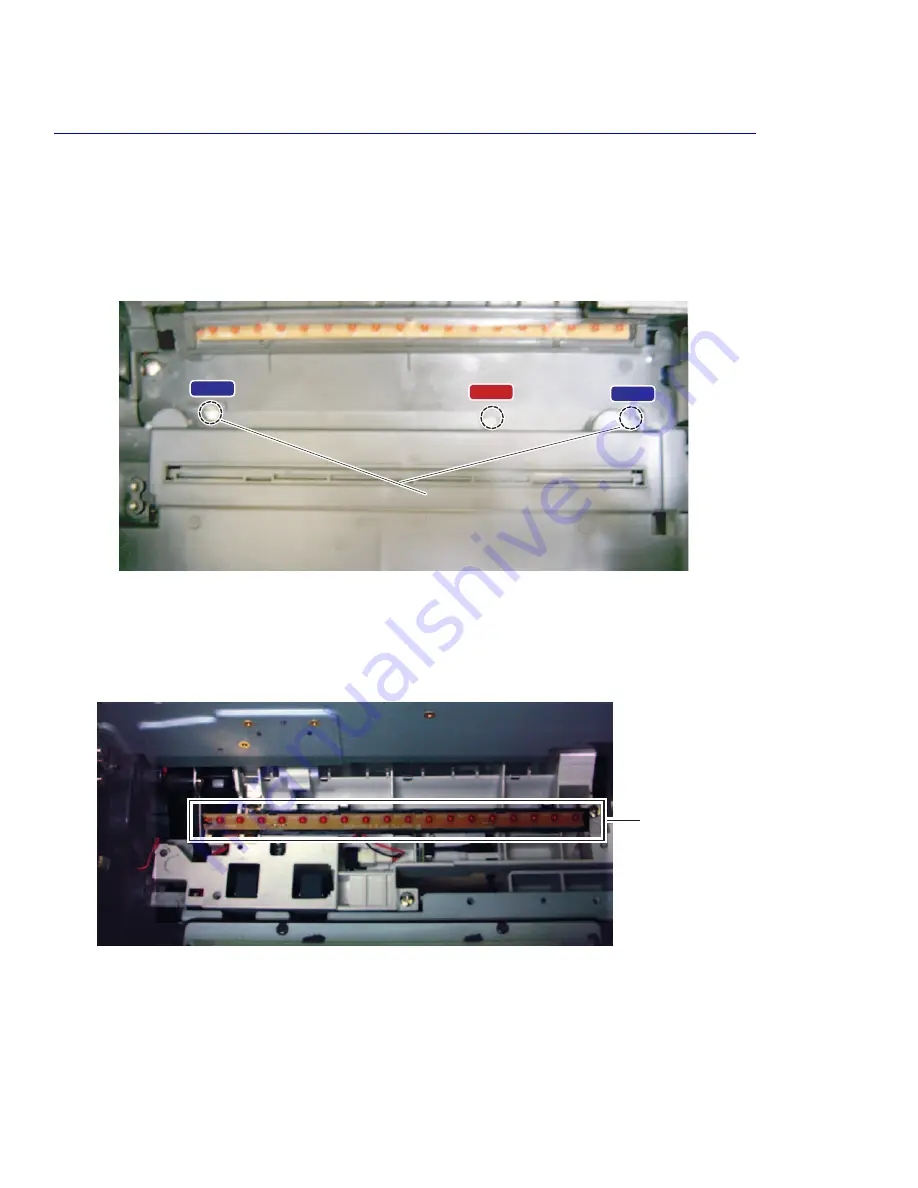
6.4.14 Erase Lamp (PL 9.13.12)
1.
Remove all the consumables (6.3.3)
2.
Remove the front cover and top cover (6.4.1)
3.
Remove the waster toner cartridge (o 6.4.18)
4.
Open the DEVE cover (Door A) and the exit cover (Door B).
5.
Remove 2 screws (4*10 silver) from the laser unit cover and 2 clips located next to the DEVE cover hinge.
(A)
6.
Remove the laser unit cover.
7.
Remove the waste auger tube.
8.
Remove 1 screw (4*10 silver) and then remove the lamp cover.
(B)
9.
Remove the 2 clips and lift the eraser lamp assembly, and disconnect the harness and then remove the erase lamp.
Screw
Screw
Screw
A
B
A
B
Erase Lamp
Содержание Phaser 6100
Страница 1: ...Service Manual X XEROX P h a s e r C o l o r L a s e r P r i n t e r 6100 ...
Страница 2: ......
Страница 10: ...vi ...
Страница 22: ...Reference Information 2 6 ...
Страница 28: ...Specifications 3 6 ...
Страница 38: ...Summary of Product 4 10 RAM DIMM SPGPm Main Control FLASH MEMORY ENGINE CONTROL ...
Страница 44: ...Summary of Product 4 16 ...
Страница 66: ...Disassembly 6 10 3 Remove the toner caps and fit them to the inlets as shown below Toner Cap ...
Страница 84: ...Disassembly 6 28 7 Remove 5 screws 3 6 machine gold and then remove the HVPS Screw Screw Screw Screw Screw ...
Страница 94: ...Disassembly 6 38 6 Disconnect 2 harnesses and remove the laser unit Harness Harness ...
Страница 130: ...Maintenance and Diagnostics 7 20 ...
Страница 188: ...Parts List 9 34 9 16 Base Frame Assembly 16 15 14 23 13 6 12 8 3 3 7 4 5 19 10 9 20 18 22 17 1 2 24 25 26 11 21 ...
Страница 190: ...Parts List 9 36 9 17 MPT Assembly 15 19 20 13 4 17 17 18 24 1 18 11 3 7 23 1 S5 6 2 S9 9 14 22 10 21 8 5 16 12 0 ...
Страница 196: ...Parts List 9 42 9 21 Transfer Belt Cam Assembly S18 9 0 8 S8 7 6 5 10 1 2 14 3 12 13 S8 11 4 ...
Страница 200: ...Parts List 9 46 ...


