


4.2 Loading Paper
63
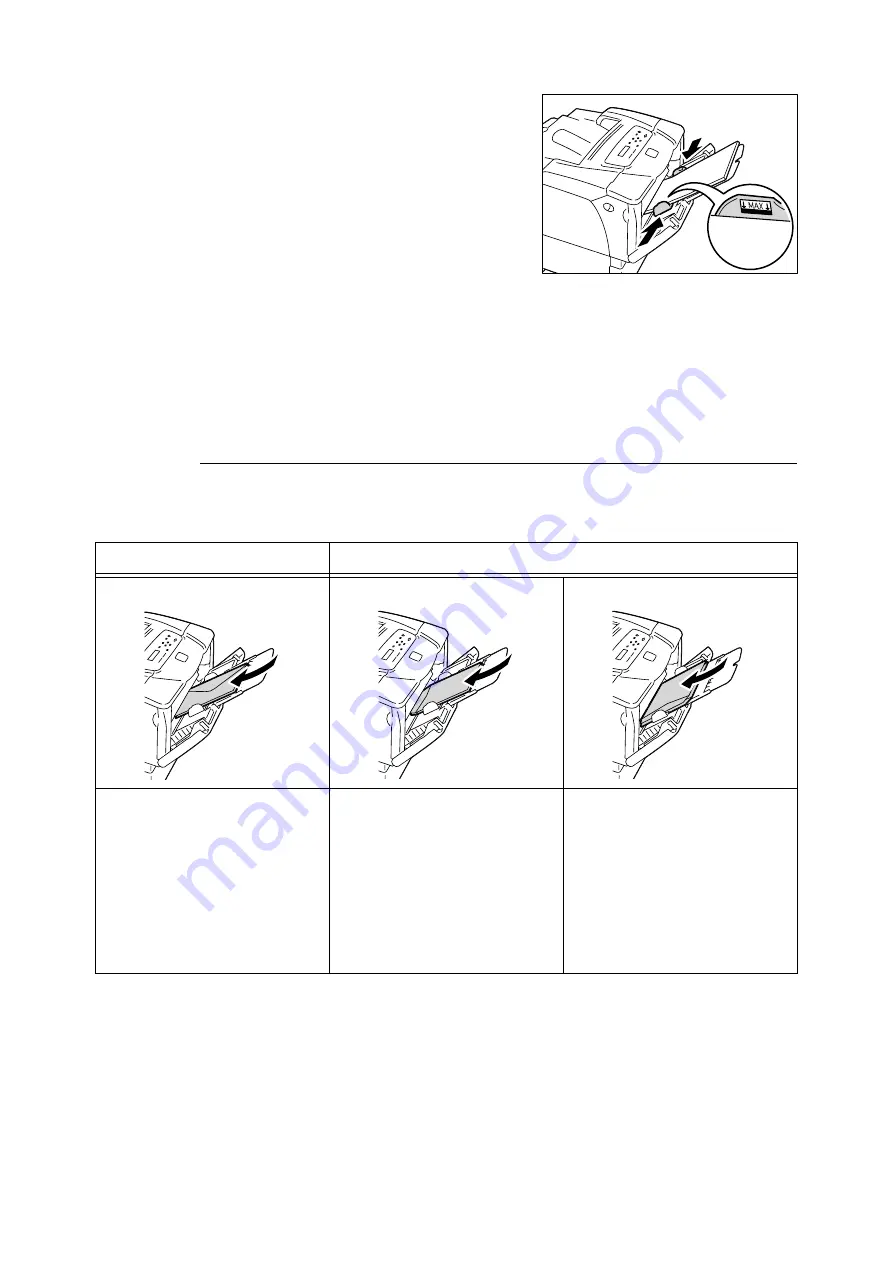
4. Adjust the side paper guides to the size of
the paper.
Important
• Make sure that the guides are positioned just lightly
against the paper. Guides that are too tight or too
loose can cause paper jams.
Note
• Do not fill paper above the maximum fill-line. Doing so
can cause paper jams.
Note
• When printing from Tray 1 (Bypass tray), set the size and type of the paper on your print driver. For more
information, refer to the online help provided for the print driver.
• When [Bypass Mode] is set to [Panel Specified] (default: [DriverSpecified]) on the control panel, or when
[Paper Size] is set to an option other than [Driver] (default), set the size and type of the paper loaded in
Tray 1 (Bypass tray) before requesting a print job.
The printer prints your job only when the settings on your print driver match the settings on the control
panel. For more information, refer to " [Bypass Mode]" (P. 103).
Feed Orientations for Envelopes in Tray 1 (Bypass Tray)
When loading envelopes in Tray 1 (Bypass tray), be sure to load them in the correct
orientations.
Important
• For best print quality, do not use envelopes that:
• are curled or twisted.
• are stuck together or damaged.
• have windows, holes, perforations, cutouts, or embossments.
• use tie strings, metal clasps, or metal folding bars.
• have postage stamps attached.
• have any exposed adhesive when the flaps are in the sealed position.
• have deckle edges or creased corners.
• have rough, cockled, or laid finishes.
Envelopes with Adhesive Flaps
Envelopes with Non-adhesive Flaps
Load envelopes with the address side
facing down and the edge with the
flaps on your right. Make sure that the
flaps are closed.
Load envelopes with the address side
facing down and the edge with the
flaps facing toward the printer. Make
sure that the flaps are completely
open.
Note
• When setting the margins on your
application, add length of the flap
(from the top edge to the fold line) to
the margin on the flap side.
Load envelopes with the address side
facing down and the edge with the
flaps on your left. Make sure that the
flaps are completely open.
Note
•
When setting the margins on your
application, add one-half length of the
flap (from the top edge to the fold line)
to the margin on the flap side.
Содержание Phaser 5335
Страница 1: ...Phaser5335 User Guide Version 1 0 December 2007...
Страница 6: ...vi Contents...
Страница 48: ...30 2 Basic Operation...
Страница 74: ...56 3 Print...
Страница 90: ...72 4 Paper...
Страница 130: ...112 5 Control Panel Menus...
Страница 156: ...138 6 Troubleshooting...
Страница 196: ...178 7 Maintenance 11 Place the roll cover back inside the printer 12 Close Tray 1 Bypass tray and the upper cover...
Страница 216: ...198 A Appendix...
Страница 224: ......
Страница 229: ......
Страница 230: ......


