


1.5 Configuring the Printer Using CentreWare Internet Services
15
Using CentreWare Internet Services
Follow these steps when accessing CentreWare Internet Services.
1. Start your computer and launch a web browser.
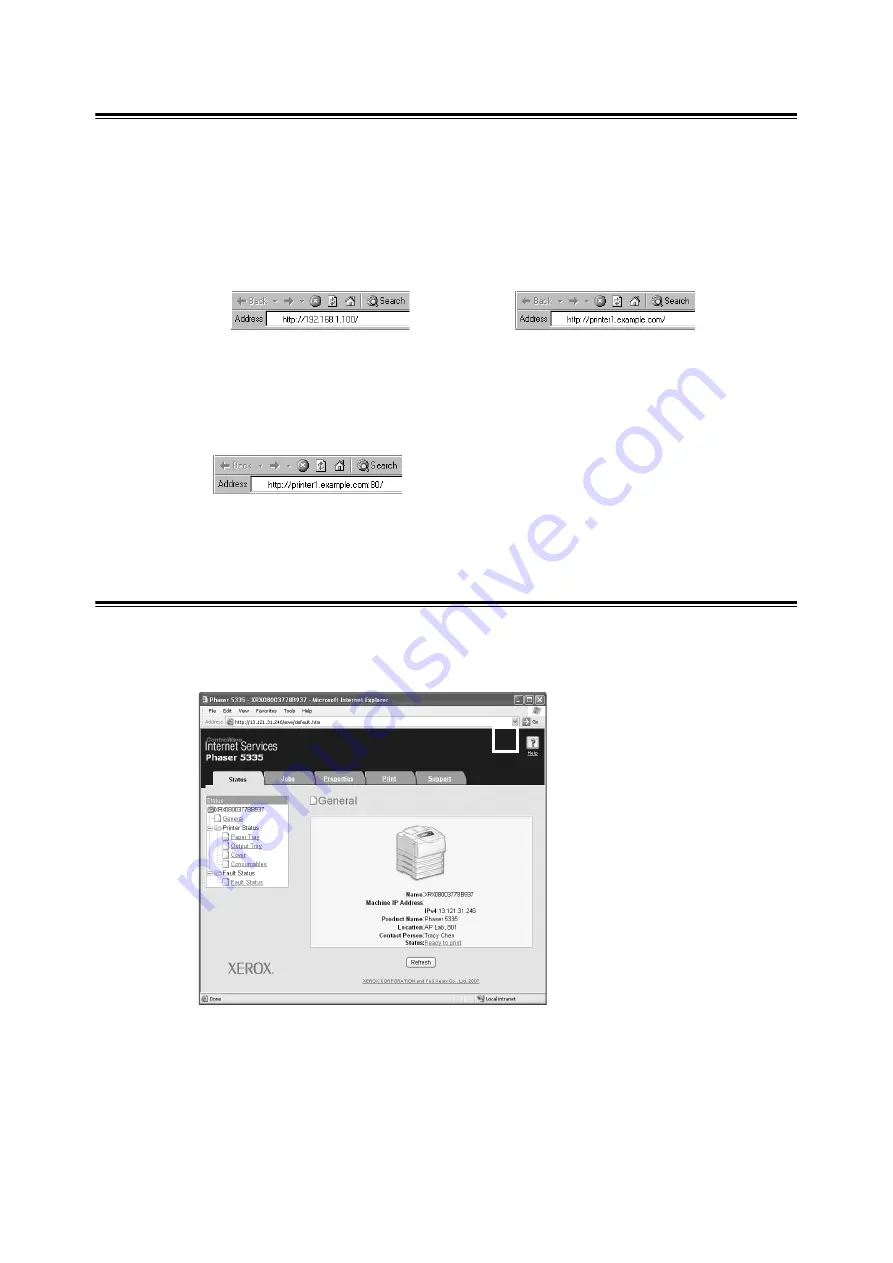
2. In the URL field, enter the IP address or URL of the printer, and press the <Enter>
key. The top page of CentreWare Internet Services is displayed.
Note
• When specifying a port number, enter a ":" (colon) and then "80" (the factory default port number) after
the address. To find out the printer’s port number, print the [Printer Settings] list from the printer.
• The port number can be changed under the [Properties] tab > [Protocol Settings] > [HTTP]. If you
change the port number, you must enter a ":" (colon) and then the port number after the address.
• When SSL/TLS server communication is enabled, enter "https" before the address instead of "http".
• For information about the Authentication/Auditron Administration and data encryption features, refer to
"7.6 Security Features" (P. 153) and "7.8 Authentication and Auditron Administration Features" (P. 162).
Using the Online Help
For details on each setting item, refer to the online help for CentreWare Internet Services.
You can browse the online help by clicking the [Help] button on the service.
• Example - URL
• Example - IP address
Содержание Phaser 5335
Страница 1: ...Phaser5335 User Guide Version 1 0 December 2007...
Страница 6: ...vi Contents...
Страница 48: ...30 2 Basic Operation...
Страница 74: ...56 3 Print...
Страница 90: ...72 4 Paper...
Страница 130: ...112 5 Control Panel Menus...
Страница 156: ...138 6 Troubleshooting...
Страница 196: ...178 7 Maintenance 11 Place the roll cover back inside the printer 12 Close Tray 1 Bypass tray and the upper cover...
Страница 216: ...198 A Appendix...
Страница 224: ......
Страница 229: ......
Страница 230: ......


