


48
3 Print
3.6
Printing Confidential Documents
- Secure Print -
If your printer has the optional hard disk installed, you can use the Secure Print feature.
Secure Print Feature
Secure Print is a feature that allows you to send a password-protected document to the
printer. The printer then stores the document temporarily, rather than printing it immediately,
until you manually start the printing from the control panel. The feature can also store
documents that are not password protected. By storing frequently-used documents in the
printer, you can print them whenever you want, without having to send them each time from
your computer.
Note
• Whether or not to delete a Secure Print job after printing it can be specified when you print it from the
control panel. For more information, refer to "Operations on the Control Panel" (P. 50).
• Secure Print jobs cannot be printed when [Secure Print] > [Activate Feature] is set to [Disable] on the
control panel.
Printing Using the Secure Print Feature
To send a secure print job, configure your settings as shown below. You will be able to
release the secure print job at the printer through the control panel.
Operations on Your Computer
The following procedure uses Windows XP WordPad as an example.
Note
• The method of displaying the Properties dialog box varies depending on the application being used.
Consult the documentation for your application.
1. From the [File] menu, select [Print].
2. Select the printer from the [Select Printer] list box, and then click [Preferences].
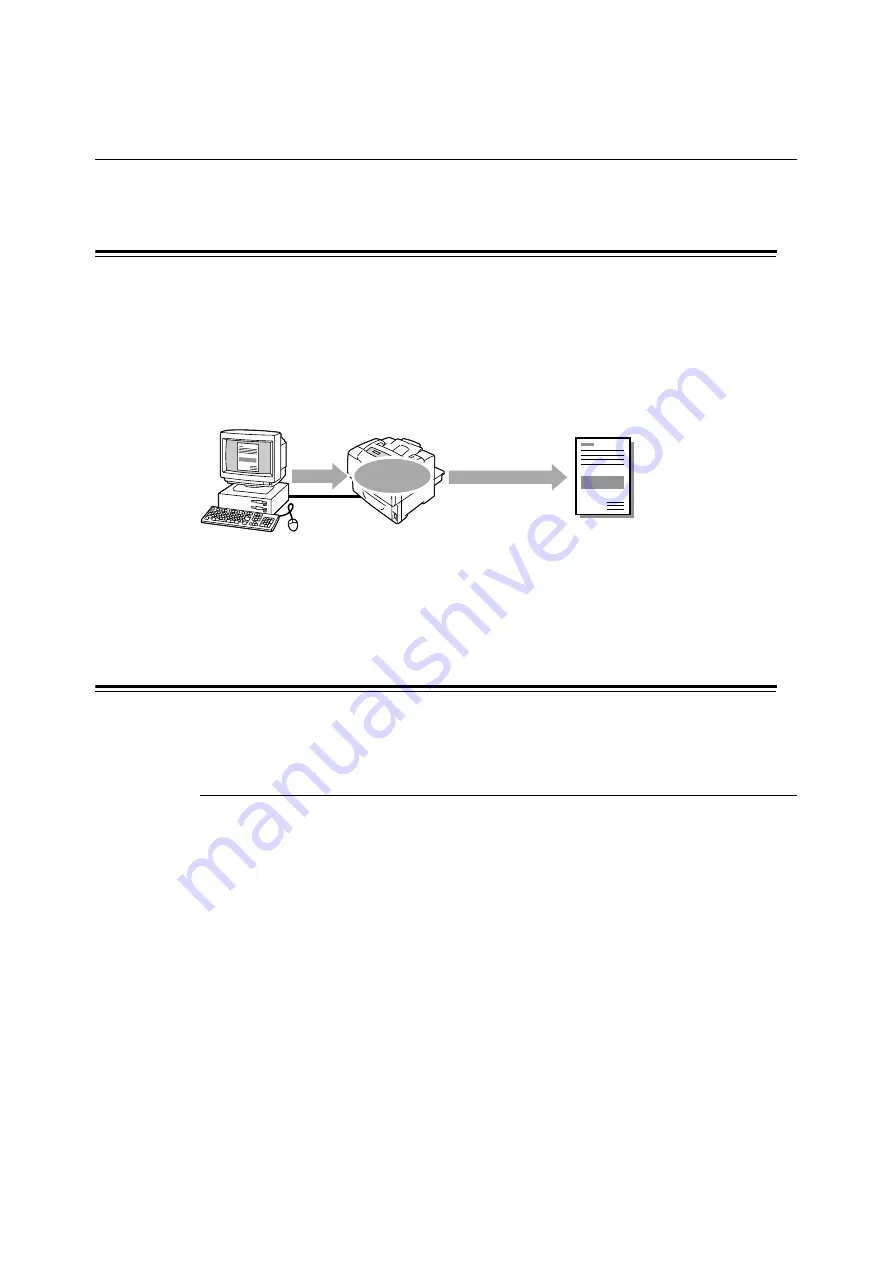
Send
data
Print data from
the control panel
Stored
Содержание Phaser 5335
Страница 1: ...Phaser5335 User Guide Version 1 0 December 2007...
Страница 6: ...vi Contents...
Страница 48: ...30 2 Basic Operation...
Страница 74: ...56 3 Print...
Страница 90: ...72 4 Paper...
Страница 130: ...112 5 Control Panel Menus...
Страница 156: ...138 6 Troubleshooting...
Страница 196: ...178 7 Maintenance 11 Place the roll cover back inside the printer 12 Close Tray 1 Bypass tray and the upper cover...
Страница 216: ...198 A Appendix...
Страница 224: ......
Страница 229: ......
Страница 230: ......


