8. Follow the instructions on the UI to restart your print job.
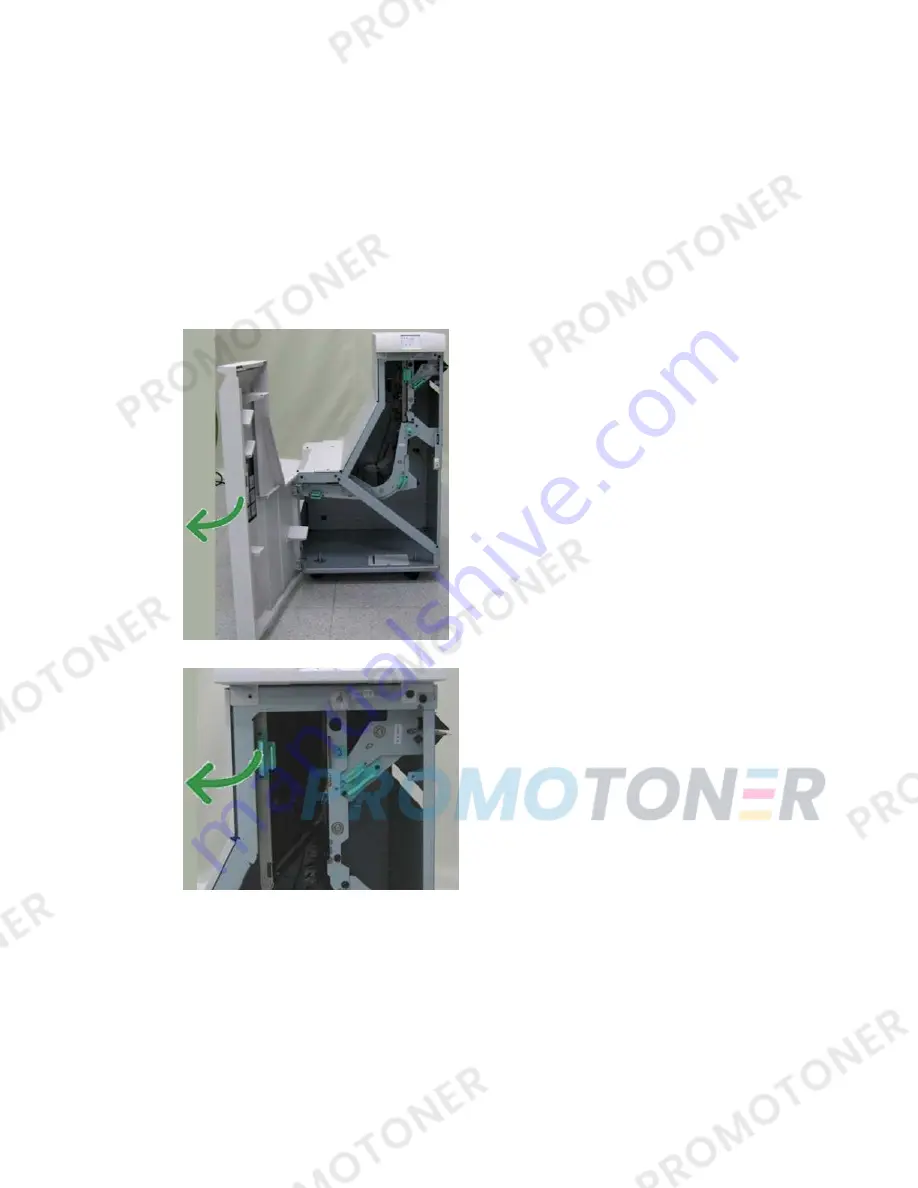
Paper jams in area 3
Remedies differ according to the paper jam location. Follow the instructions displayed
to remove the jammed paper.
Tip
Always ensure that all paper jams, including any small ripped pieces of paper, are cleared
before proceeding with your print jobs. If paper is torn, check inside the Finishing
Transport and remove it.
1. Open the Finishing Transport front door.
2. Grasp the green handle 3 and gently pull toward the left.
3. Remove the jammed paper.
4. Return the green handle 3 to its original position.
5. Close the Finishing Transport front door.
6. Ensure that the paper jam indication is cleared from the Finishing Transport status
display.
7. Follow the instructions on the UI to restart your print job.
18-33
Xerox
®
D110/D125/D136 Printer
User Guide
Standard Finisher Plus
Содержание D125
Страница 1: ...Xerox D110 D125 D136 Printer User Guide Version 3 0 September 2013 701P33220...
Страница 10: ...Optional C Z Folder 18 47 Finishing Transport specifications 18 47 User Guide viii Table of Contents...
Страница 36: ...User Guide 5 2 Web Applications...
Страница 40: ...User Guide 6 4 Computer operations...
Страница 52: ...User Guide 8 8 Machine Status...
Страница 104: ...User Guide 10 38 Problem solving...
Страница 118: ...User Guide 12 12 High Capacity Feeder HCF Trays 6 and 7 8 5 x 11 in A4...
Страница 180: ...User Guide 15 26 High Capacity Stacker HCS...
Страница 304: ...User Guide 18 48 Standard Finisher Plus...
Страница 309: ......
Страница 310: ......


