5
3. Connect the mouse to the Mouse connector on the numeric keypad side of the
keyboard.
4. If you will be using a network connection, connect a 10Base-T or 100Base-T
network cable to the LAN connector.
5. Connect the power supply cable to the Power connector.
Caution
Do not force a connector into its socket. If any undue
resistance is encountered, ensure that the connector is
oriented correctly to the socket.
6. Plug the AC cord into the power supply, then into an AC outlet.
7. After the cables are connected, install the terminal in its planned location.
Turning On the Terminal
The terminal is powered-up and operating when the power supply is connected to
AC power. To toggle the display off or on, press and release the power
management button. If the button is continuously depressed for 3-5 seconds, the
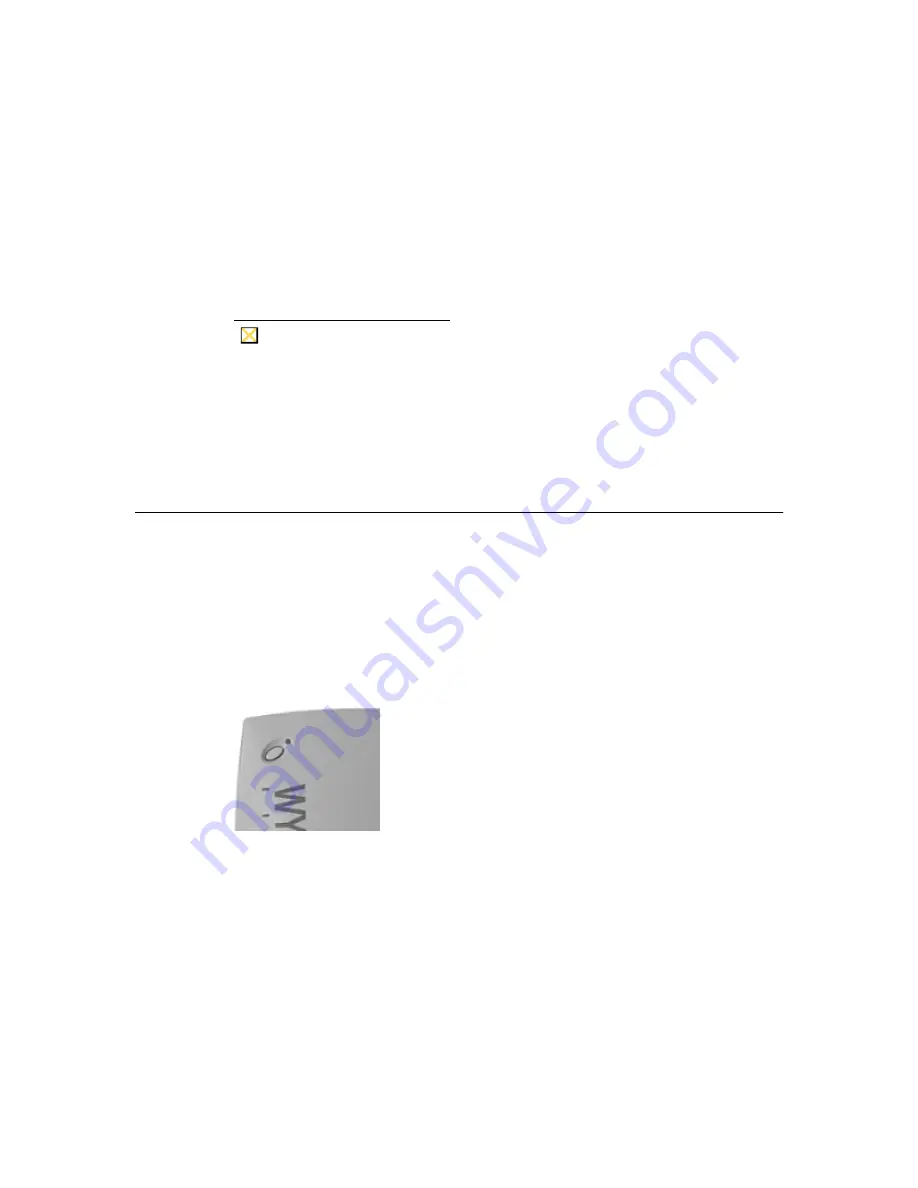
unit will perform a hard boot. See Figure 1-2 for the location of the power
management button.
Figure 1-2
3200LE Terminal Power Management Button
The logo will appear on the screen, followed by:
•
The Setup Wizard, if it is the first time that you have turned on your terminal.
•
The Winterm Connection Manager dialog box, if the Setup Wizard has been
completed.
If desired, adjust the display’s geometry and intensities to your preferences.
Adjustments to the display can be made at any time, whether or not the terminal is
connected to a server. See “Changing Terminal Properties” for more information.
Содержание Winterm 3200LE
Страница 1: ...Winterm 3000 Series Windows based Terminal Administrators Guide ...
Страница 2: ......
Страница 4: ......
Страница 32: ...xxx ...
Страница 34: ...2 ...
Страница 38: ...6 Terminal Installation ...
Страница 73: ...41 Figure 5 4 3720SE Recall Mode R G B 9300 K 1 2 3 R G B USER 1 1 2 3 RECALL 9300K ...
Страница 74: ...42 Terminal Installation ...
Страница 76: ...44 ...
Страница 102: ...70 Advanced User Interface Figure 9 1 Apps Properties Sheet SE Model Terminals ...
Страница 116: ...84 Advanced User Interface ...
Страница 118: ...86 ...
Страница 122: ...90 Connection Configuration ...
Страница 132: ...100 Connection Configuration ...
Страница 148: ...116 Connection Configuration Figure 16 1 Script Name Dialog Box Figure 16 2 New Script Name Dialog Box ...
Страница 156: ...124 Connection Configuration ...
Страница 164: ...132 Connection Configuration ...
Страница 172: ...140 Connection Configuration ...
Страница 188: ...156 Connection Configuration ...
Страница 190: ...158 ...
Страница 196: ...164 External Devices ...
Страница 202: ...170 External Devices Figure 24 1 Add or Change Modem Dialog Box Table 24 1 discusses the functions of this dialog box ...
Страница 206: ...174 External Devices ...
Страница 217: ...185 Figure 26 2 Printers Properties Sheet ...
Страница 220: ...188 External Devices ...
Страница 232: ...200 ...
Страница 238: ...206 Firmware Upgrades ...
Страница 250: ...218 Firmware Upgrades ...
Страница 256: ...224 Firmware Upgrades ...
Страница 258: ...226 ...
Страница 264: ...232 Security Properties ...
Страница 272: ...240 Client Security ...
Страница 286: ...254 ...
Страница 294: ...262 Getting Help ...
Страница 304: ...272 Getting Help ...
Страница 306: ...274 Getting Help ...
Страница 310: ...278 Getting Help ...
Страница 344: ...Glossary 312 ...
Страница 351: ...Index 319 ...

