Configuring the Trusted Network
64
Firebox X Edge e-Series
3
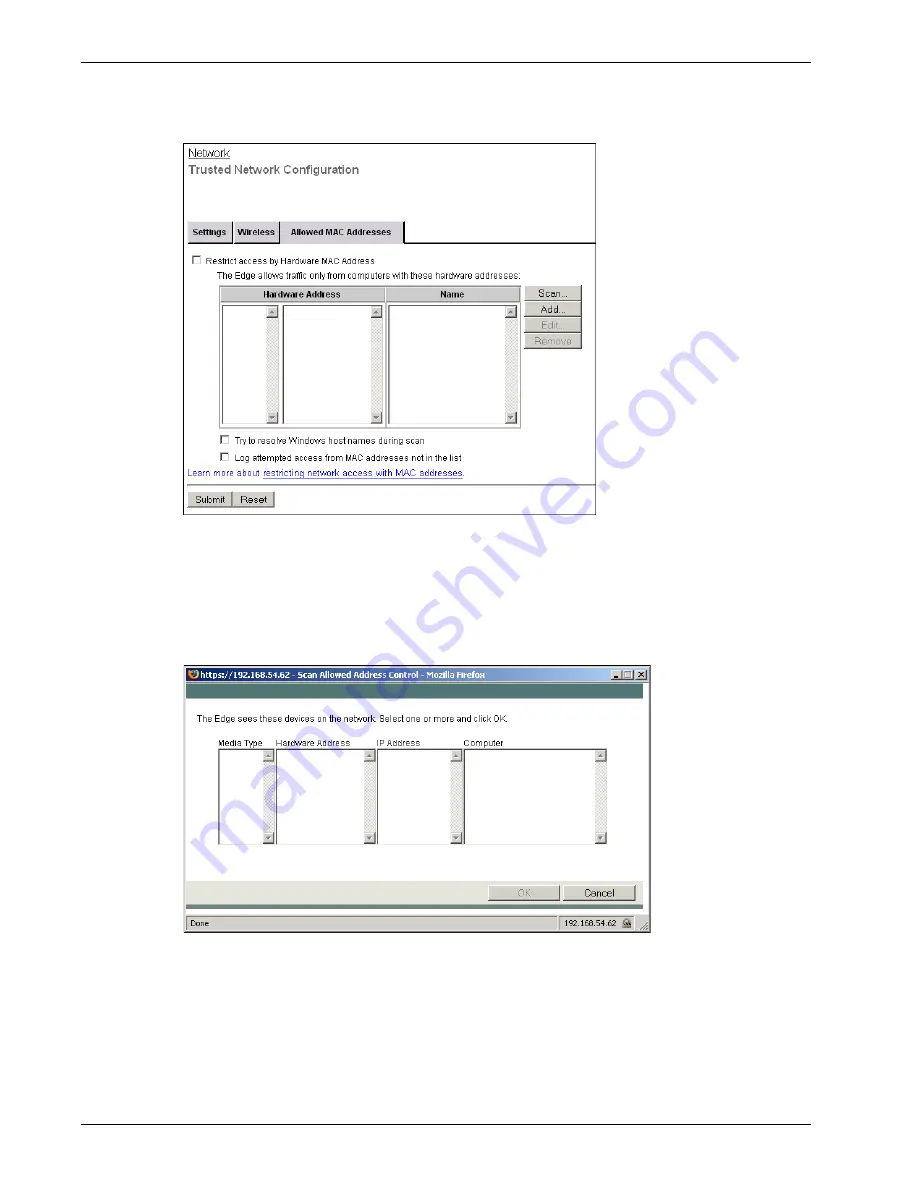
Select the
Restrict Access by Hardware MAC Address
check box.
4
Click
Scan
to have the Edge find all known hardware addresses on the network. If you want the
Edge to try to resolve host names for all Windows computers it finds during the scan process,
make sure the
Try to resolve Windows host names during scan
check box is selected. This can
make the scan procedure take more time.
The Scan Allowed Address Control dialog box appears.
5
Select one or more devices that you want to add to your list of allowed MAC addresses for this
interface. Make sure that the Media Type is identified and is correct, because a computer with
more than one NIC card can have more than one MAC address.
Press and hold the CTRL key to select more than one device. You can select from more than one
column at the same time. Click
OK
to add the device or devices to your list of allowed MAC
addresses.
Содержание Firebox X20E
Страница 20: ...The Firebox X Edge and Your Network 8 Firebox X Edge e Series...
Страница 32: ...Using the Quick Setup Wizard 20 Firebox X Edge e Series...
Страница 64: ...Viewing the Configuration File 52 Firebox X Edge e Series...
Страница 92: ...Configuring BIDS 80 Firebox X Edge e Series...
Страница 102: ...Configuring the Wireless Card on Your Computer 90 Firebox X Edge e Series...
Страница 114: ...Configuring Policies for the Optional Network 102 Firebox X Edge e Series...
Страница 138: ...Using Additional Services for Proxies 126 Firebox X Edge e Series...
Страница 158: ...Working with Firewall NAT 146 Firebox X Edge e Series...
Страница 166: ...Using Certificates on the Firebox X Edge 154 Firebox X Edge e Series...
Страница 208: ...Updating Gateway AV IPS 196 Firebox X Edge e Series...
Страница 220: ...Frequently Asked Questions 208 Firebox X Edge e Series...
Страница 302: ...Limited Hardware Warranty 290 Firebox X Edge e Series...
Страница 310: ...298 Firebox X Edge e Series...


