DMXCreator
Manual
Doc. V2.3 VXCO Lighting Systems © 1998 - 2016
16
Should you not be able to find the panel corresponding to your fixture, please contact us at
, and we will happily assist your needs.
If you wish to generate your own panels please refer to the chapter called “
The Panel Designer
”.
3. The setup field. Here you see the following information:
-
Patched DMX output of the interface
OUT
-
The DMX-starting address of the assigned fixtures
START (this number has to be set on the
corresponding fixture)
-
Amount of DMX-channels occupied by this fixture
NN
-
The fixture type
FIXTURE NAME
-
Your designated heading for fixtures within the Show
USER HEADER (e.g. MAC600 down stage
right)
-
Pan inversion
PAN - This means the pan movement becomes reversed. Indicated by “I” while
active. This setting may be changed at any time. It has no relation to the values of a programmed
Show
-
Tilt inversion
TILT - This means the tilt movement becomes reversed. Indicated by “I” while
active. This setting may be changed at any time. It has no relation to the values of a programmed
Show
-
Pan-Tilt-Swap
SWAP, this means the pan and tilt channels are exchanged. This setting may be
changed at any time. It has no relation to the values of a programmed Show
To add a fixture to your Show, there are two possibilities:
1. Choose your fixture within the fixture pool. Click and hold down the left mouse button on it. Now
you can drag the the icon to a free starting address on the DMX address field.
2. Double click on the desired fixture within the fixture field, and it will appear at the next available
starting address on the left-hand field.
7.1 Changing the DMX Starting Address
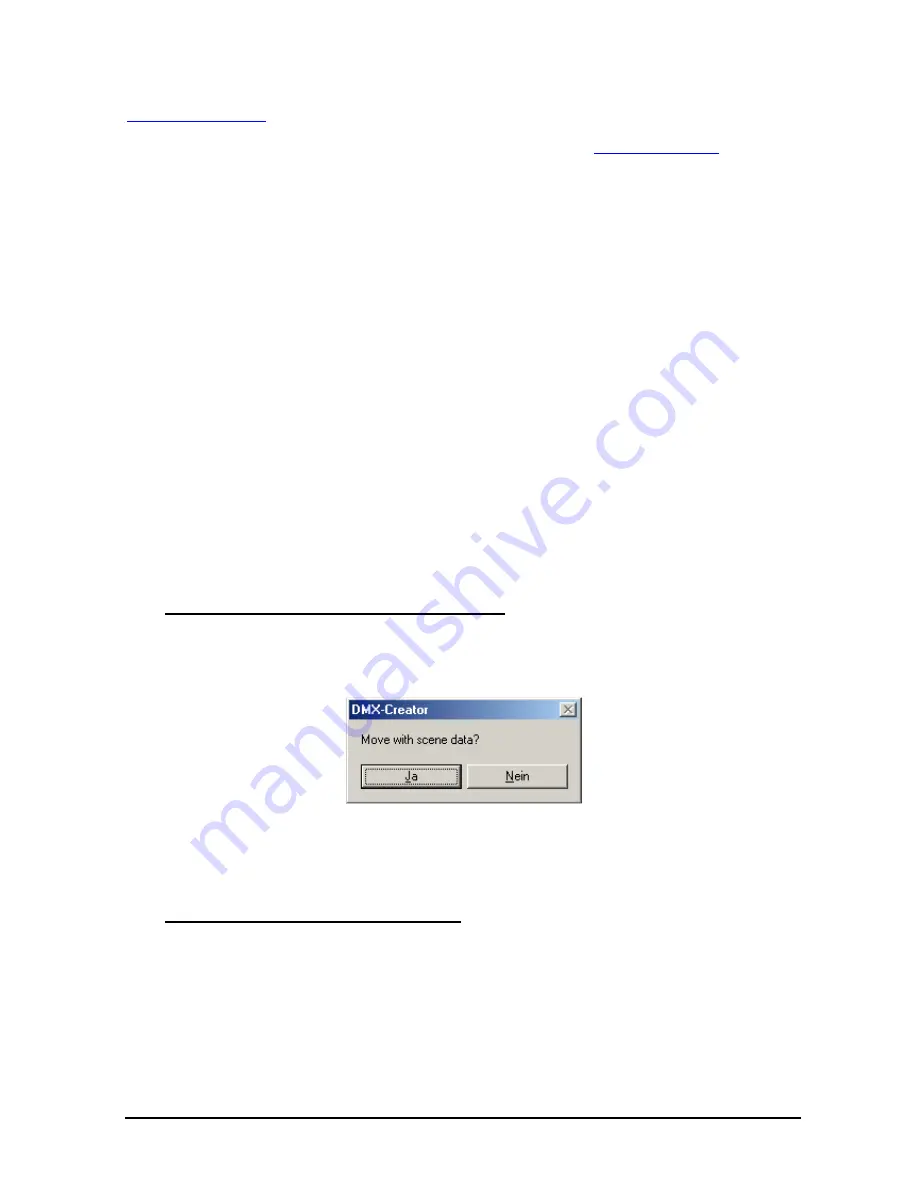
After placing the fixtures in the DMX address field, you can move it within the field using the mouse. If you
do this in a complete Show, the following window will appear:
-
Confirm by clicking on “YES”, and the programmed data for this fixture will be moved to the new
starting address as well.
-
If you click “NO”, the data for the fixture will be deleted.
7.2 Removing fixtures from a Show
Fixtures can be removed from the Show setup in two ways
1. Point and drag the fixture you wish to remove using the left-hand mouse button from the
starting address field, or from the setup field on the right hand side and place it in the trash can
located on the bottom right-hand side of the screen.
2. Point to the fixture with the mouse cursor, either in the left-hand field, or on the right-hand setup
field, click the right button, and choose “remove fixture”


