DMXCreator
Manual
Doc. V2.3 VXCO Lighting Systems © 1998 - 2016
11
5 W
ORKING WITH THE
DMXC
REATOR
5.1 Starting the software
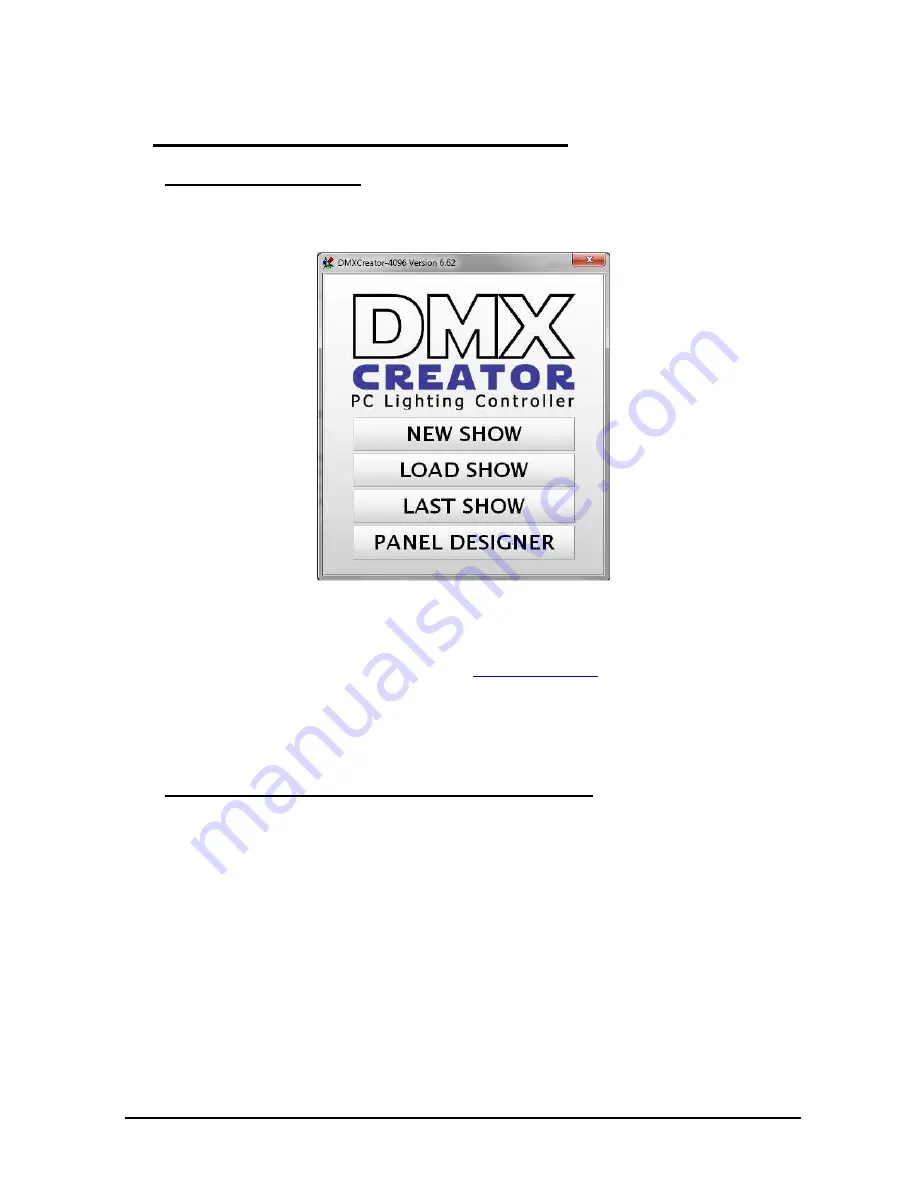
The initial menu provides you with four choices:
-
New Show
create a new Show
-
Last Show
load the most recent Show used
-
Load Show
load a saved Show
-
Panel Designer
see chapter “
The Panel Designer
”
Choose “new Show” to define your new Show, or choose “load Show”, if you have already programmed a
Show. You can also load a pre-installed sample Show. For first start, we recommend to load the provided
sample Show.
5.2 Configuration of Interface within the Software
It is now necessary to tell the software which DMX512 interface you are using. You only have to do this
once, if you are planning on using only one kind of interface (e.g. always using
DMXCreator1024
). The
default interface setting after installation is “USB”.
Once you have reached the main window of the DMXCreator software, please follow these steps:
1. Open the “settings” menu
2. Click on “sync and hardware”
3. Click on “hardware”
4. Choose USB if you have connected the DMXCreator128 /
512Basic,
the
DMXCreator1024 or
DMXCrea
Interface.
5. Choose LPT if you have connected the
DMXCreator512MK2
.
6. Click on the „test“ button.
7. If the connection to the interface is ok, a message containing the interface type and firmware version is
displayed. You are now ready to start programming your first show!


