WRM-10P AND WRM-40 USER’S MANUAL
REV 3
32
k.
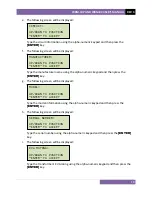
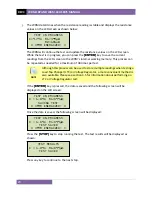
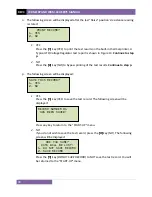
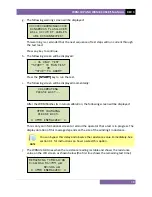
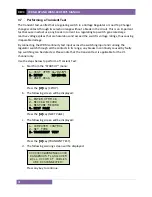
The following screen will be displayed momentarily:
After the WRM finishes its internal calibration, the following screen will be displayed:
l.
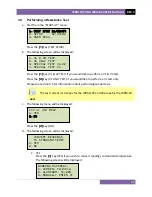
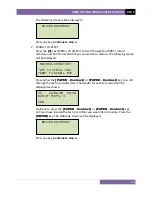
The WRM determines when the resistance reading is stable and displays the resistance
values on the LCD screen as shown below:
Press the
[ENTER]
key to accept and save the readings.
m.
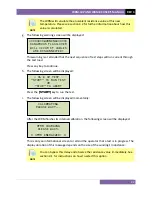
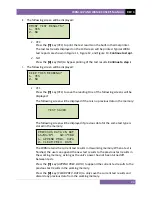
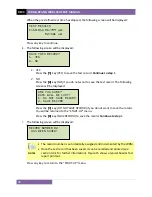
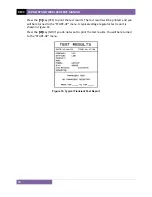
The following screen will be displayed:
Once the reading has been saved, the following screen will be displayed momentarily:
n.
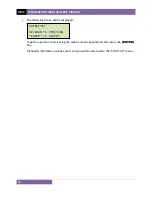
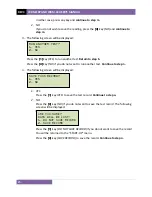
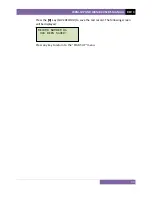
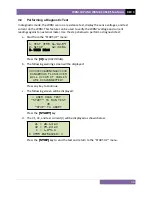
After saving the readings, the following screen will be displayed:
Set the LTC or Voltage Regulator tap position to the position indicated on the LCD screen
and press the
[START]
key.
The WRM will continue the test and display the results as in step l.
Repeat steps l
through m
for all “Lower” positions and then through all “Raise” positions.
SET 2L THEN “START”
* XFMR ENERGIZED! *
TEST IN PROGRESS 21
I=0.01A R1=997.4
μΩ
TEST SAVED
* XFMR ENERGIZED! *
TEST IN PROGRESS 21
I=0.01A R1=997.4
μΩ
SAVING TEST
* XFMR ENERGIZED! *
TEST IN PROGRESS 21
I=0.01A R1=997.4
μΩ
R2=0
μΩ
* XFMR ENERGIZED! *
XFMR CHARGING
PLEASE WAIT…
I = 0.03A
* XFMR ENERGIZED! *
CALIBRATING
PLEASE WAIT...
Содержание WRM-10P
Страница 12: ...WRM 10P AND WRM 40 USER S MANUAL REV 3 8 Figure 2 WRM 40 Controls and Indicators...
Страница 15: ...REV 3 WRM 10P AND WRM 40 USER S MANUAL 11 Figure 5 WRM 10P Relay Location Figure 6 WRM 40 Relay Location...
Страница 39: ...REV 3 WRM 10P AND WRM 40 USER S MANUAL 35 Figure 14 Typical LTC Voltage Regulator Test Report Printout...
Страница 44: ...WRM 10P AND WRM 40 USER S MANUAL REV 3 40 Figure 15 Typical Five Minute Special Test Report Printout...
Страница 54: ...WRM 10P AND WRM 40 USER S MANUAL REV 3 50 Figure 17 Typical Test Record Directory Printout...

