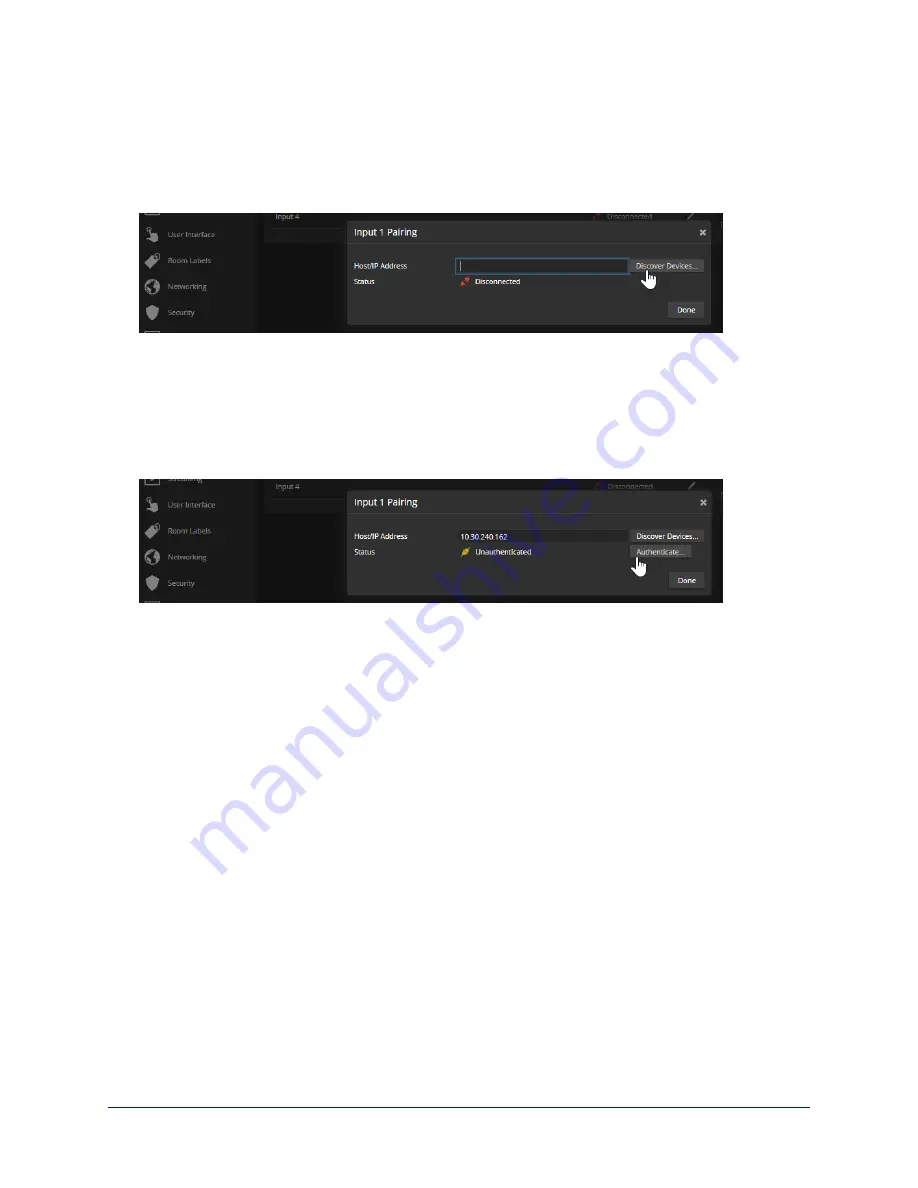
To add a camera to the directory:
1. Select the Edit icon (pencil) for the input to pair. The Input Pairing dialog box opens.
2. To find the IP addresses of EasyIP cameras on the same subnet as the EasyIP Decoder, select
Discover Devices. You can add a camera from another subnet by entering its hostname or IP address
in the Host/IP Address box.
3. Select one of the cameras from the list, and select Done.
Note
If a camera is paired to two or more EasyIP devices, more than one person can control the camera at
any given time. This can result in unexpected camera behavior.
4. Authenticate to the selected camera. After you submit the correct admin password for the camera, the
Input Pairing box shows its status as Connected.
5. Select Done to save the pairing and return to the main Directory view.
6. If you were not able to authenticate to the camera, select its IP address from the Pairing box to open its
web interface in a separate browser tab, and complete the initial device set-up. Then authenticate to the
camera.
To change a directory entry:
Select the pencil (edit) icon for the desired address book entry to edit its IP address or name.
Select the X icon to delete the address book entry.
To access a camera's web interface:
Select the hostname/IP address of the desired camera. Its web interface opens in a separate browser tab.
36
Complete Manual for EasyIP Systems


