27
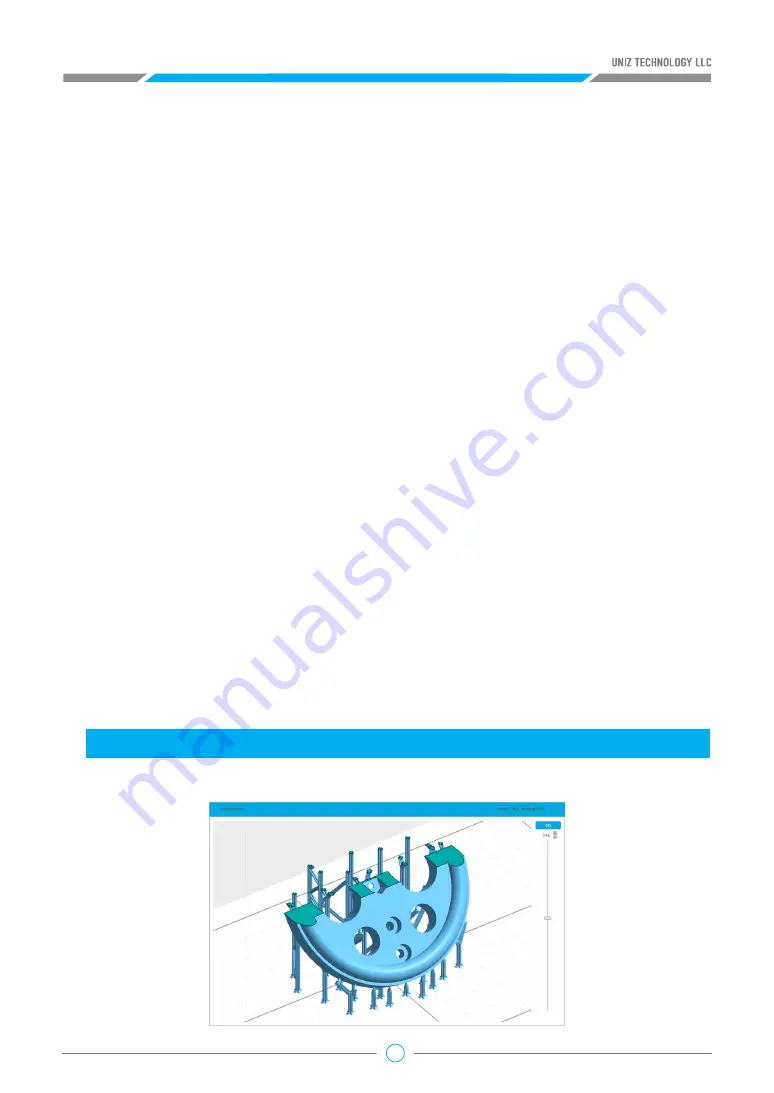
By Dividing the model the model into multiple segments and defining different slice parameters, Z
resolution customization can be used to balance print speed and surface quality.
Click the block on the slider bar to start customizing print parameters. The white line shows the
division layer of the two adjacent segments. The upper menu sets the properties of the segment
above the division, and the lower menu sets the properties of the lower segment. You may drag
the slider block to change the division location or double click on blank space on the slider bar to
add another division layer. Press the Delete key when dragging the slider block to erase the division
layer. The last division layer cannot be deleted.
Double click the selected slider and you get a text box. Type layer in the text box and then press
ENTER key to finish and close the editing.
Click the “+” Key to move the slider up one layer incrementally until it reaches the next slider or
the top layer of the model.
Click the “-” Key to move the slider down one layer incrementally until it reaches the next slider.
Click the “Slice” Button to slice all models on the build platform with the defined parameters. The
estimated print information will show in the status bar.
Click “Show Slices” Button to check any individual layer of the sliced model.
• “Pause” sets a pre-set pause at the layer of choice during printing, and the pause can be
resumed after pressing the Resume button in the printing control tab.
b. Customize Your Own Z Resolution
c. Slice Tools
Notice:
The slider at the bottom (that marks the third layer)
does not support operations by the +/-
button.
Click the “PageUp” Key to select the separate slider above.
Click the “PageDown” Key to select the separate slider below
Estimated Time 00:12:40
Volume 17.20ml
Layers 57
Motor Speed and the Rise Height will apply the default value set by the software and they
cannot be modified by the users from the interface.


