


21
2.6 Change Size
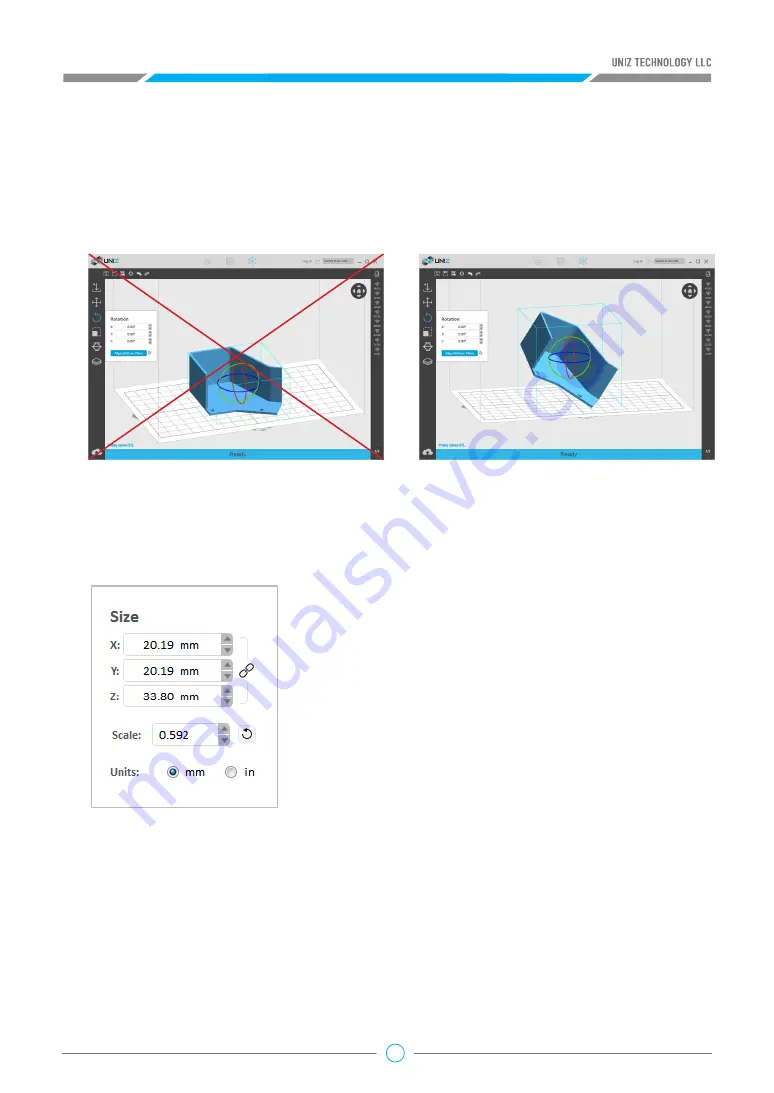
Press the “Size” Button on the main tools will open following sub menu.
• Once the Size tab is open, the activated object can be
scaled freely by holding the left mouse button on the
object and moving the mouse.
• The activated object can also be scaled by inputting X/
Y/Z values in the field. Press ‘Enter’ to apply changes.
The object will scale uniformly in Uniform Scaling
mode. In Non-uniform Scaling mode the object will
scale independently for each axis without affecting the
other axes.
• If you prefer to scale to a fixed ratio put a value into the
scale box.
• Click the ‘Reset’ Button to restore the activated object
to the original size.
• Units: toggle between millimeters and inches.
Tips:
Tips:
Large Flat surfaces or Long Straight lines with supports may be printed at an oblique angle
of at least 10° to the build platform to increase the success rate. The forces during peeling
may distort thin layers of a flat surface or a line mounted on the support structures if printed
horizontally. If a planar surface or thin line is oriented at an oblique angle, there is only little
overhang for each new layer. Furthermore, thin-walled parts occupy significant less area in a
slice when printed at an oblique angle.
Changing an object’s size will break previously generated supports and you will need to redo
these.


