


the shadows still appear, keep reducing the Rate again until it does disappear. If the
setting is too low, increase the Rate setting until the shadows appear, then back it off
one or two numbers. Once the Tickle is set properly, escape out of the menu and
“Retain Settings” which will make the changes permanent.
WARNING:
Do not attempt to adjust the “TICKLE” setting. Consult the ULS technical staff
first to determine whether it is necessary.
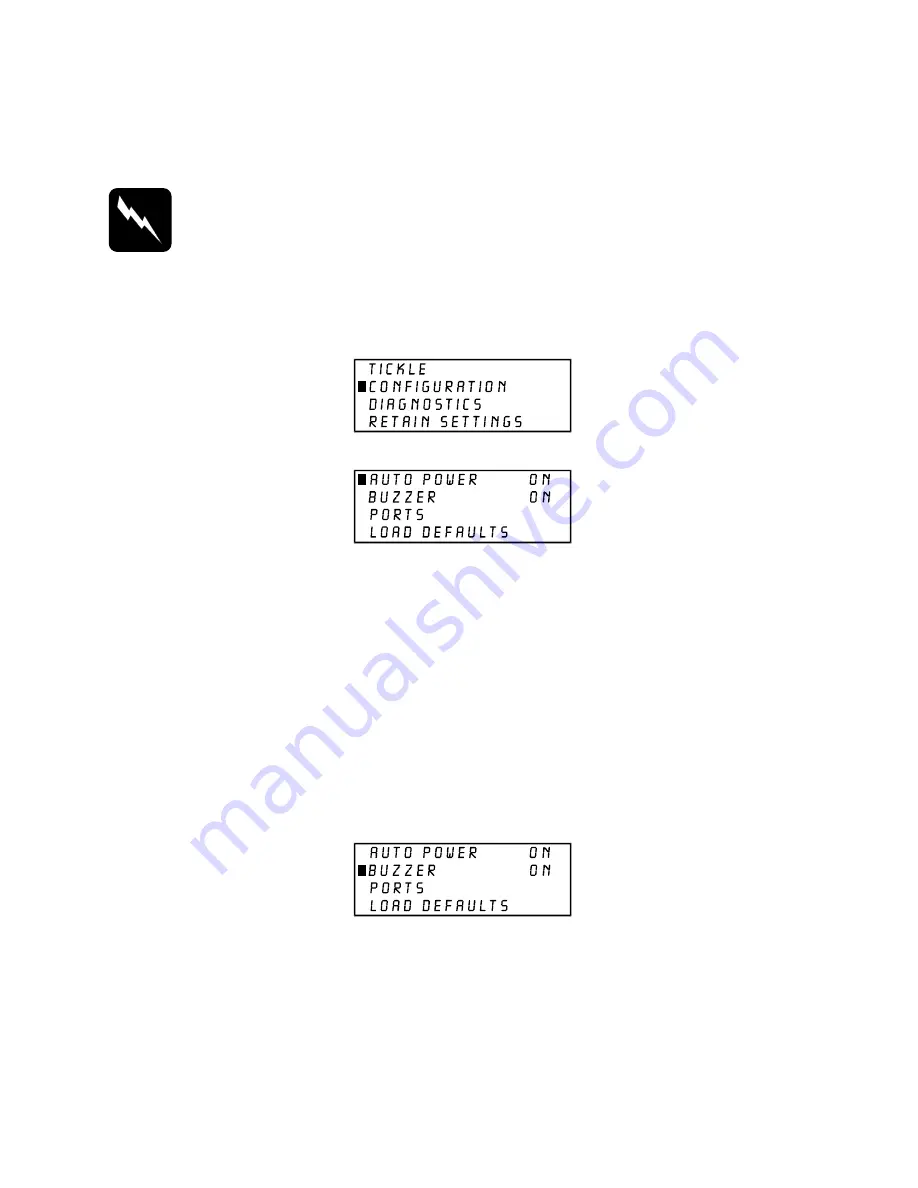
The “CONFIGURATION” submenu
Then
The “CONFIGURATION” selection allows the reconfiguration of certain features of the
engraving system. Selecting this option will lead to other submenu choices.
The “AUTO POWER” option can be toggled either “ON” or “OFF” by placing the cursor
on the appropriate menu choice and pressing “SELECT”. The “AUTO POWER” feature
allows the laser system to change power settings while it is cutting and engraving a job.
If this feature is “ON”
(the default setting), the power settings will change in response to
different colors used in the artwork (or in the case of DOS applications different pen
numbers assigned to the artwork) as described earlier in the section on the “POWER
SETTINGS” submenu. If this feature is turned “OFF”, the system will use the current
power setting selected in the “POWER SETTINGS” submenu and no power changes
will take place.
The “BUZZER” option can be toggled either “ON” or “OFF” by placing the cursor on the
appropriate menu choice and pressing “SELECT”. This submenu option emits a sound
to indicate when a job has finished.
45
Содержание ULS-25PS
Страница 20: ...20 ...
Страница 34: ...34 ...
Страница 37: ...Menu Control System Flow Chart 37 ...
Страница 62: ...62 ...
Страница 84: ...84 ...
Страница 86: ...86 ...
Страница 94: ...94 ...
Страница 97: ...Appendix C Serial Port Cable Requirements C ...


