


Prima IP KVM Switch User Guide R1.4
4.6
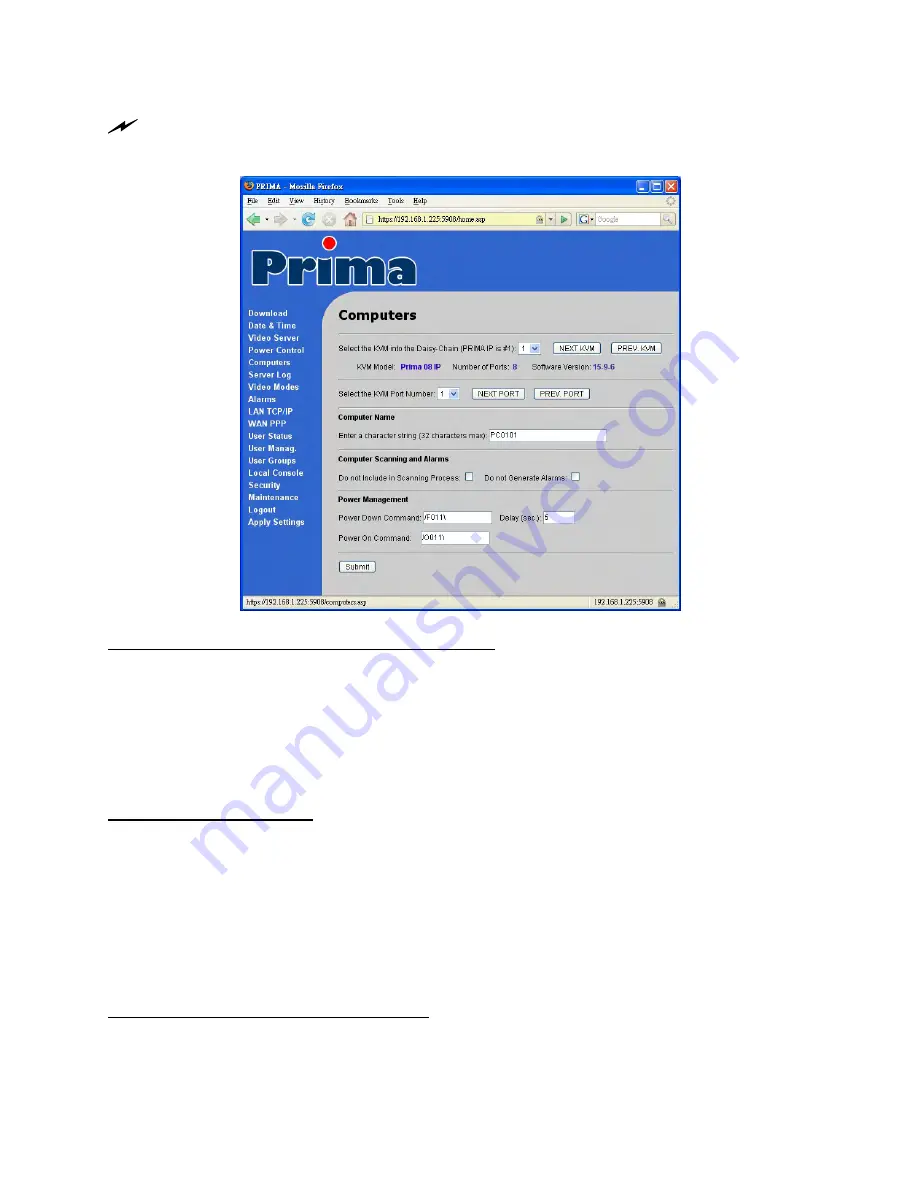
Computers – Settings for Specific Computers
After any setting change, click the
Submit
button to save new setting to the Prima IP database, and then
click
Apply Setting
to apply new settings to Prima IP immediately.
Select the KVM into the Daisy-Chain (PRIMA IP is #1)
: Select the target KVM switch within a
daisy-chained configuration. Note that Prima IP KVM is always the master KVM switch
within the daisy-chained configuration. Once you have selected the target KVM switch
for subsequent settings, some information concerning that KVM switch will be shown
below.
KVM Model:
Prima 8 IP
Number of Ports:
8
Software Version:
2-11-6
Select the KVM Port Number : Select the target KVM port to which your target computer is
connected. You can just select from the drop down combo box for the target port number to be
designated with various port specific settings on this page, such as computer name, the scanning
and alarm options, power-on and power-off commands.
You can use the drop-down combo box or use the
Previous
and the
Next
button to select KVM
port for setting.
Computer Name
Enter a character string (32 characters max) : Designate the computer name (in this case, it is
Redhat Linux) for the computer you will connect to that specific port (in this case, it is port 6) on
the conventional KVM Switch behind
Prima IP
. A Maximum length of 32 characters for each
name is allowed. The computer names you specify here for each port will appear all together in
the Select Computer Box when logging in
Prima IP
Viewer.
- -
56


