


Prima IP KVM Switch User Guide R1.4
2.8
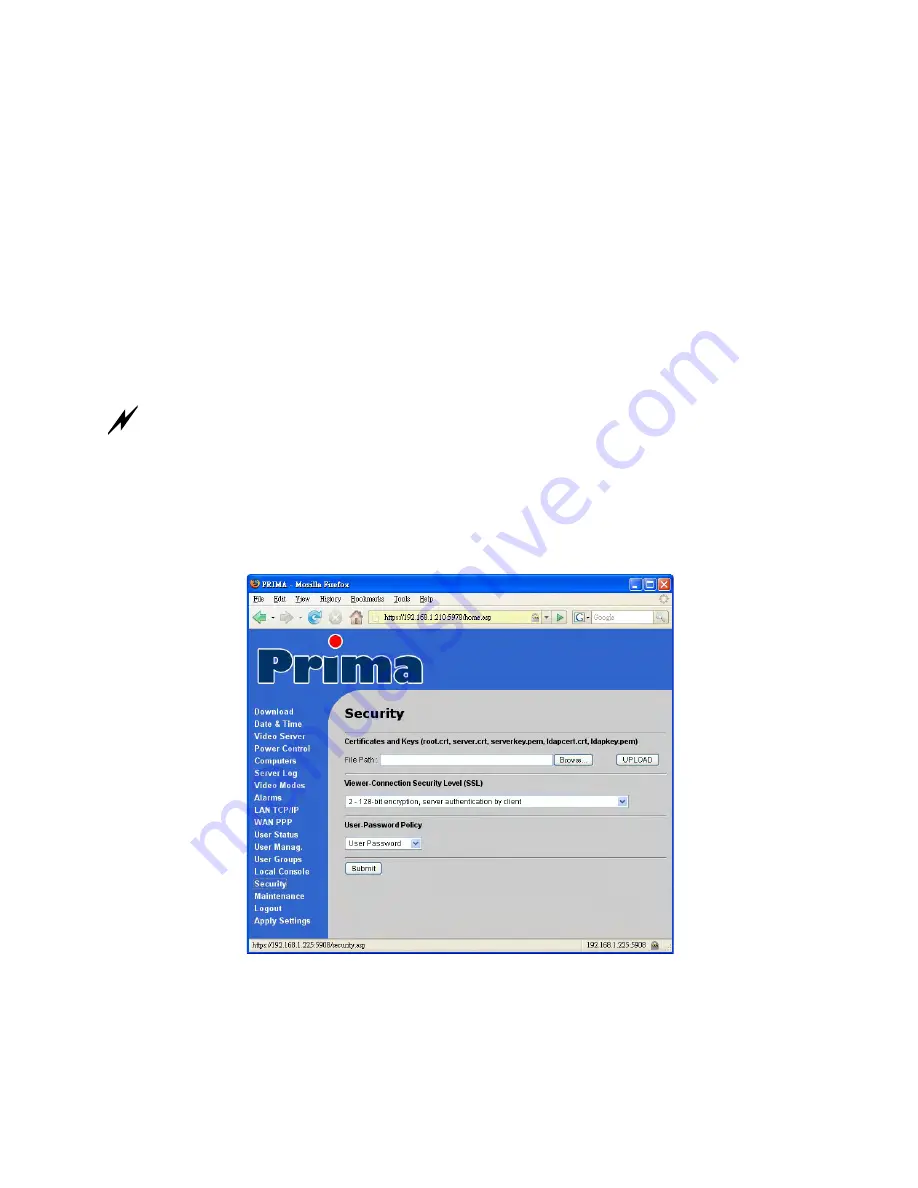
Select a Security Level for Viewer Connection
Step 1. Go to the Security page on the Prima IP Web management interface and select a viewer
connection security level.
There are three security levels for choice:
•
Level 1: No encryption (No SSL)
•
Level 2: 256-bit encryption, no user certificate required for user authentication
•
Level 3: 256-bit encryption, user certificate required for authentication (PKI)
Security level 1 offers a non-secured connection, and hence should be used with caution when
Prima IP is intended to be accessed through external network. For level 1, there’s virtually no
encryption.
Security Level 2 offers a secured SSL connection that provides encryption for mouse, keyboard
and video but uses no PKI-authentication.
Security Level 3 offers a secured SSL connection that provides encryption for mouse, keyboard
and video, and uses 1024-bit PKI-authentication.
The choice of a security level to be implemented for the Prima IP viewer connection is of most
importance, especially when your remote server connections requires a high security that can keep your
servers safe from unauthorized entries and/or network sniffers.
Step 1-a. If you choose to implement PKI authentication feature on Prima IP viewer, you have
to select Level 3 viewer security connection on the Security page of your Prima IP browser
interface.
Then Enter the server password.
Here you should enter the password that has encrypted the
server private key
in the server
private key file,
serverkey.pem
. You should enter the correct server password here in order to
make successful viewer connection with
Prima IP
in level 3 security setting. If you use the
standard set of certificates provided on the Support CD ROM disc, the password that encrypts
the server private key is
serverpwd
- -
24


