SeaKing & SeaPrince Imaging Sonars
0374-SOM-00001, Issue: 08
13
© Tritech International Ltd.
4. Setup
The SeaKing and SeaPrince sonar heads, when newly purchased, will be setup as requested.
However, should the setup of the units need to be changed the following instructions can be
used to reconfigure the units are desired.
4.1. Identifying the Model
Before proceeding with any reconfiguration, it is vital to know what model of SeaKing Sonar
you are operating with.
SeaKing V5 or older
SeaKing Sonars that are V5 or older models need to be opened in order to change their
configuration. Additionally these Sonars may, or may not have a V6 COMS PCB installed
and so will use physical jumpers to set up the communications options. Please see
0374-
SOM-00003
for jumper configurations as well as V6 COMS PCB DIP switch settings for these
units.
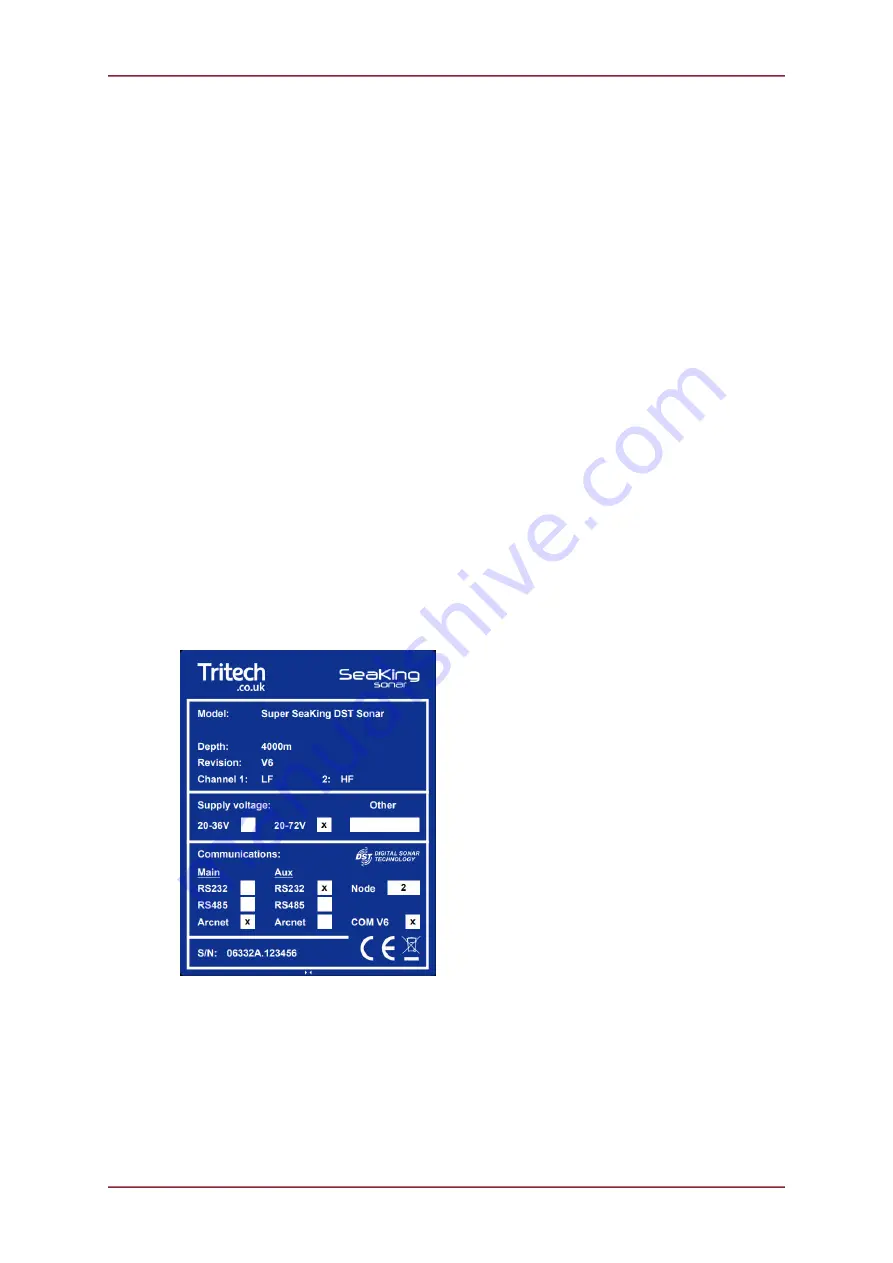
SeaKing V6
A V6 SeaKing Sonar will typically have the part number
S06332A
, printed on the main product
label. It should also have the V6 Comms box checked on the label.
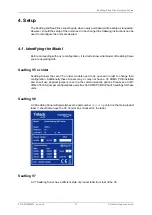
SeaKing V7
A V7 SeaKing Sonar has a different style of product label from that of the V6.


