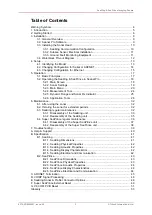


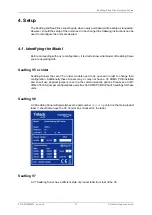


Setup
SeaKing & SeaPrince Imaging Sonars
0374-SOM-00001, Issue: 08
14
© Tritech International Ltd.
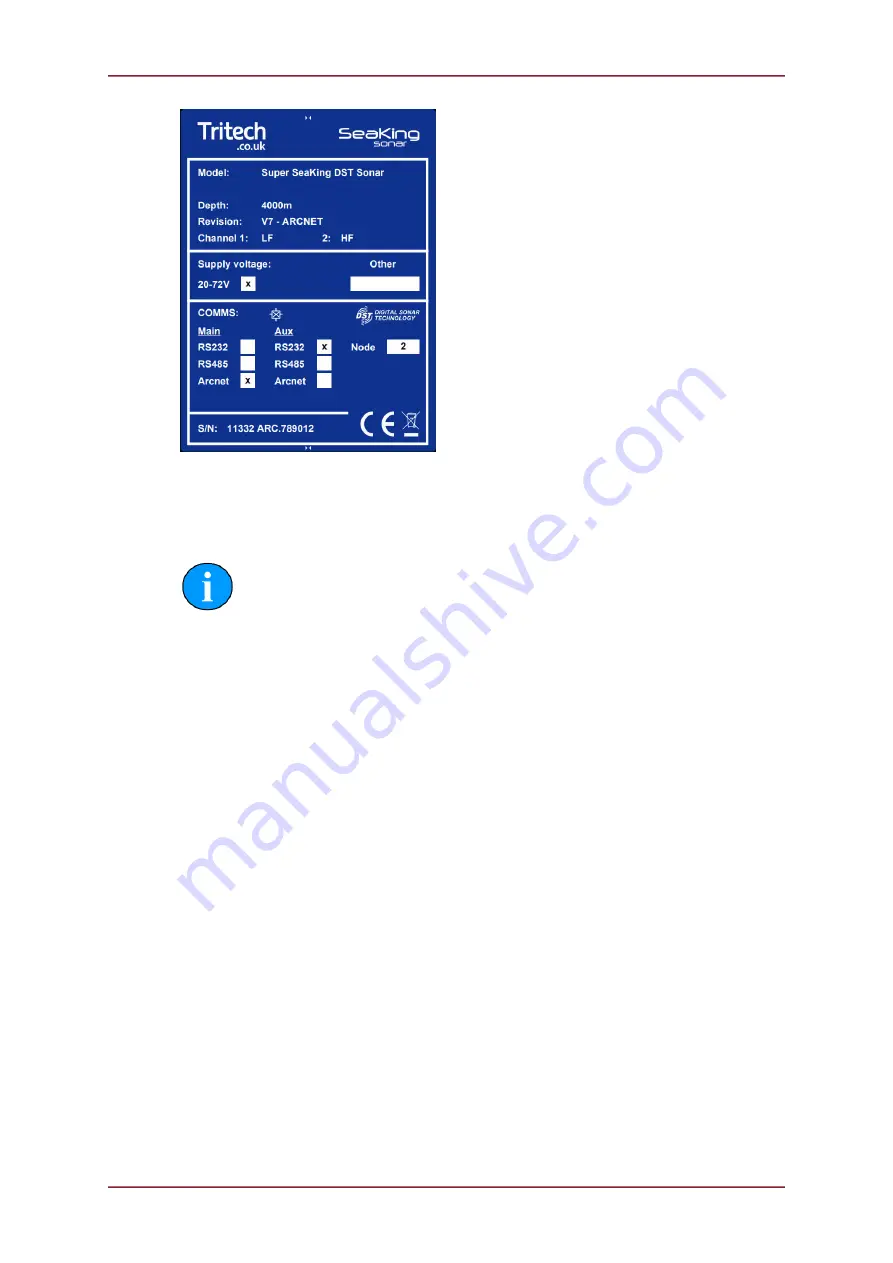
4.2. Changing Configuration for Serial or ARCNET
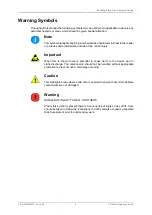
Note
These instructions are intended for units that support software selectable
communications. If you are unsure if your Sonar supports this function, please
check Section 4.1, “Identifying the Model” or contact
Tritech International Ltd
for
assistance.
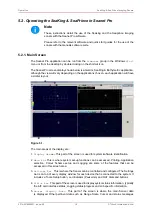
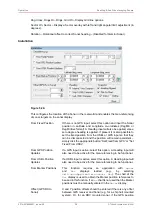
To change the configuration of the SeaKing or SeaPrince Sonar, the following steps should
be undertaken:
1. Place the Sonar on a short test cable and connect to your controlling computer (either
directly or via SeaHub / MicronNav Hub / SCU)
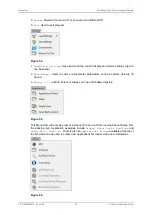
2. Using the
Applications - Setup
ensure that you can see the Node of the Sonar - typically
Node 2
3. In the
Action
column, click on the down arrow and select
Setup
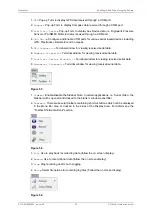
4. Click
Ok
on the pop up warning and the Sonar Setup page should now appear
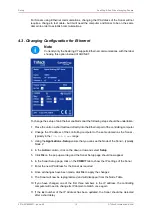
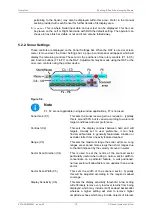
5. Select the desired communication options from the
MAIN
and
AUX
drop down lists
6. If required, click on the
Baud Rates
button to open and change the baud rates used by
the ARCNET and serial outputs of the Sonar
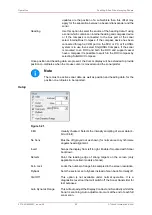
7. Once all changes have been made, click
Ok
to apply the changes
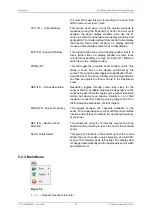
8. The Sonar will now be reprogrammed and will disappear from the Node Table
9. Wait for the Green LED on the Sonar to start flashing, then power it down and disconnect
the test cable
10. Re attach the Sonar to the computer using a new test cable suitable for the new
communications method
11. Power the Sonar back on and, after a brief delay, the Sonar Node number should
reappear