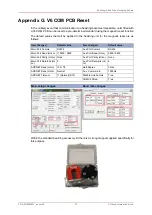
V6 COM PCB Reset
SeaKing & SeaPrince Imaging Sonars
0374-SOM-00001, Issue: 08
52
© Tritech International Ltd.
In order to complete the reset process, the following steps will apply:
1. Ensure an RS232 COM Port is available, has been enabled within Seanet Pro and is set
for 115200 Baud.
2. Using an appropriate test cable, connect the Sonar to a suitable power supply and topside
control unit but do not apply power yet.
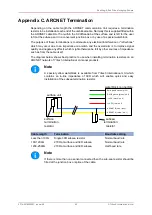
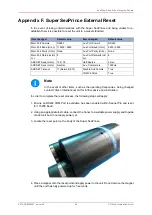
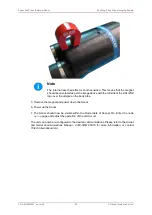
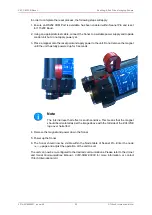
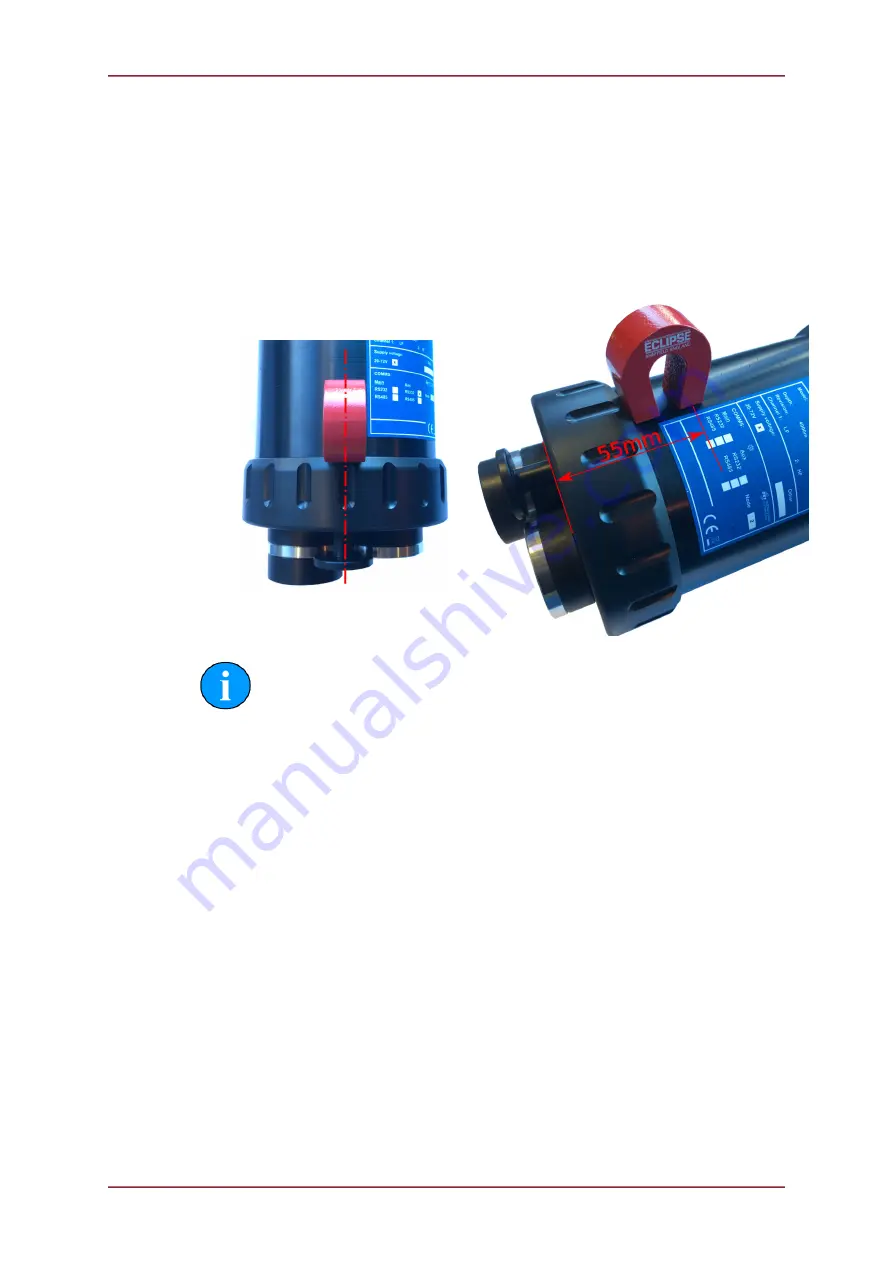
3. Place a magnet onto the reset point and apply power to the unit. Do not remove the magnet
until the unit has fully powered up for 5 seconds.
Note
The internal reset hall effect is south sensitive. This means that the magnet
should be orientated as per the image above with the
SE
side of the
ECLIPSE
logo over hall effect.
4. Remove the magnet and power down the Sonar
5. Power up the Sonar
6. The Sonar should now be visible within the Node table of Seanet Pro. Enter the node
Setup
page and adjust the operation of the unit to suit.
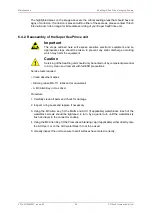
The unit can now be re-configured to the desired communications. Please refer to the
Arcnet
and Serial Communications Manual - 0374-SOM-00003
for more information, or contact
Tritech International Ltd
.

