110
d
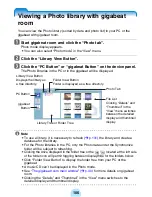
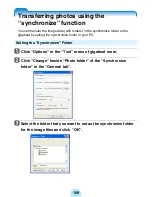
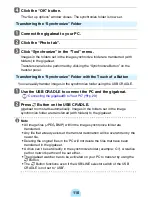
Click the “OK” button.
The “Set up options” window closes. The synchronize folder is now set.
Transferring the “Synchronize” Folder
a
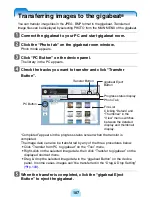
Connect the gigabeat to your PC.
b
Click the “Photo tab”.
c
Click “Synchronize” in the “Tool” menu.
Images in the folders set in the image synchronize folder are transferred (with
folders) to the gigabeat.
Transfers can also be performed by clicking the “Synchronize Button” on the
transfer panel.
Transferring the “Synchronize” Folder with the Touch of a Button
You can easily transfer images in the synchronize folder using the USB CRADLE.
a
Use the USB CRADLE to connect the PC and the gigabeat.
#
“Connecting the gigabeat® to Your PC” (
>
p.29)
b
Press
s
Button on the USB CRADLE.
gigabeat room starts automatically. Images in the folders set in the image
synchronize folder are transferred (with folders) to the gigabeat.
/
Note
-
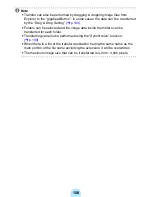
All image files (JPEG, BMP) within the image synchronize folder are
transferred.
-
Any file that already exists at the transfer destination will be overwritten by the
newer file.
-
Deleting the original files in the PC will not delete the files that have been
transferred in the gigabeat.
-
A drive can’t be set directly in the synchronize folder (example: C:\). A relative
path or network path can’t be set either.
-
The gigabeat watcher has to be activated on your PC to transfer by using the
s
Button.
-
The
s
Button functions even if the USB/LINE selector switch of the USB
CRADLE is not set to “USB”.
Содержание gigabeat MEG-F10
Страница 98: ...98 The image size to be transferred is the same as transfers in the photo mode p 107 ...
Страница 162: ...F_00_US_UE ...


