Heat Pump Manual
25
INSTALLATION
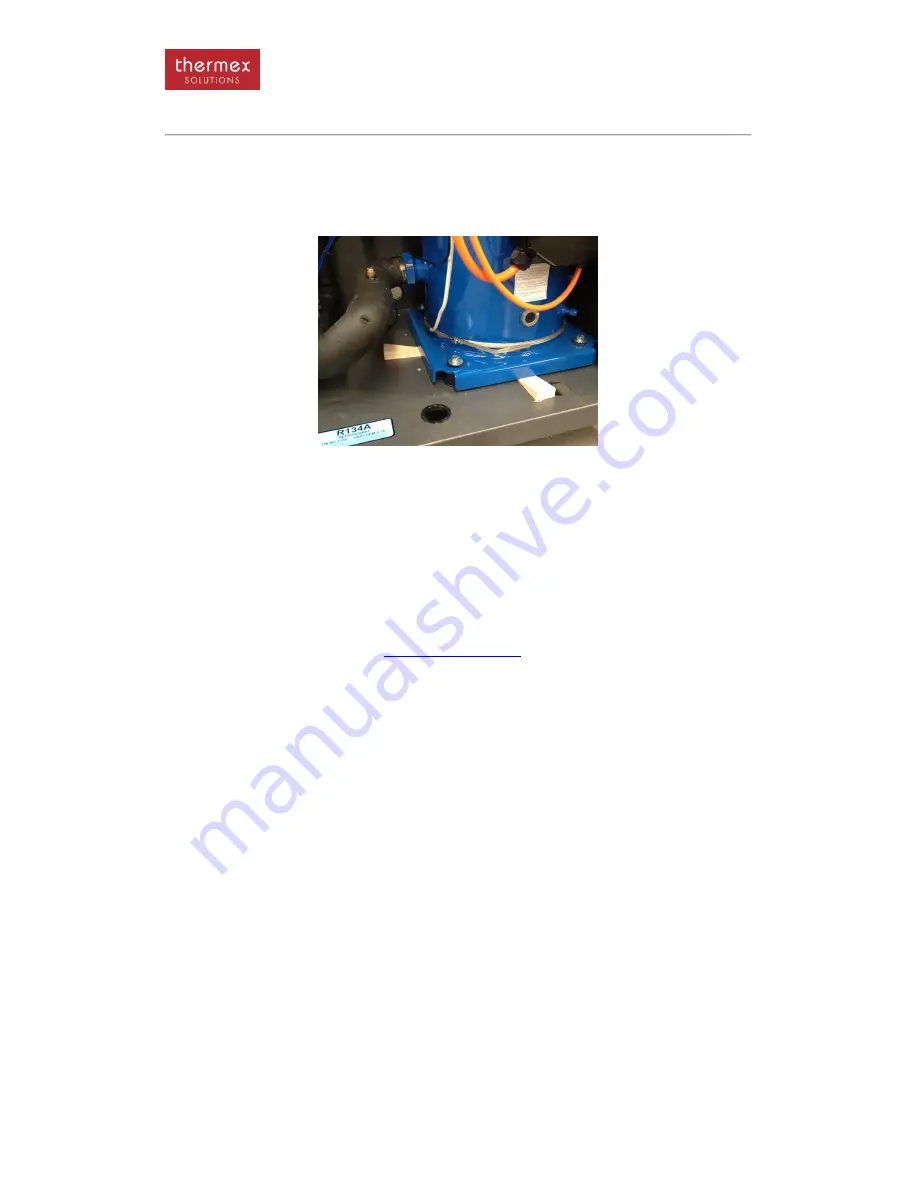
Compressor Mounts
The compressor will have wooden chocks installed to prevent the compressor moving around
in transport. It is important that they are removed before starting the unit up. There will be at
least 3 on every compressor and they must all be removed.
Customising the High Level – Web Based – Interface
The heat pump has programming to allow it to be connected to the internet for monitoring or
to be monitored via high level SNMP interface. Thermex can install customer IP address prior
to the unit being dispatched otherwise see the service section of this document for
instructions on changing the system settings. The system can also communicate via BACNet
and Modbus protocols but they must be specified at the time of order.
To connect the heat pump to your network or use a laptop on site
·
Connect a CAT5 cable to the Ethernet port on the circuit board
·
Open a browser and enter
http://10.1.1.130:8076
·
Go to the
“Status” page and log in using “techcooler” as user name and “techwater”
as the password. This means you are now logged in as Administrator. The webpage
should appear showing the status of the heat pump
·
To change the heat pumps IP address go to the
“Advanced” tab on the home page
and then
“Network” tab on the left hand side. Put “aquaipconfig” into the password
page and un-tick the
“DHCP” enable tab. This will allow the loading of the site specific
IP address.
·
To load in email addresses go to the
“Email” tab on the left hand side and use the
password
“aquaemail” The heat pump will now send an email on fault. If at any time
you wish to have a data log file sent go to the
“control” page and have the controller
send an email
– see below
·
Some of the systems settings can be changed remotely. Go the
“Control” tab and
enter the password
”aquaheat pump” and this will allow the user to send commands
to the heat pump.
·
To change or set up the SNMP setting of the heat pump go to the SNMP tab and log
in using
“aquasnmp” and follow the instructions that appear on that page
·
To change the passwords on the system to your own go to the access tab and log in
using
“techwater” –update with specific details and update.
·
To update the customer name, address etc go to the customer tab and enter
“aquacustomer” as the password. The system will now allow you to update the site
specific details
Содержание THW100
Страница 17: ...Heat Pump Manual 17 DIMENSIONS THW30 and THW40 THW50 and THW60 ...
Страница 18: ...Heat Pump Manual 18 DIMENSIONS THW80 THW100 AND THW130 ...
Страница 19: ...Heat Pump Manual 19 DIMENSIONS THWW20 to THWW40 Water to Water THWW50 THWW60 and THWW80 Water to Water ...
Страница 58: ...Heat Pump Manual 58 WIRING DIAGRAM 20kW HEAT RECOVERY COIL ...


