To this chapter contents
11. CRANKCASE / CRANK
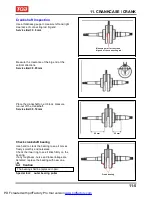
Crankshaft Inspection
Use a thickness gauge to measure left and right
clearance of connecting rod big end.
Service limit: 0.6 mm
Measure point for the crank
big end of the connecting rod.
Measure the clearance of the big end at the
vertical directions.
Service limit: 0.05 mm
Place the crankshaft on a V-block, measure
run-out of the crankshaft.
Service limit: 0.10 mm
90 mm
60 mm
Check crankshaft bearing
Use hand to crank the bearing to see it moves
freely, smoothly and noiseless.
Check the inner ring to see it links firmly on the
bearing.
If any roughness, noise and loose linkage are
detected, replace the bearing with new one.
Caution
The bearing shall be replaced in pair.
Special tool: outer bearing puller
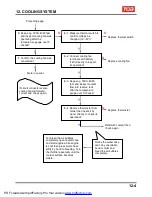
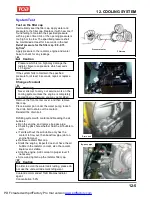
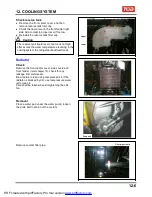
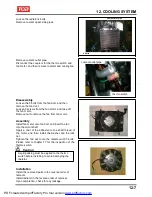
Crank bearing
11-5
PDF created with pdfFactory Pro trial version
www.pdffactory.com
Содержание BLADE 250
Страница 1: ...BLADE 250 300 SERVICE MANUAL PDF created with pdfFactory Pro trial version www pdffactory com ...
Страница 145: ...13 BODY COVER Mechanism Diagram 13 1 13 PDF created with pdfFactory Pro trial version www pdffactory com ...
Страница 217: ...Home page Contents 18 ELECTRICAL DIAGRAM 18 18 1 PDF created with pdfFactory Pro trial version www pdffactory com ...
Страница 218: ...Home pae Contents 18 ELECTRICAL DIAGRAM Notes 18 2 PDF created with pdfFactory Pro trial version www pdffactory com ...

