36
5
5
.
.
3
3
U
U
s
s
i
i
n
n
g
g
D
D
E
E
0
0
-
-
N
N
a
a
n
n
o
o
S
S
y
y
s
s
t
t
e
e
m
m
B
B
u
u
i
i
l
l
d
d
e
e
r
r
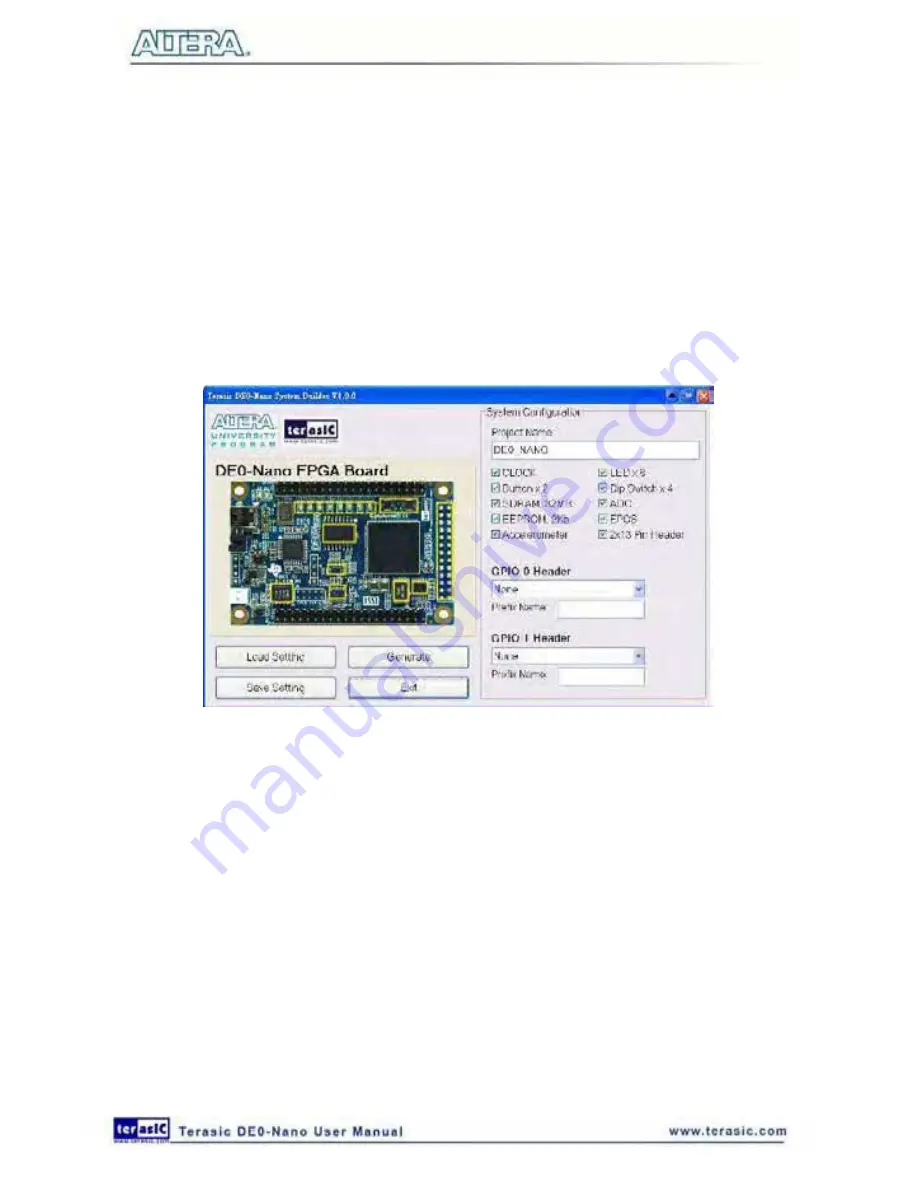
This section provides the detailed procedures on how the to use the DE0-Nano System Builder.
Install and launch the DE0-Nano System Builder
The DE0-Nano System Builder is located in the directory:
"Tools\DE0_NANO_SystemBuilder"
on
the DE0-Nano System CD. Users can copy the whole folder to a host computer without installing
the utility. Launch the DE0-Nano System Builder by executing the DE0_NANO_SystemBuilder.exe
on the host computer and the GUI window will appear as shown in
Figure 5-2
.
Figure 5-2 The DE0-Nano System Builder window
Input Project Name
Input project name as show in
Figure 5-3
.
Project Name: Type in an appropriate name here, it will automatically be assigned as the name of
your top-level design entity.
Содержание De0-Nano
Страница 1: ...1 ...
Страница 4: ...4 9 3 Revision History 155 9 4 Copyright Statement 155 ...
Страница 44: ...44 Figure 6 5 Browse to find the location Figure 6 6 There is no need to test the driver ...
Страница 90: ...90 Figure 7 14 Add NIOS II Processor ...
Страница 91: ...91 Figure 7 15 Nios II Processor 9 Click Finish to return to main window as shown in Figure 7 16 ...
Страница 93: ...93 Figure 7 17 Rename the CPU 1 Figure 7 18 Rename the CPU 2 ...
Страница 98: ...98 Figure 7 23 Add On Chip Memory ...
Страница 100: ...100 Figure 7 25 Update Total memory size ...
Страница 102: ...102 Figure 7 28 Update CPU settings ...
Страница 104: ...104 Figure 7 30 Add PIO ...
Страница 106: ...106 Figure 7 32 PIO 21 Rename pio_0 to pio_led as shown in Figure 7 33 Figure 7 33 Rename PIO ...
Страница 113: ...113 Figure 7 43 Input verilog Text Figure 7 44 Open DE0_NANO_SOPC v ...
Страница 146: ...146 Figure 8 16 Display Progress and Result Information for the SDRAM Demonstration ...
Страница 150: ...150 Figure 9 3 Select Devices Page ...
Страница 151: ...151 Figure 9 4 Convert Programming Files Page ...


