118
7. Click
Change File
.
8. Browse to the myfirst_niosii project directory.
9. Select the programming file (myfirst_niosii.sof).
10. Click
OK
.
11. Click
Hardware Setup
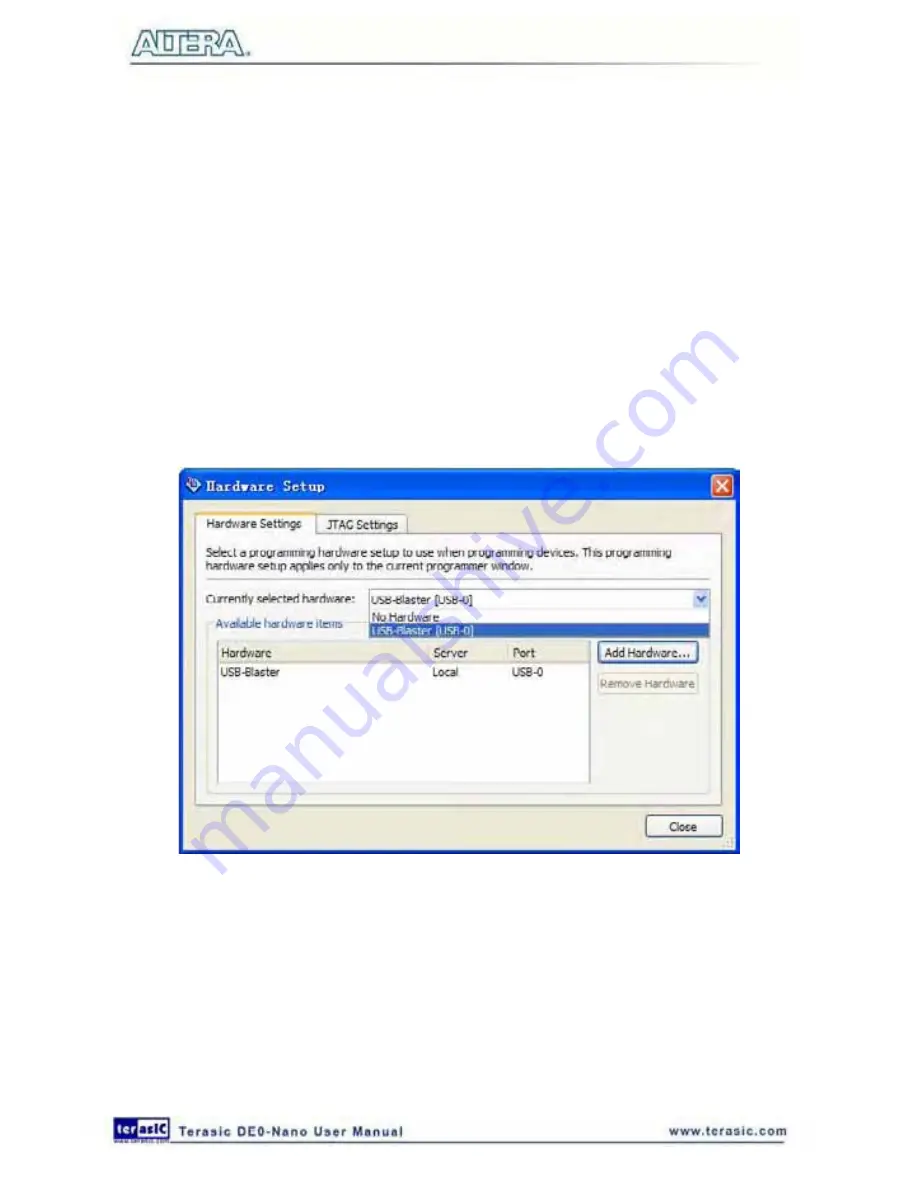
in the top, left comer of the Quartus II programmer window. The
Hardware Setup dialog box appears.
12. Select USB-Blaster from the currently selected hardware drop-down list box, as shown in
Figure 7-53
.
Note: If the appropriate download cable does not appear in the list, you must first install drivers
for the cable. Refer to Quartus II Help for information on how to install the driver.
Figure 7-53 Hardware Setup Window
13. Click
Close
.
14. Make sure the
Program/Configure
option for the programming file (see
Figure 7-54
for an
example).
15. Click
Start
.
Содержание De0-Nano
Страница 1: ...1 ...
Страница 4: ...4 9 3 Revision History 155 9 4 Copyright Statement 155 ...
Страница 44: ...44 Figure 6 5 Browse to find the location Figure 6 6 There is no need to test the driver ...
Страница 90: ...90 Figure 7 14 Add NIOS II Processor ...
Страница 91: ...91 Figure 7 15 Nios II Processor 9 Click Finish to return to main window as shown in Figure 7 16 ...
Страница 93: ...93 Figure 7 17 Rename the CPU 1 Figure 7 18 Rename the CPU 2 ...
Страница 98: ...98 Figure 7 23 Add On Chip Memory ...
Страница 100: ...100 Figure 7 25 Update Total memory size ...
Страница 102: ...102 Figure 7 28 Update CPU settings ...
Страница 104: ...104 Figure 7 30 Add PIO ...
Страница 106: ...106 Figure 7 32 PIO 21 Rename pio_0 to pio_led as shown in Figure 7 33 Figure 7 33 Rename PIO ...
Страница 113: ...113 Figure 7 43 Input verilog Text Figure 7 44 Open DE0_NANO_SOPC v ...
Страница 146: ...146 Figure 8 16 Display Progress and Result Information for the SDRAM Demonstration ...
Страница 150: ...150 Figure 9 3 Select Devices Page ...
Страница 151: ...151 Figure 9 4 Convert Programming Files Page ...


