30
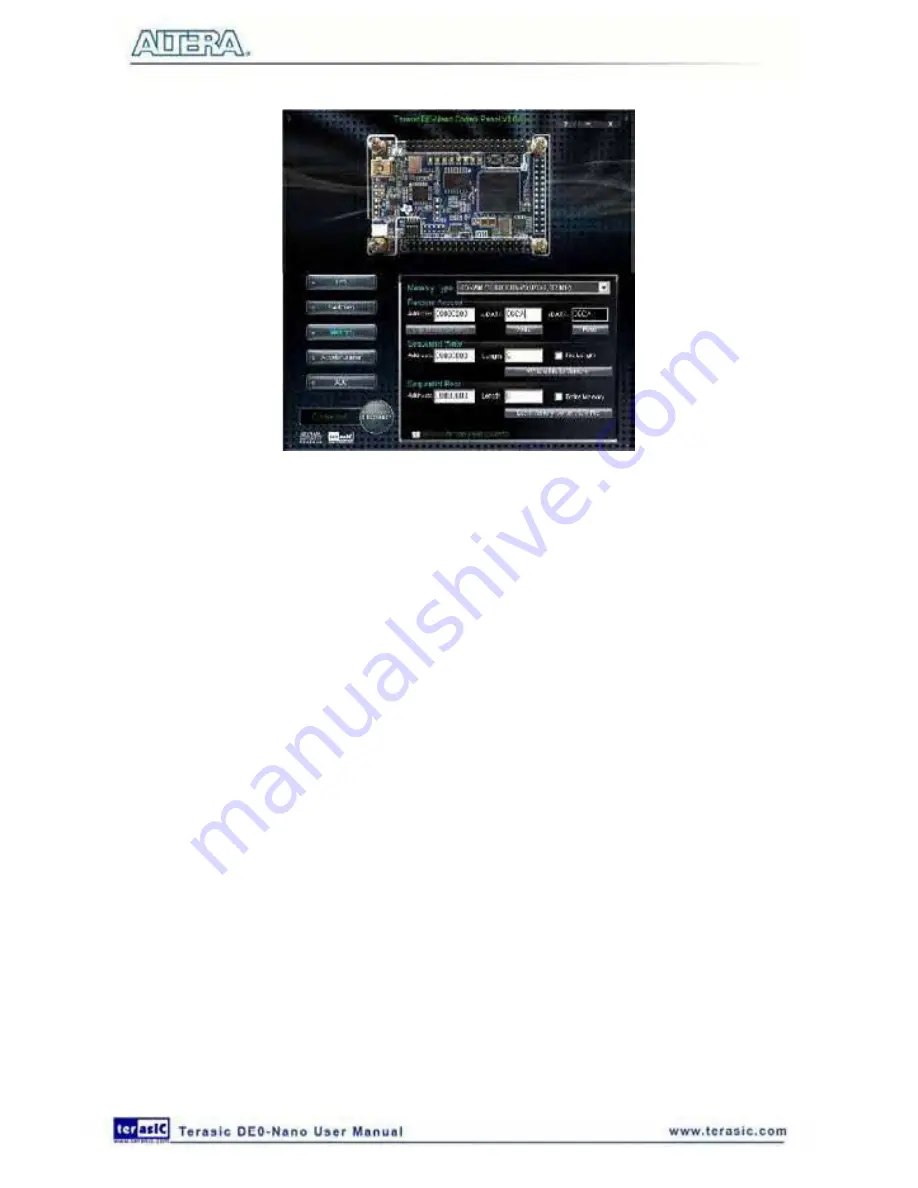
Figure 4-5 Accessing the SDRAM
A 16-bit word can be written into the SDRAM by entering the address of the desired location,
specifying the data to be written, and pressing the Write button. Contents of the location can be read
by pressing the Read button.
Figure 4-5
depicts the result of writing the hexadecimal value 06CA
into offset address 200, followed by reading the same location.
The Sequential Write function of the Control Panel is used to write the contents of a file into the
SDRAM as follows:
1. Specify the starting address in the Address box.
2. Specify the number of bytes to be written in the Length box. If the entire file is to be loaded,
then a checkmark may be placed in the File Length box instead of giving the number of bytes.
3. To initiate the writing process, click on the Write a File to Memory button.
4. When the Control Panel responds with the standard Windows dialog box asking for the source
file, specify the desired file in the usual manner.
The Control Panel also supports loading files with a .hex extension. Files with a .hex extension are
ASCII text files that specify memory values using ASCII characters to represent hexadecimal
values. For example, a file containing the line
0123456789ABCDEF
defines eight 8-bit values: 01, 23, 45, 67, 89, AB, CD, EF. These values will be loaded
consecutively into the memory.
The Sequential Read function is used to read the contents of the SDRAM and fill them into a file as
follows:
Содержание De0-Nano
Страница 1: ...1 ...
Страница 4: ...4 9 3 Revision History 155 9 4 Copyright Statement 155 ...
Страница 44: ...44 Figure 6 5 Browse to find the location Figure 6 6 There is no need to test the driver ...
Страница 90: ...90 Figure 7 14 Add NIOS II Processor ...
Страница 91: ...91 Figure 7 15 Nios II Processor 9 Click Finish to return to main window as shown in Figure 7 16 ...
Страница 93: ...93 Figure 7 17 Rename the CPU 1 Figure 7 18 Rename the CPU 2 ...
Страница 98: ...98 Figure 7 23 Add On Chip Memory ...
Страница 100: ...100 Figure 7 25 Update Total memory size ...
Страница 102: ...102 Figure 7 28 Update CPU settings ...
Страница 104: ...104 Figure 7 30 Add PIO ...
Страница 106: ...106 Figure 7 32 PIO 21 Rename pio_0 to pio_led as shown in Figure 7 33 Figure 7 33 Rename PIO ...
Страница 113: ...113 Figure 7 43 Input verilog Text Figure 7 44 Open DE0_NANO_SOPC v ...
Страница 146: ...146 Figure 8 16 Display Progress and Result Information for the SDRAM Demonstration ...
Страница 150: ...150 Figure 9 3 Select Devices Page ...
Страница 151: ...151 Figure 9 4 Convert Programming Files Page ...


