Starting Program
2-18
Starting Program
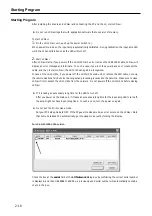
After installing the drivers and LX Navi and connecting the PC and the LX, start LX Navi.
z
Do not run LX Navi together with application software that uses a lot of memory.
To start LX Navi:
1.
On the LX-10 main unit, push up the power switch to |.
When power is turned on, the input amp is automatically calibrated.
During calibration, the input amp LED
will blink. When calibration ends the LED will turn off.
2.
Start LX Navi.
After LX Navi starts, if you power off the LX-10/20 main unit or remove the IEEE 1394 cable, LX Navi will
display an error message and terminate. In such a case, if you turn the power back on or reconnect the
cable, and then restart LX Navi, the LX-10/20 can again be recognized.
In case of the LX-10L/20L, if you power off the LX-10L/20L
main unit or remove the LAN cable, not only
the communications fail, but also the congestion processing is caused to the network. Make sure to close
LX Navi first to detach the LX-10L/20L from the network. Do not power off the LX-10L/20L before closing
LX Navi.
z
If it is taking an excessively long time for the LED to turn off.
After you power on the main unit, if it takes an excessively long time for the input amp LED to turn off,
the amp might not have been recognized. In such a case, turn the power on again.
z
Do not put the PC into sleep mode.
Set your PC's sleep mode to OFF. If the PC goes into sleep mode, an error occurs on the LX Navi. Note
that some notebook PCs automatically go into sleep mode just by folding the display.
For LX-10/20 IEEE 1394 version
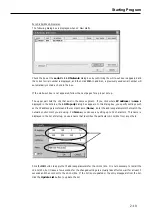
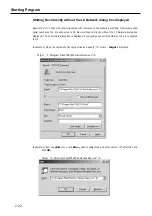
Check the box at the serial field of the LX Network dialog box by confirming the correct serial number
is displayed, and then click OK. In addition, a previously used serial number will automatically contain a
check in the box.
Содержание LX Series
Страница 2: ......
Страница 10: ...Contents viii...
Страница 26: ...Sampling Frequency and Number of Channels 1 16...
Страница 117: ...Main Unit Specifications 6 3 External Dimensions...
Страница 142: ...Recording Synchronization Specifications 6 28...
Страница 143: ...7 1 Section 7 Appendixes Troubleshooting 7 2 Supplied Accessories and Options 7 3 Supplied Accessories 7 3 Options 7 3...
Страница 146: ...Note 7 4 Note...
Страница 147: ......

