LX Stand-alone Operations
5-21
LX Stand-alone Operations
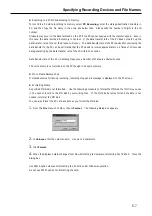
The last settings specified by LX Navi (such as the recording device, file name, and other settings) are stored in
the LX main unit even if the power is turned off. When the LX is removed from the PC, the LX operates
according to those settings.
z
Cautions on Operating as a Stand-Alone Device
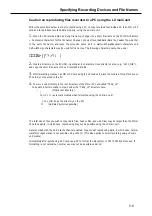
IEEE 1394 enables hot-pluggable connections, so the LX-10/20 main unit can be connected or disconnected
while the PC is powered on. (However, do not disconnect the LX-10/20 main unit while it is communicating with
the PC.) When the LX-10/20 is disconnected, LX Navi outputs an error message and terminates. In such a
case, if you reconnect the LX-10/20 and restart LX Navi, the LX-10/20 can again be recognized.
When moving the LX main unit, remove the media before turning off the power. Moving the unit while the
media is inserted might result in damage.
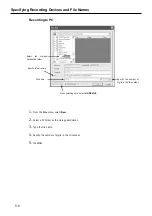
When recording to the media, insert a formatted media before opening (
File
then
New
) the
New
dialog box.
Also ensure that the same media is inserted before recording starts. If no media is inserted, recording cannot
start (the REC button has no effect).
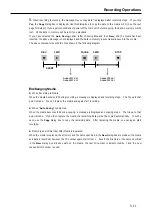
When recording to memory, after recording stops and while the power is still turned on, connect to a PC and
copy the data to the media or PC. If you again record data, reproduce data, or power off the main unit before
copying, the data in memory will be lost.
z
When recording to memory using LX as a stand-alone device, do not select the Auto Saving option (
File
,
New
, and then
Auto Saving
). When recording to memory, the system does not know how much free
space is left on the media, so there is a danger that some data might be lost when saving. Also note that,
even if the
Auto Saving
option is selected, powering off the LX resets this option to the disabled status.
Содержание LX Series
Страница 2: ......
Страница 10: ...Contents viii...
Страница 26: ...Sampling Frequency and Number of Channels 1 16...
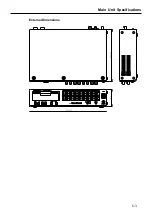
Страница 117: ...Main Unit Specifications 6 3 External Dimensions...
Страница 142: ...Recording Synchronization Specifications 6 28...
Страница 143: ...7 1 Section 7 Appendixes Troubleshooting 7 2 Supplied Accessories and Options 7 3 Supplied Accessories 7 3 Options 7 3...
Страница 146: ...Note 7 4 Note...
Страница 147: ......

