EN
6
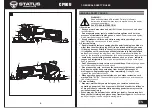
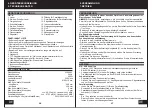
FIG. A
1 . Laser generator
2 . Laser generator switch
3 . Safety lock button for mechanical plunge stop
4 . Cutting depth scale
5 . ON/OFF switch trigger
6 . Lock-off button
7 . Cutting depth setting clamp with lock lever
8 . Clamping screw with plain washer
9 . Saw blade
PACKAGE CONTENT LIST
• Remove all packing materials.
• Remove remaining packaging and transit supports (if existing).
• Check the completeness of the packing content.
• Check the appliance, the power cord, the power plug and all accessories for
transportation damages.
• Keep the packaging materials as long as possible.
1. Tool
2. Manual
3. TCT saw blade: suitable for: softwood, hardwood boards of all types
4. Diamond saw blade: suitable for: ceramic, tile
5. HSS saw blade: suitable for: soft metal, plastic
6. Dust extraction hose
7. Inner hexagon wrench
8. Guide fence
Rated voltage 220-240V
Rated frequency 50 Hz
Rated power 600W
Rotation speed 5500 RPM
Blade size Ø 89x10 mm
Max. cutting depth (soft wood)
- without base 28.5 mm
- with base 23.0 mm
Max. cutting depth (tile) 8 mm
Max. cutting depth (aluminum) 3 mm
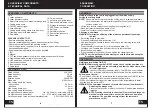
10. Guide fence slot
11. Lock screw for guide fence
12. Removable protective cover
13. Storage for hexagon wrench
14. LED Power-on indicator
15. Soft grip
16. Spindle lock button
17. Dust extraction nozzle
18. Base plate
OVERVIEW COMPONENTS
TECHNICAL DATA
7
EN
6. ASSEMBLY
7. OPERATION
ASSEMBLY
OPERATION
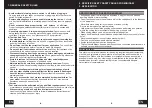
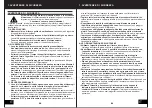
WARNING! Ensure the tool is unplugged from the mains supply.
Setting the cutting depth
NOTE:
If possible we recommend that the cutting depth is set approximately
2 mm deeper than the material thickness. This should help to ensure you
achieve a clean cut.
• Lift the lock lever to release the cutting depth setting clamp (7).
• Move indicator to the desired depth of cut.
• Lower the lock lever to secure depth of cut.
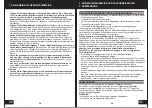
Changing a saw blade
WARNING! Incorrect positioning of the blade can permanently damage
the tool.
• Set cutting depth to maximum.
• Press and hold the spindle lock button (16)
• Use Inner hexagon wrench to loosen and remove the clamping screw with
plain washer (8).
• Press the safety lock button (3) to lift up the base plate (18).
• Lift blade up off spindle then pull from the tool to remove blade.
• Install the new saw blade.
• Press the spindle lock button (16) and tighten the clamping screw .
NOTE: The arrow on the saw blade must agree with the arrow showing the
direction of rotation
Holding and switching ON/OFF
WARNING! Before engage the ON/OFF switch, check that the saw blade is
properly fitted and runs smoothly, and that the blade clamp screw
(8) is well tightened.
• Connect the plug to the power supply. The LED power-on indicator
(14) is illumed until the tool is disconnected from the power mains.
Switching on the tool:
• Push the lock-off button (6) forward with the forefinger, depress ON/OFF switch
trigger (5) firmly inwards and keep it pressed at the same time
• When you release the trigger, the main switch returns automatically to initial
position and the tool turns off.
WARNING! The saw blade continues to rotate after the tool is switched off.
Releasing the plunge stop
Press the rear position of safety lock button (3) downwards and keep
it pressed
NOTE:Pressing the safety lock button (3) unlocks the plunge cut
mechanism at the same time, so that the motor can be moved
downwards. The saw blade emerges from the removable
protective cover (12).
4. OVERVIEW COMPONENTS
5. TECHNICAL DATA
А-weighted sound pressure level L
pA
- 86,33 db(A), uncertainty 3 dB(A)
А-weighted sound power level L
wA
- 97,33 dB(A), uncertainty 3 dB(A)
Vibration emission value ah (wood/metal/concrete) 2,533/2,845/2,639 m/s²


