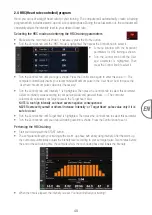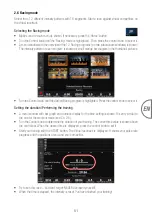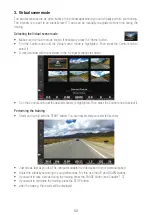
53
EN
4. Media Function
During a training, you can always activate the media function to play audio or video files. The sound will
be audible in the background even when a different visual output appears (e.g., in 'Virtual scene' mode).
• Insert a USB stick with supported audio and/or video files on it into the USB socket on the right side
of
the
Console:
-
Supported
Audio:
MP3
- Supported Video: H.264 decoded MP4 files, MKV files Maximum resolution: 1280 x 768 Pixel
• Press the MEDIA button on the console.
• Turn the Control knob until the desired media type is highlighted (
for Audio or
for Video).
Then press the Control knob to select the media type.
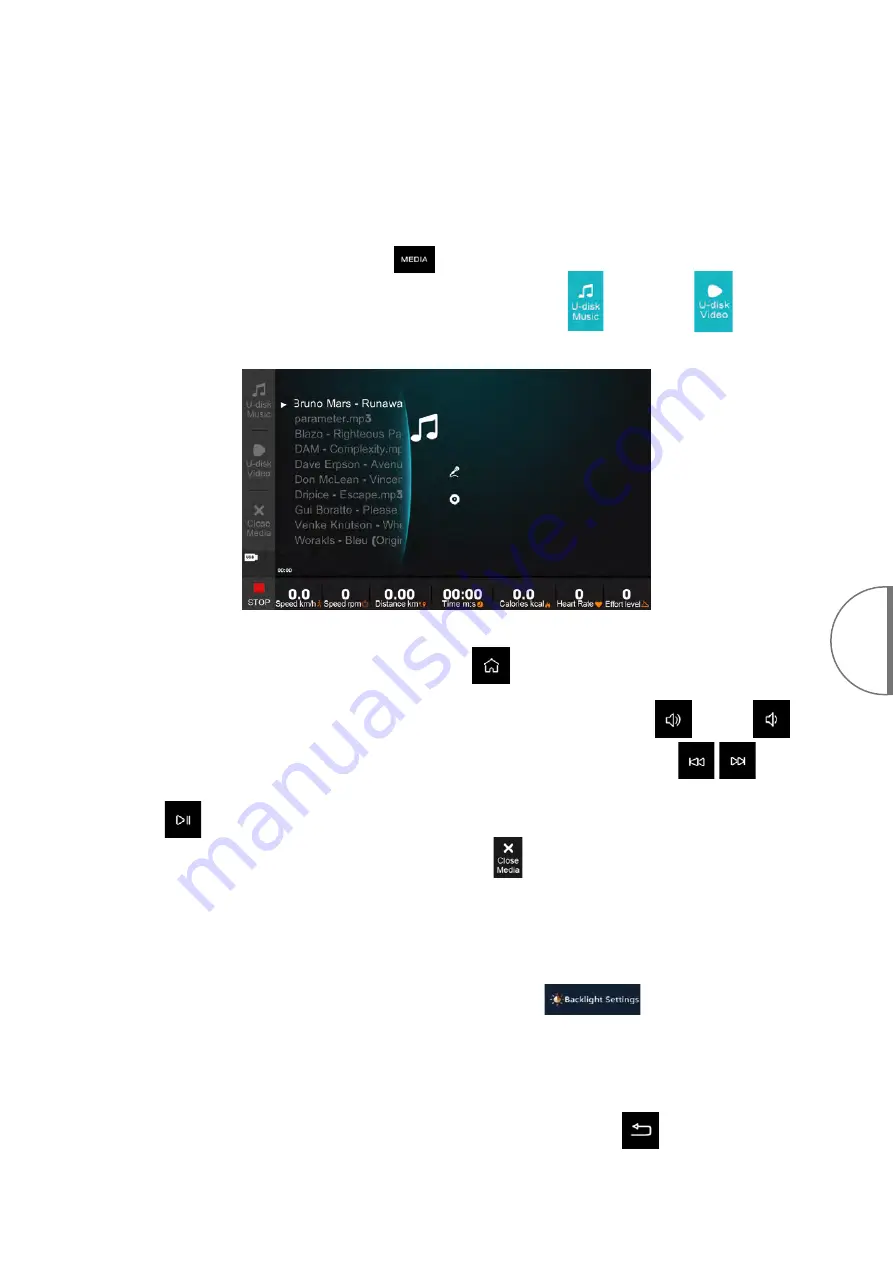
• A list with the available tracks on the USB stick is shown:
• Turn the Control knob to select the desired track. Then press the Control knob to start the track.
• Press the 'Home' button to return to the main menu.
The audio will remain audible while you can
configure and perform your training.
• If necessary, adjust the audio volume with the 'Loudspeaker' buttons. (Louder:
; Lower:
).
• If necessary, jump to the previous or to the next track with the respective buttons.
• If necessary, pause the playing with the 'Play/Pause' button. Resume playing by pressing the same
button.
• To terminate the media function, select 'Close media'.
5. Settings
The 'Backlight Settings' function serves for adjusting the display's brightness.
• Make sure the main menu is shown. If necessary, press the 'Home' button.
• Turn the Control knob until 'Backlight settings' is highlighted.
Then press the Control
knob to select it. A menu window with a bar graph for the brightness setting is shown.
• Turn the Control knob to increase or decrease the brightness. The brightness is shown as percentage
of the maximum on the lower edge of the menu window. When the desired brightness is displayed,
press the control knob to apply it.
• Press the 'Back' button or the 'Home' button to return to the Main menu.
The 'Project Settings' function is only necessary for service purposes.

