Operation Instruction
72
Bookmark:
Selecting
(Go To)
→
Bookmark
adds the current playback point to the bookmark list. See the
following
Bookmarks
section for details.
Display
Local Camera:
Selecting
(Display)
→
Local Camera
and choosing the camera number displays the selected
local camera full screen. It is the same as pressing the individual camera buttons on the front panel or clicking the
left mouse button on a camera image when in one of the multiview formats (i.e., 2x2, 3x2, 3x3, 4x3 or 4x4). Clicking
the left mouse button on the screen again returns to the previous display mode.
Network Camera:
Selecting
(Display)
→
Network Camera
and choosing the camera number displays the
selected network camera full screen. It is the same as pressing the individual camera buttons on the front panel or
clicking the left mouse button on a camera image when in one of the multiview formats (i.e., 2x2, 3x2, 3x3, 4x3 or
4x4). Clicking the left mouse button on the screen again returns to the previous display mode.
NOTE: “Network Camera” includes both network cameras and network video transmitters.
Screen Format:
Selecting
(Display)
→
Screen Format
and choosing the screen mode displays
the cameras in
the selected multiview screen mode (2x2, 3x2, 3x3, 4x3 or 4x4). Selecting
Screen Format
while in 4x4 display
format for local cameras enters the display mode for network devices, and selecting
Screen Format
while in 4x4
display format for network devices enters the display mode for local cameras. Selecting each display mode is the
same as pressing the
MODE
button or scrolling the mouse wheel up and down when in one of the multiview formats.
Previous Group, Next Group:
Selecting
(Display)
→
Previous Group
or
Next Group
moves to the previous
or next page. Selecting
Next Group
while in 4x4 display format for local cameras moves to 4x4 display format for
network devices, and selecting
Previous Group
while in 4x4 display format for network devices moves to 4x4 display
format for local cameras.
Edit Group:
Selecting
(Display)
→
Edit Group
enters to the Active Cameo mode. Refer to the previous
Live
Monitoring
–
Active Cameo Mode
section for details.
Camera OSD, Status OSD:
Selecting
(Display)
→
Camera OSD
or
Status OSD
toggles Camera OSD or
Status OSD On and Off.
Alarm
Selecting
(Alarm) in the Search menu resets the DVR’s outputs including the internal buzzer during an alarm. It
is the same as pressing the
ALARM
button.
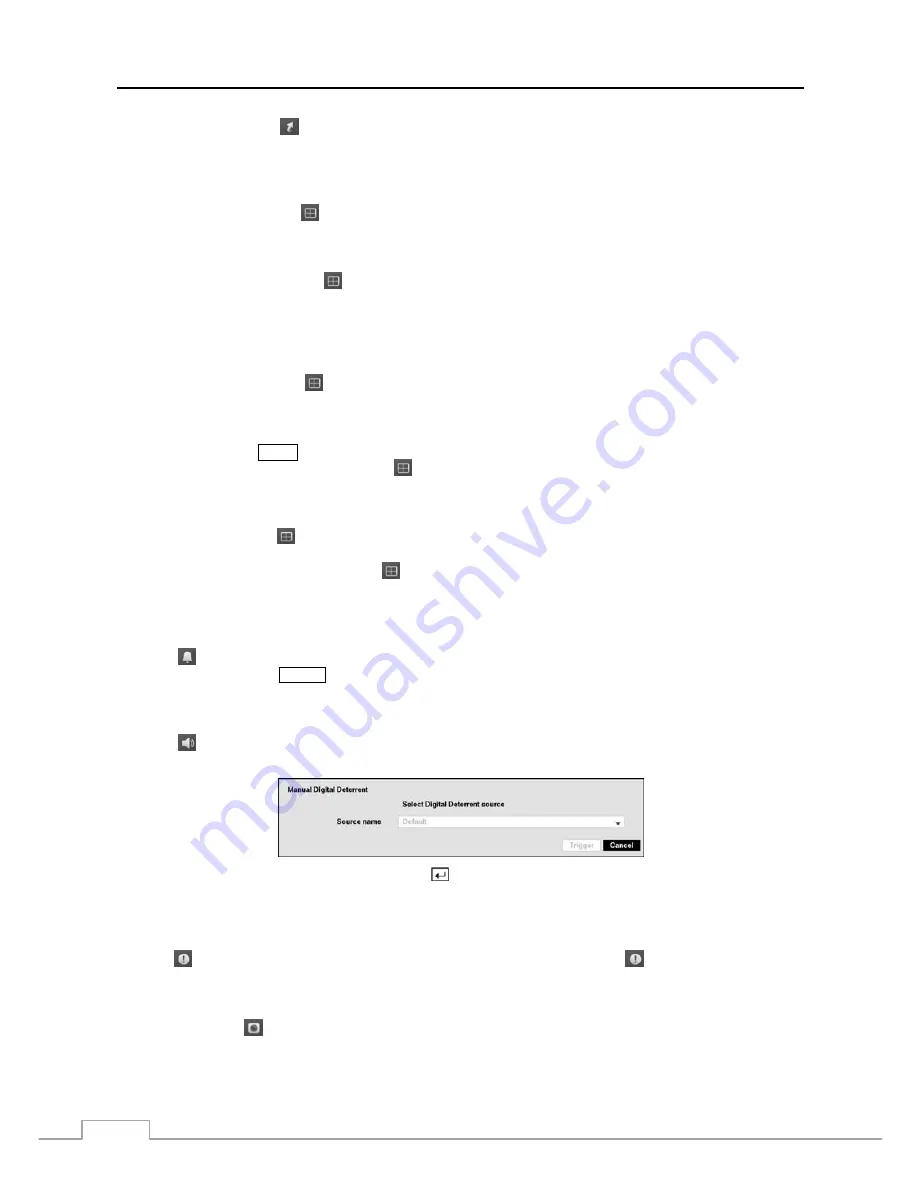
Digital Deterrent
Selecting
(Digital Deterrent) in the Search menu displays the following setup screen and allows the DVR to play
manually.
Highlight the box beside
Source name
and press the button to select the source file to play. Highlighting
Trigger
plays the selected file as the digital deterrent.
Panic
Selecting
(Panic) in the Search menu starts panic recording of all cameras, and selecting
again stops panic recording.
Camera Menu
Zoom:
Selecting
(Camera Menu)
→
Zoom
and choosing the camera number zooms the current playback image
of the selected camera on the screen.
NOTE: Entering the zoom mode is NOT supported while in the SD display mode.
Содержание D24GS
Страница 1: ......
Страница 2: ......
Страница 10: ...Operation Instruction viii ...
Страница 18: ...Operation Instruction 8 ...
Страница 94: ...Operation Instruction 84 ...
Страница 105: ...Digital Video Recorder 95 Map of Screens ...


