Digital Video Recorder
65
Alarm
Selecting
(Alarm) in the Live Monitoring menu resets the DVR’s outputs including the internal buzzer during an
alarm. It is the same as pressing the
ALARM
button.
Digital Deterrent
Selecting
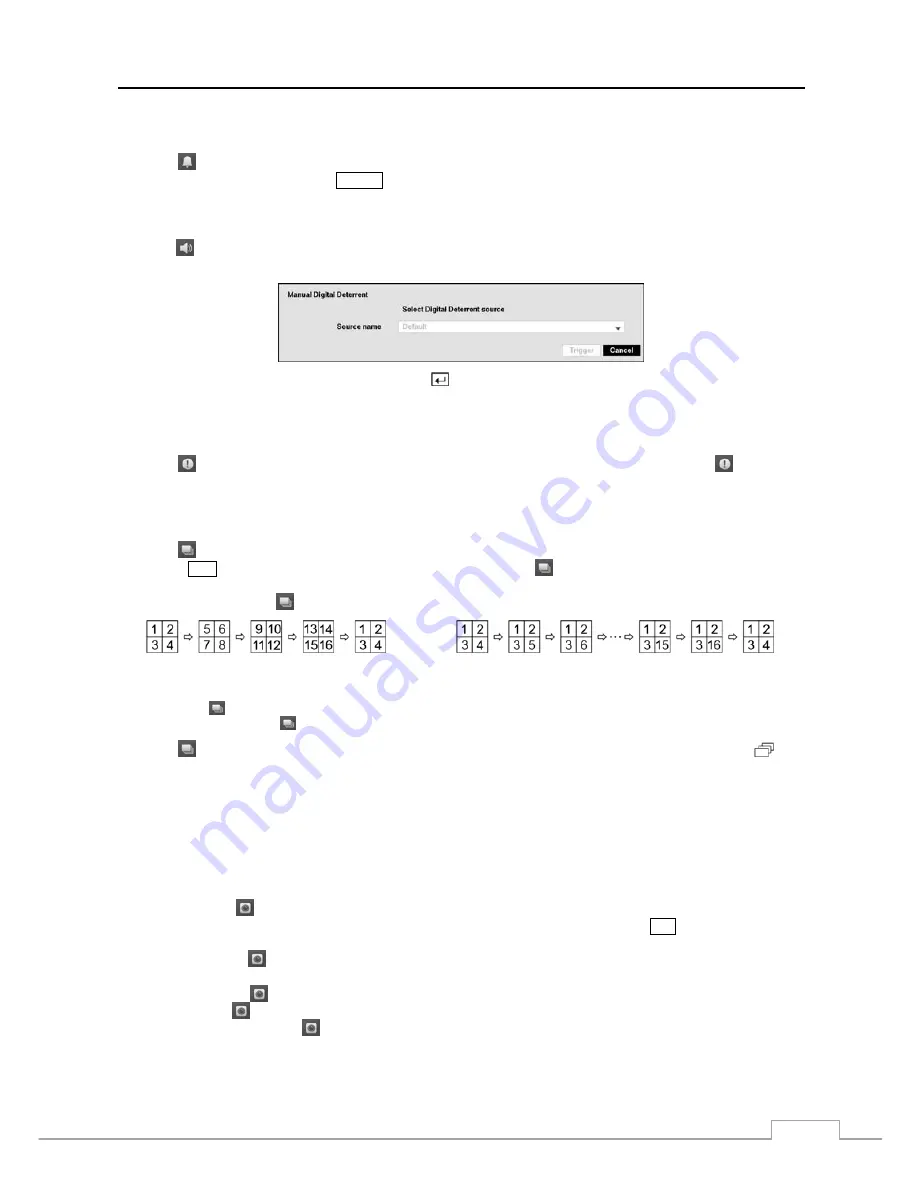
(Digital Deterrent) in the Live Monitoring menu displays the following setup screen and allows the DVR
to play manually.
Highlight the box beside
Source name
and press the button to select the source file to play. Highlighting
Trigger
plays the selected file as the digital deterrent.
Panic
Selecting
(Panic) in the Live Monitoring menu starts panic recording of all cameras, and selecting
again stops
panic recording.
Sequence
Selecting
(Sequence) in the Live Monitoring menu causes the cameras to display sequentially. It is the same as
pressing the
SEQ
button. When in one of the multi-view formats, selecting
will cause the DVR to go through predefined
screen layouts (Full Sequence). Or, the bottom, right screen will display live cameras sequentially (Cameo Sequence).
For example, if you select
in the 2x2 format, the DVR changes pages as follows:
< Full Sequence >
< Cameo Sequence >
NOTE: The sequence display mode between Local Camera and Network Camera repeats. For example, if you
select in the 2x2 format when displaying local cameras 13 to 16 the next screen will be network cameras 1
to 4, and selecting when displaying network cameras 13 to 16 the next screen will be local cameras 1 to 4.
Selecting
again in the Live Monitoring menu exits the Sequence mode. While in the Sequence mode, the
icon
displays in bottom-left corner if Sequence is selected in the Display setup screen (OSD tab). If all the cameras in a
page are Off, or have lost video or are set to Covert (unless the user has authority to view covert cameras), that page
will be excluded from the sequence.
NOTE: The
Full Sequence
for the full sequence monitoring and the
Cameo Sequence
for the cameo sequence
monitoring should be selected in the Display setup screen (Primary Monitor tab).
Camera Menu
PTZ:
Selecting
(Camera Menu)
→
PTZ
and choosing the camera number allows you to control the selected
camera as long as it has Pan, Tilt and Zoom capabilities. It is the same as pressing the
PTZ
button. Refer to the
following
PTZ Mode
section for details.
Zoom:
Selecting
(Camera Menu)
→
Zoom
and choosing the camera number zooms the current image of the
selected camera on the screen. Refer to the following
Zoom Mode
section for details.
Audio:
Selecting
(Camera Menu)
→
Audio
toggles audio output On and Off.
Mic:
Selecting
(Camera Menu)
→
Mic
toggles the DVR’s audio that is sent to the network device On and Off.
Color Control:
Selecting
(Camera Menu)
→
Color Control
and choosing the camera number allows you to
control brightness, contrast, hue and saturation for each camera for the selected camera if a user who has
Color Control
authority logs into the system. It is the same as pressing and holding a camera button for a few seconds.
Содержание D24GS
Страница 1: ......
Страница 2: ......
Страница 10: ...Operation Instruction viii ...
Страница 18: ...Operation Instruction 8 ...
Страница 94: ...Operation Instruction 84 ...
Страница 105: ...Digital Video Recorder 95 Map of Screens ...


