TRAK Machine Tools
Southwestern Industries, Inc.
The ProtoTRAK DXF Converter Operating Manual
10
.
Allows the conversion of any connecting lines and arcs into a Pocket event.
When selecting a pocket event, the first two lines clicked determine the direction of
the Pocket (Clockwise or Counterclockwise). Pocket segment geometry must be
connected to each other and must be closed
–
it needs to end where it began.
Tap.
Allows the conversion of any circle into a Tap event.
3.6.2 Functions in the Status Line
Zoom In.
Click on this button to zoom in on the view of the
drawing. Zooms in by 25%
of the drawing’s current size
each
time the button is clicked.
Zoom Out.
Click on this button to zoom out on the view of the drawing. Zooms out by
25%
of the drawing’s current size each time the button is clicked.
Fit.
Returns the drawing to its original view.
Undo.
The undo feature is active in this screen. Clicking this will undo one
step for each time it is clicked while still in the same event group (event
groups are described in section 3.6.3 below). The Undo button will only
work on the current event type. For example, if you are selecting a group of
drill events, you can undo as many drill events while the drill event is still active. Once
you leave the event, you cannot undo the selections you made under the event.
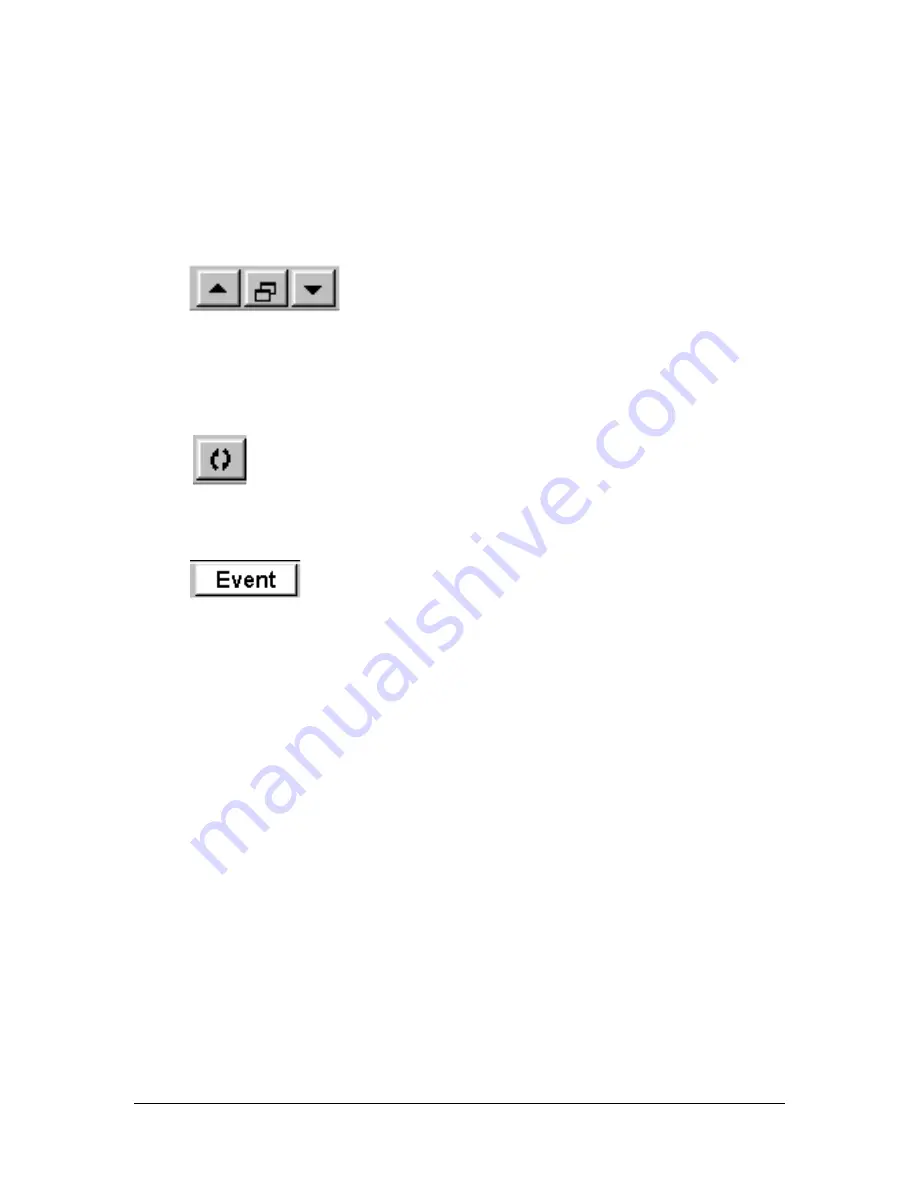
Event Data.
Clicking on the Event button will change the screen to
show all the prompts for the event. This is where
you complete the programming of the event by adding data
like RPM, Feed Rate, Tool Number and Z-axis dimensions that are not available from the
CAD drawing. When you pick your event and geometry, click the Event key to fill in the rest
of the data needed.
3.6.3 Event Groups
You create event groups out of items on the drawing that you want to machine the same
way. Click on an event and then click all the similar pieces of geometry. When you press
the Event key, the DXF Converter will automatically fill in the data in all the events in the
event group by using the data you enter in the first event of an event group.
For example, say you have 5 holes to drill that are all the same size. To program these,
select Drill and click on each of the five circles on the drawing that represent the drill
locations. By doing this, you have created an event group made up of these five drill
events. Now click on the Event button. The screen will change to show the prompts for
the first event of this event group. When you fill in the blank prompts (the X and Y data
is already there for you), the data you fill in will automatically be inserted into the other
four events in the event group.
You can tell you are selecting items for the same event group by the color. When each
item is selected, it turns purple.
If you want to separate event groups, simply select a different event between them. The
other way to signal that you have finished selecting items for the event group is to click
on the Event button. When you do either of these things, the items will go from purple to
blue, showing that you are no longer picking items for the event group.


