Using a wireless mouse
[HID]
This section describes how to connect a Bluetooth
TM
wireless technology-compatible mouse to a PC.
Setting up the wireless mouse
Procedure
1.
Turn on the wireless mouse, and set it to be connectable
Please refer to the instruction manual for details on how to operate the mouse.
Note
o
If the security mode on your PC has been set to "Enable Link-Level Security," then any mouse not ordinarily requiring a passkey
will require one. If your mouse's user guide does not contain any passkey-related information, please consult the outlet where
you purchased your mouse or the relevant support center.
2.
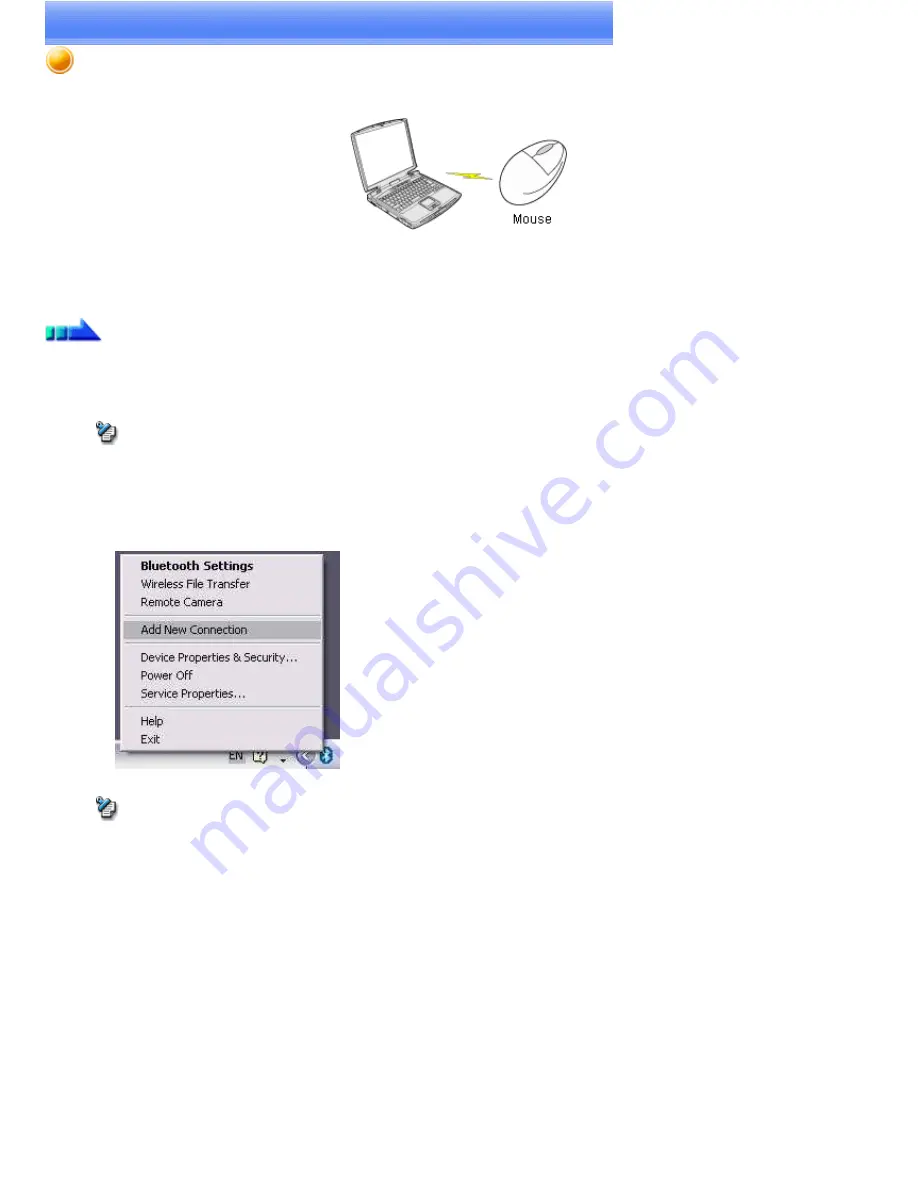
Right-click on the Bluetooth
TM
wireless technology icon in the task tray, and then click on [Add New Connection]
Note
o
Alternatively, click [Start]→[All Programs]→[Bluetooth]→[Bluetooth Settings], and then click on [New Connection] from the
active [Bluetooth Settings] window.
The [Add New Connection Wizard (Welcome to the Add New Connection Wizard)] window will appear.
3.
Confirm that [Express Mode] has been selected, and then click on the [Next] button
Page 265
Содержание VGN-BX563B - VAIO - Pentium M 1.73 GHz
Страница 10: ...Relatedtopics Exchanging files with PCs and PDAs Page 10 ...
Страница 54: ...Click on the Yes button in the disconnection confirmation dialog boxthat appears Page 54 ...
Страница 67: ...Page 67 ...
Страница 81: ...An image of the received faxwill be displayed Related topic Sending a fax Page 81 ...
Страница 95: ...An image of the received faxwill be displayed Related topic Sending a fax Page 95 ...
Страница 112: ...Page 112 ...
Страница 139: ...Please click on the OK button to close the message and repeat the procedure Page 139 ...
Страница 157: ...Page 157 ...
Страница 197: ...An image of the received faxwill be displayed Related topic Sending a fax Page 197 ...
Страница 218: ...An image of the received faxwill be displayed Related topic Sending a fax Page 218 ...
Страница 223: ...Please click on the OK button to close the message and repeat the procedure Page 223 ...
Страница 231: ...Click on the Yes button in the disconnection confirmation dialog boxthat appears Page 231 ...
Страница 254: ...Page 254 ...
Страница 294: ...Page 294 ...
Страница 301: ...Page 301 ...
Страница 327: ...Page 327 ...
Страница 361: ...Page 361 ...
Страница 366: ...The mouse will be connected Page 366 ...
Страница 370: ...The new icon will appear Page 370 ...
Страница 372: ...Page 372 ...
Страница 378: ...Page 378 ...
Страница 404: ...Page 404 ...
Страница 427: ...Click on the Yes button in the disconnection confirmation dialog boxthat appears Page 427 ...
Страница 440: ...Page 440 ...
Страница 454: ...An image of the received faxwill be displayed Related topic Sending a fax Page 454 ...
Страница 468: ...An image of the received faxwill be displayed Related topic Sending a fax Page 468 ...
Страница 485: ...Page 485 ...
Страница 512: ...Please click on the OK button to close the message and repeat the procedure Page 512 ...
Страница 530: ...Page 530 ...
Страница 570: ...An image of the received faxwill be displayed Related topic Sending a fax Page 570 ...
Страница 591: ...An image of the received faxwill be displayed Related topic Sending a fax Page 591 ...
Страница 596: ...Please click on the OK button to close the message and repeat the procedure Page 596 ...
Страница 604: ...Click on the Yes button in the disconnection confirmation dialog boxthat appears Page 604 ...
Страница 627: ...Page 627 ...
Страница 667: ...Page 667 ...
Страница 674: ...Page 674 ...
Страница 700: ...Page 700 ...
Страница 738: ...Page 738 ...


