44
2
Use the
or
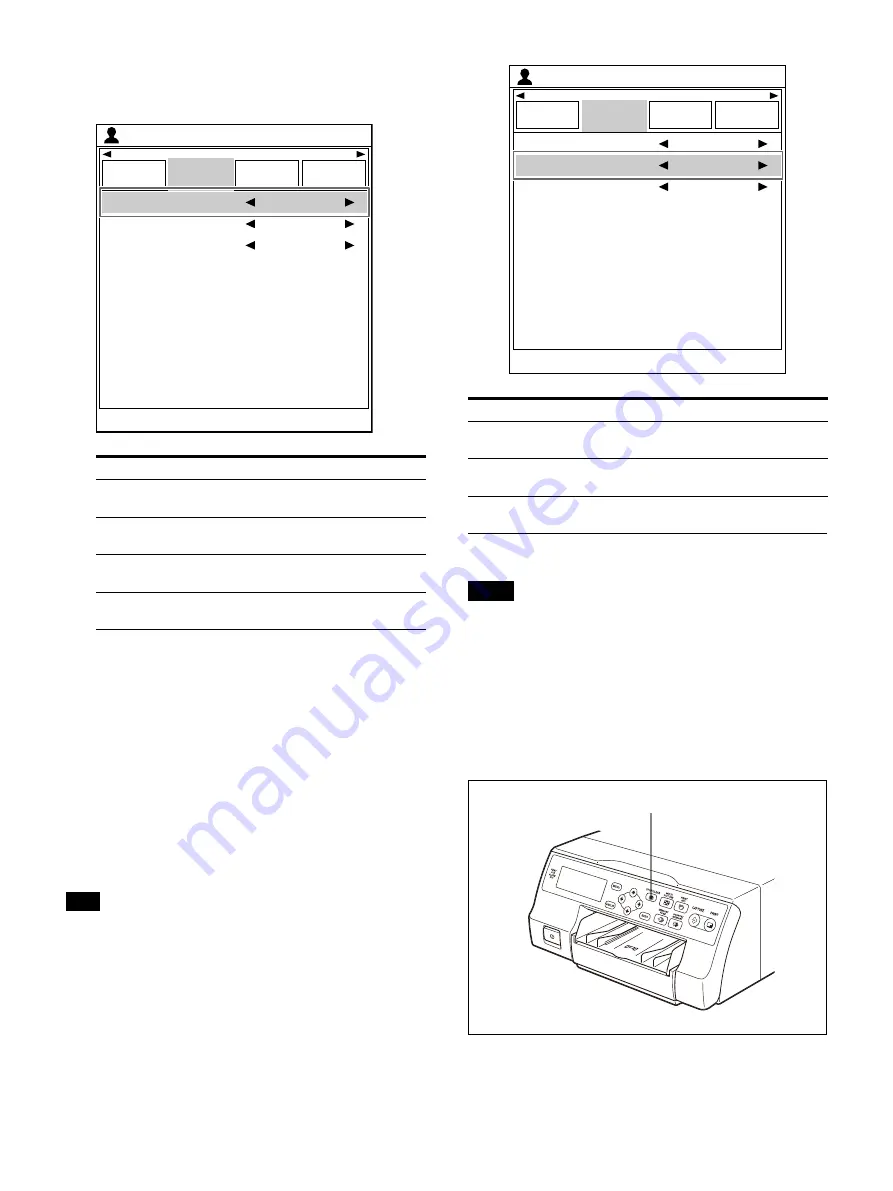
button to select [Clear Button],
then the
or
button to select the STOP/
CLEAR button function.
3
Press the MENU button.
The [User Setup] screen is closed.
After you set the function of the STOP/CLEAR
button, it remains the same until it is
changed.
To fill in gaps between images captured in
memory
When [Selected Part] is set, and a reduced image
with a pointer is deleted from memory, you can fill
in the gaps caused by deleting reduced images
from memory.
Tip
Gaps between images captured in memory are
filled in for the selected reduced images. This has
no effect on other memory pages.
In the [Function Setup] tab of the [User Setup]
screen, select [Clear Function], then use the
or
button to set whether or not to fill in gaps
between images captured in memory.
Deleting images stored in memory
Note
You cannot restore images once they have been
deleted.
To delete images in all memory pages
Check
Using [Clear Button] in the [Function Setup] tab of
the [User Setup] menu, set the STOP/CLEAR
button function to [All Images].
Press the STOP/CLEAR button.
All images captured in the printer are cleared.
Option
Description
All Images
(default value)
Deletes images in all memory
pages simultaneously.
Selected Page
Deletes images of a single
memory page.
Selected Part
Deletes only the reduced image
at the location of the pointer.
Off
Inactivates the CLEAR button
function.
End : MENU
Load
User Setup
Clear Button
User Setup
Function
Setup
Output
Setup
Print Setup
Clear Function
Auto Live
All Images
Normal
2ı
Option
Description
Normal (default
value)
Does not fill in gaps between
images captured in memory.
Advance Image
Fills in gaps between images
captured in memory.
End : MENU
Load
User Setup
Clear Button
User Setup
Function
Setup
Output
Setup
Print Setup
Clear Function
Auto Live
All Images
Normal
2ı
STOP/CLEAR button
Содержание UP-27MD
Страница 90: ......


