December 2020
|
Solar Stik
®
, Inc.
60
|
System Setup and Operation Manual for the Solar Stik G-BOSS E Light HPS
PRELIMINARY
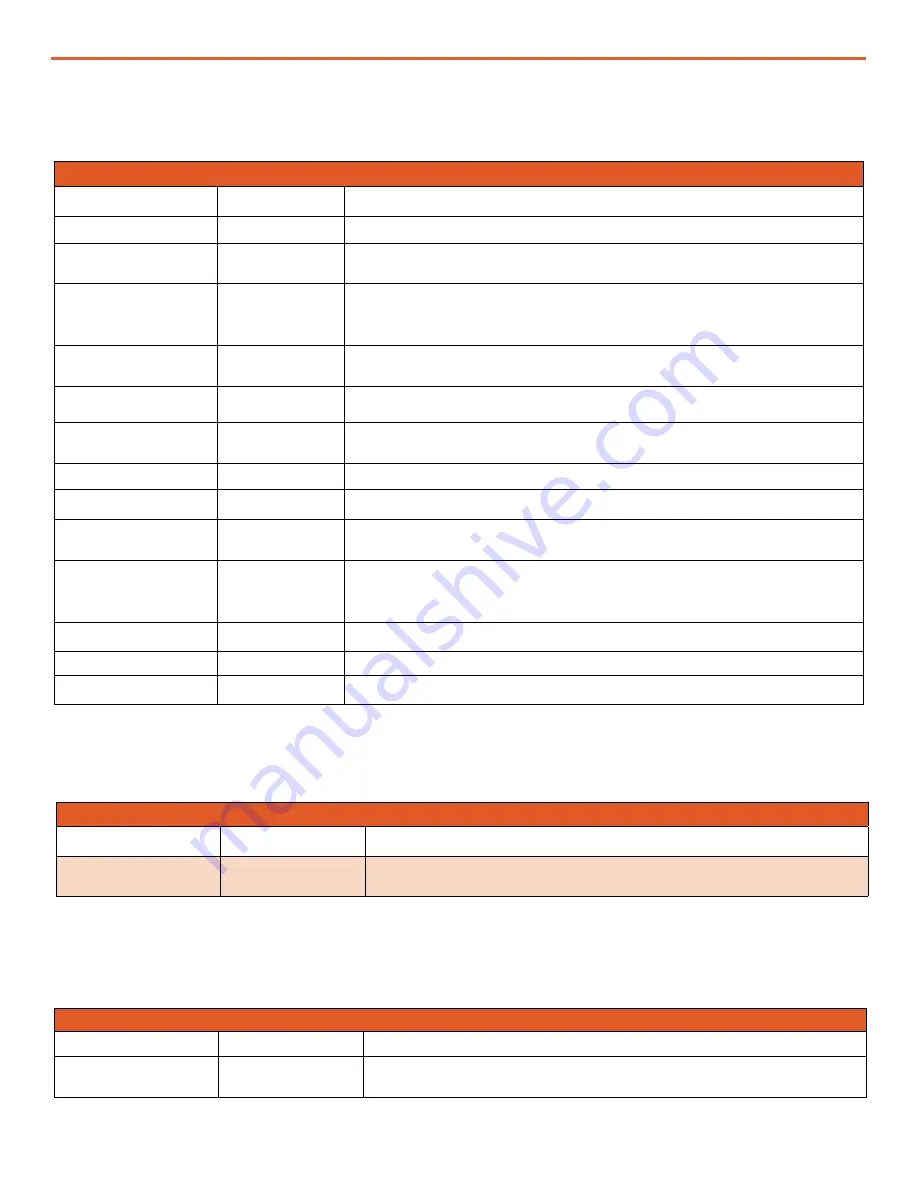
GROUP 5: OTHER FUNCTIONS
Group
Setting Value
Description
POWER SAVING
0 = Disable
Enable or disable Power Saving mode when in Inverting mode.
ENTER POINT
6 W
If the value of power drawn by AC load falls to the Enter Point value for 5
sec, the unit will enter Power Save mode.
WAKE UP POINT
7 W
If the unit is in Power Save mode and the value of the AC power of the load
rises to Wake Up Point, the unit will quit Power Save mode and will start
operating in full voltage Inverting mode.
REMOTE SWITCH
0 = Button
This selection is used when On/Off control of PRO-Verter is desired through
external 12 VDC signal. Contact Solar Stik Technical Support.
RELAY FUNCTION
2 = Generator
Ties battery voltage-related settings to generator autostart/stop.
COMM ID
(ID for user interface)
1
Communication ID: This sets the ID number for the Comm port and user
interface.
BUZZER
OFF
Set the buzzer On/Off.
DISCHARGE BEEP
0 = NO
To select the buzzer On/Off while in Inverting mode.
DEFAULT RESET
0 = NO
This is to reset all of the parameters to the factory values. The factory
values are not the program values set by Solar Stik.
DATA LOG TIME
2 = 10 sec
A real time clock inside the user interface records timing. The time interval
between recordings is programmable. Events and Errors are recorded as
soon as they are sensed.
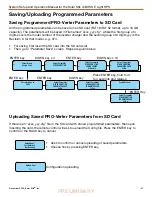
PARAMETER SAVE
0 = NO
Save all parameters/program settings to SD card.
TEMP UNIT
1 = deg F
Temperature display can be selected in °C or °F.
PASSWORD DISABLE
1 = Yes
The default password (
8052
). Password may be disabled.
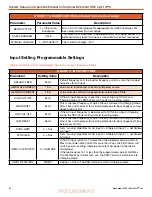
Other Functions Programmable Settings
Table 9. Power Saving/Alarm/Remote Switch/Multi-function Relay/etc.
GROUP 6: TIME SETTING
Group
Setting Value
Description
TIME SETTING
Local Current Time
24-hour clock set to local time for accurate time stamps on logged
events. Password not required.
PRO-Verter Clock Time Setting
Table 10. Local Time Clock Setting
GROUP 7: STOP SD CARD
Group
Setting Value
Description
STOP SD CARD
1 = YES to remove
Remove/eject SD card only after the operation of the card has been
stopped.
Stop SD Card Command
Shown only when SD Card is inserted. To stop SD Card accessed and to remove the SD Card.
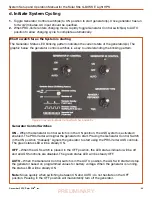
Table 11. Instructions to Remove SD Card from PRO-Verter User Interface


