1
3
# S U C T I O N F A N L E V E L
> 0 1 : L O W
Press the
key.
4
# S U C T I O N F A N L E V E L
[
0 1 : L O W
×2
Press the
key twice.
5
# S U C T I O N F A N L E V E L
[
0 1 : H I G H
Press the
key.
# S U C T I O N F A N L E V E L
> 0 1 : H I G H
Print on a thick media
■
Change the print head height
The Printer automatically sets the print head height to the best position when the Printer is turned on or when
a media is loaded on the Printer. However, you may need to adjust the position finely as the media rigidity and
temperature response are relevant.
To adjust the print head height depending on the loaded media, select MEDIA REG MENU on the operation panel
and adjust the print head height.
CAUTION
- Adjust the print head height carefully to avoid the print head touching the media. The print head scratched by media
causes the poor ink ejection and degrades the print quality.
On the other hand, a too high print head position also degrades the print quality.
You are recommended to operate the Printer with the print head height automatically set by the Printer.
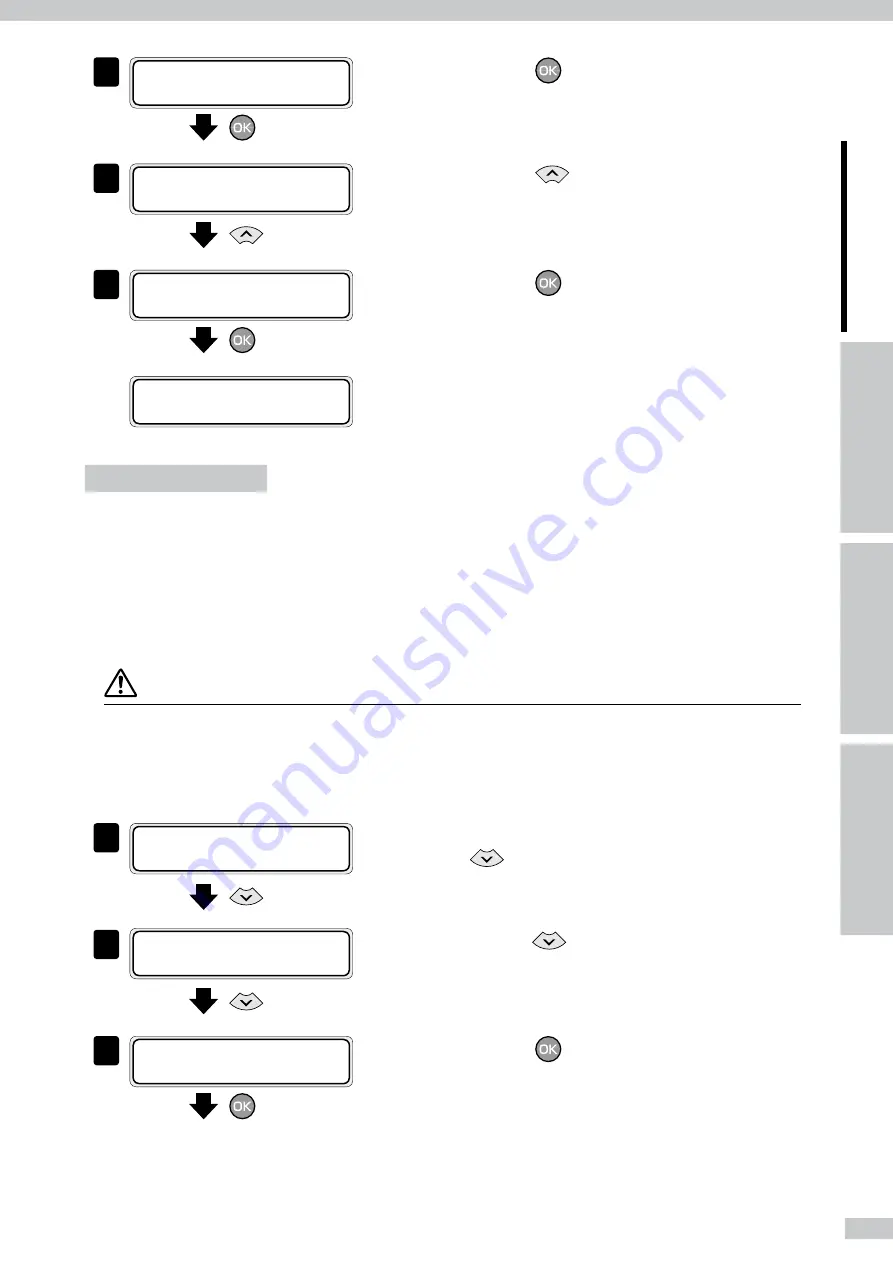
1
á
I N K
M E D I A R E G
â
ß
M E D I A
M . A D V
à
Set the Printer to offline state and press the
key.
2
# S E L E C T M E D I A
> 0 1 : P A P E R
[
• • •
With the
key, scroll to
[#PH HEIGHT VAL]
.
3
# P H H E I G H T V A L
> 0 1 : + 0 . 0 m m
Press the
key.


