Chapter
2
Reference Manual
IVC-2D
16
©
SICK AG • Advanced Industrial Sensors • www.sick.com • All rights reserved
Getting Started
2.3
Adding Program Steps
Now we are ready to start writing our program for inspecting the label on the bottles.
Start by adding the first program step to the program, which should grab an image from
the camera:
1.
Click on the name of your program in the left pane in the main window.
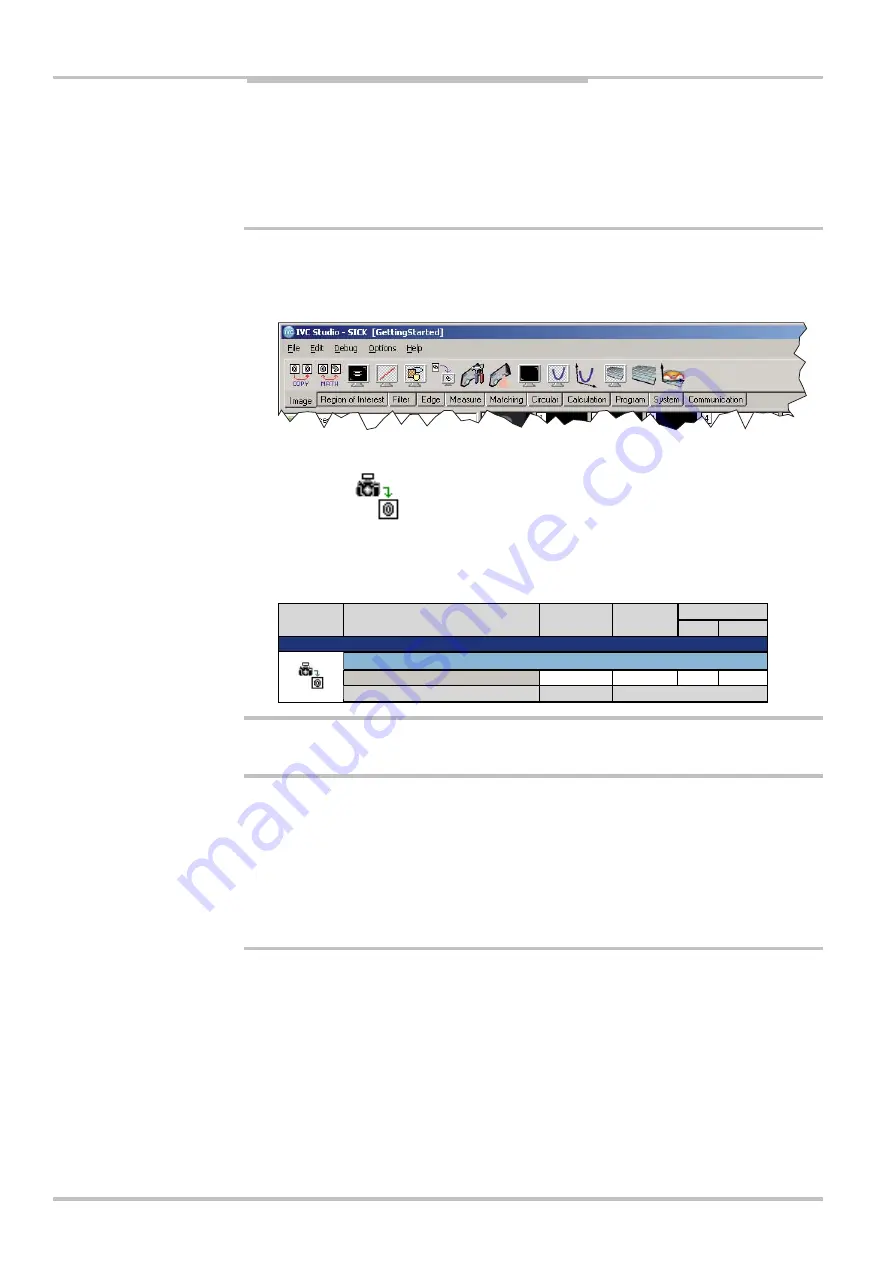
A toolbar is displayed at the top of the window, which contains a number of tools that
can be used with the device. Below the toolbar there is a row of tabs, which are used
for switching between different categories.
2.
Click the
Grab
tool in the
Image
category on the toolbar to add the first step to the
program.
The Grab tool is added to the program’s folder in the left pane, and the Image Banks,
Program List and Previews are displayed in the right pane.
3.
Double-click the blue field at the top of the program step, and type a description for
the step, for example “Retrieve an image”.
Retrieve an image
0 - Grab
Time of execution (µs)
0
01 - Destination bank
0
------
------
------
Description
Value
Table
Previous result
Step
Result
The command is now added to our program, but in order to see the effect of the com-
mand, it has to be executed by the camera.
4.
Click the
Grab
step in the program list to select the step.
5.
Press F1 to open up the Reference manual for the
Grab
step.
6.
Close the manual again and remember to use the F1 button whenever you want to
learn more about a tool.
7.
Choose
Debug
Æ
Execute Step
from the IVC Studio menu, or press the F5 key on the
keyboard.
An image is now retrieved from the camera and stored in image bank 0.


