SETTINGS AND PROGRAMMING REQUIRED FOR THE NETWORK SCANNER FEATURE
1-7
BASIC SETTINGS FOR NETWORK SCANNING
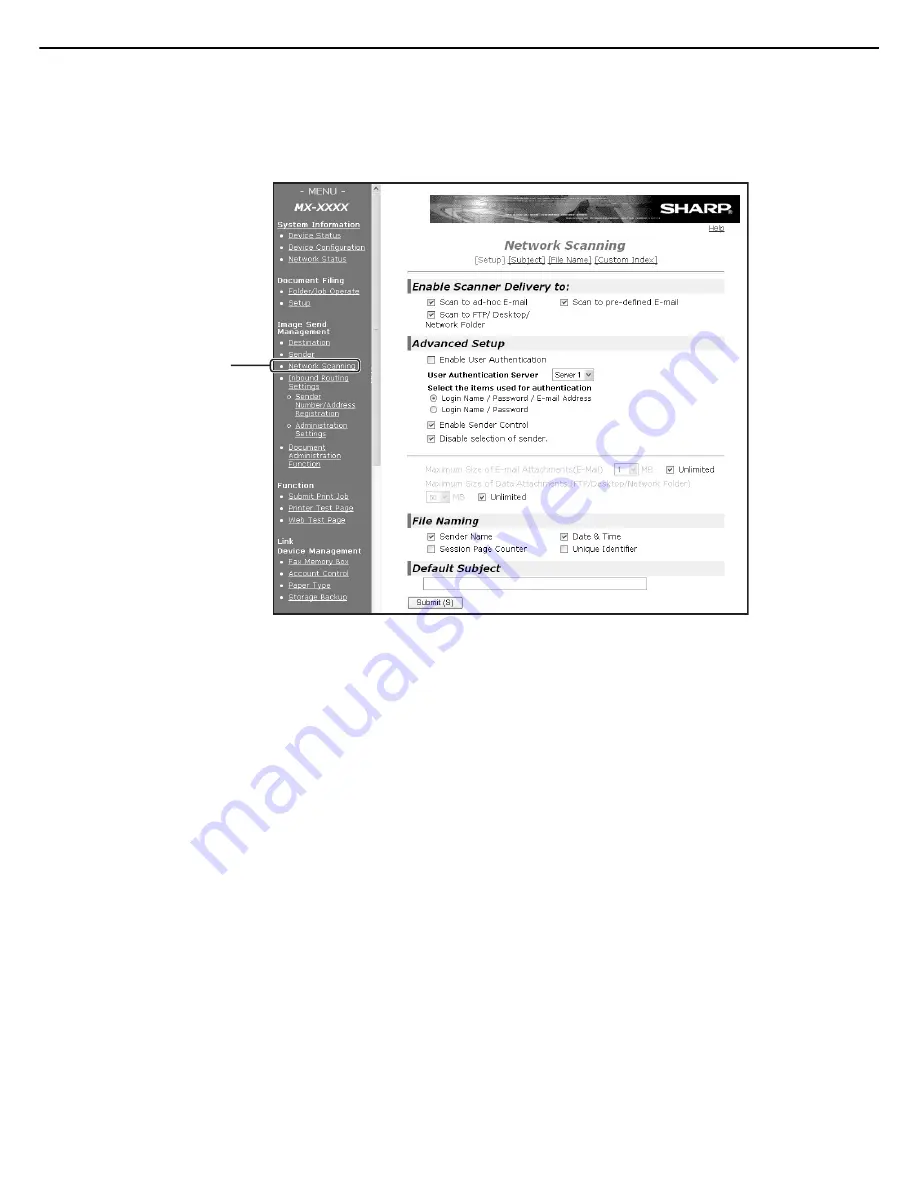
Click "Network Scanning" in the menu frame, and then establish the required settings. After entering the settings, be
sure to click "Submit" to store them. For detailed information on setting procedures, refer to "General" under "Help".
Network Scanning Setup screen
■
Network scanning setup screen
This screen is displayed when you click "Network Scanning."
On this screen, set the scanning features to be used ("Enable Scanner Delivery to:"), the advanced functions
("Advanced Setup"), the upper limit of the file size of the image to be transmitted ("Maximum Size of Data
Attachments"), the default file name ("File Naming"), and the default E-mail subject ("Default Subject"). If you
use the factory default settings, you need not make settings on this screen.
■
Subject screen
This screen is displayed when you click "Subject" in the network scanning setup screen.
Click "Add" to enter e-mail subjects. You can also edit or delete a subject. When you transmit a scanned image
by e-mail, you can select a subject from those previously registered on this screen.
■
File name screen
This screen is displayed when you click "File Name" in the network scanning setup screen.
Click "Add" to enter file names of images to be transmitted. You can also edit or delete a file name. When you
transmit a scanned image by e-mail, you can select a file name from those previously registered on this screen.
Click here.


