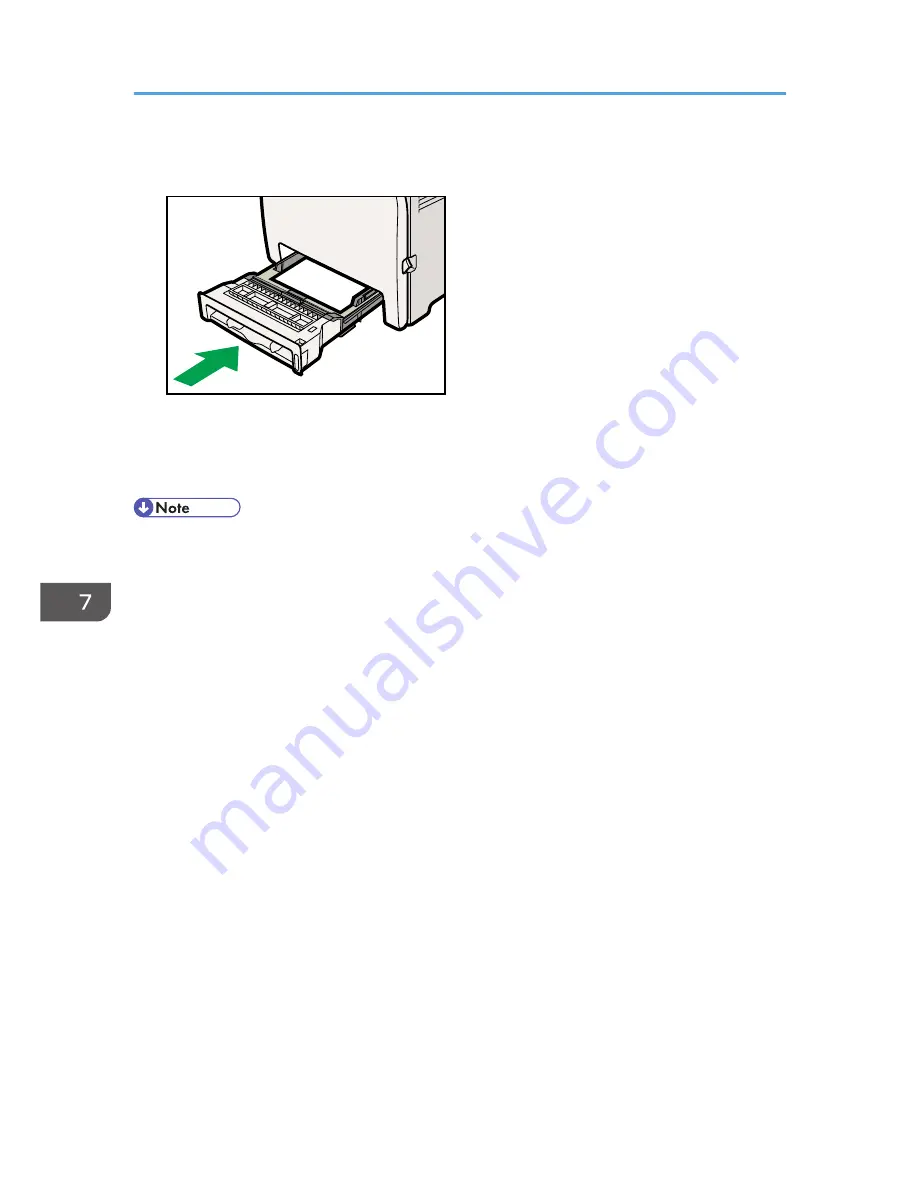
7.
Reload the removed paper into the tray, and then push the tray carefully into the printer
until it clicks into place.
CER035
8.
Insert the plug of the power cord into the wall socket securely. Connect all the interface
cables that were removed.
9.
Turn on the power switch.
• If jams or multi-sheet feeds occur after cleaning the friction pad, contact your sales or service
representative.
• If the optional tray 2 is installed, clean its friction pad and paper feed roller in the same way as you
did for tray 1.
7. Cleaning the Printer
112
Содержание DX-C200P Operation
Страница 39: ...2 Green comes on when the printer is properly connected to the network Network Connection 37 ...
Страница 42: ...3 Connecting the Printer 40 ...
Страница 94: ...5 Paper and Other Media 92 ...
Страница 146: ...9 Removing Misfed Paper 144 ...
Страница 160: ...10 Appendix 158 ...
Страница 163: ...W WARNING labels 6 Waste toner bottle 99 151 When printer does not print 122 Where to put the printer 17 161 ...
Страница 164: ...MEMO 162 ...
Страница 165: ...MEMO 163 ...
Страница 166: ...MEMO 164 M1007700 ...
Страница 167: ... 2012 ...
Страница 168: ...Operating Instructions Hardware Guide M100 7700 DX C200P ...


