MT SBC 01
59
MT SBC 01
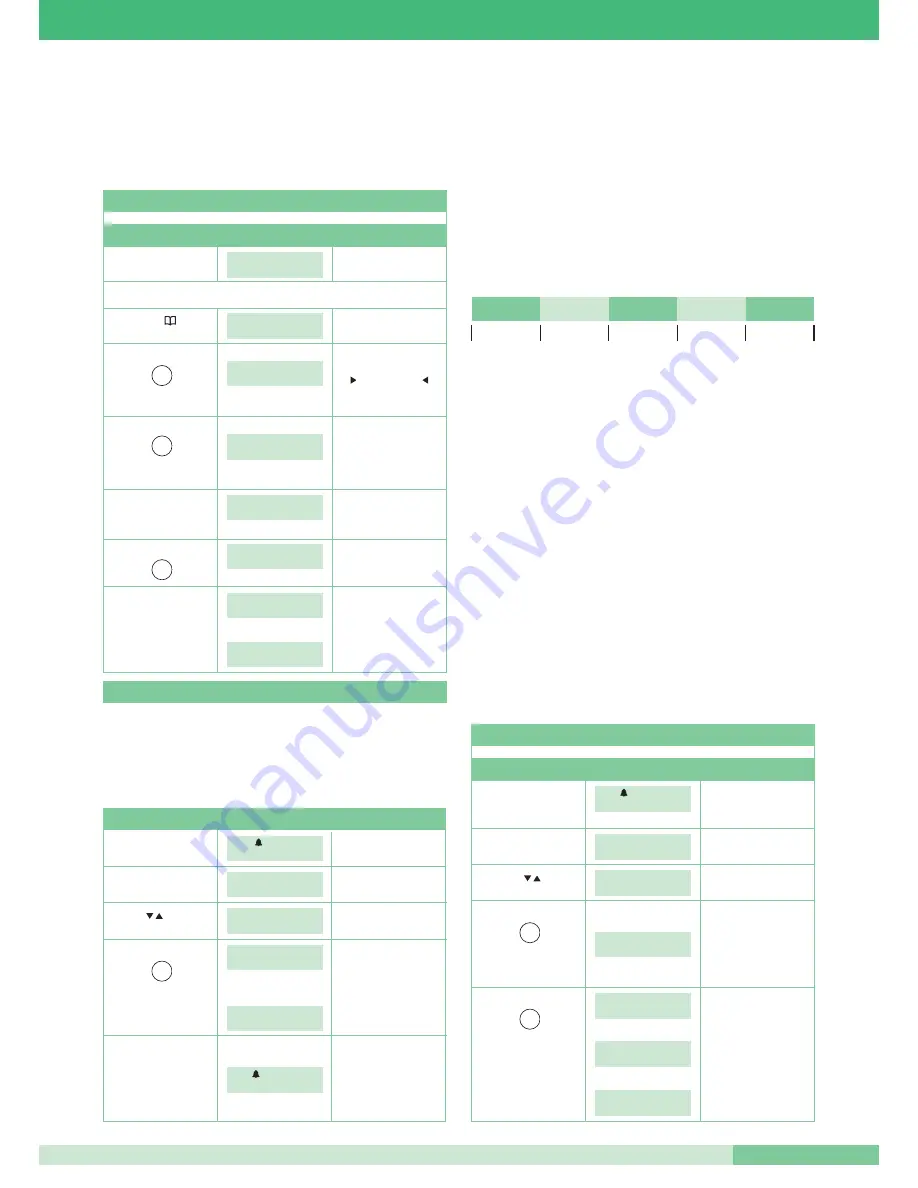
• PERSONAL DIRECTORY
The system has a personal directory which can hold up to 400 names with a
maximum of 16 alphanumeric characters each. A code corresponding to the
required internal extension must be associated with each name.
You can enter names in the directory either manually or by downloading a
database from a PC using Art. 1249/A.
OPERATION
DISPLAY
DESCRIPTION
MANUAL ENTRY
Starting condition:
A
NIGHT 21:40
stand-by.
WED 12/03/07
EXAMPLE
: you want to memorise the name AB with code 001
Press
ENTER NAME:
_
Press
CANC to cancel
ENTER NAME:
a character
A_
to insert a space
until the
to return to the previous
desired letter is displayed.
character
Press the key
ENTER NAME:
AB_
until the
desired letter is displayed.
Press OK
ENTER
to confirm
CODE
entry of the name.
Press ENTER
CODE:001
Press OK
STORING
to confirm entry
IN MEMORY…
of the code.
Followed by:
You can now enter
a new name.
ENTER NAME:
Press ESC to exit.
_
2
ABC
2
ABC
1
You can enter names in the directory by downloading them from a PC using
Art.1249/A. To perform this operation, activate the download function from the menu,
connect the switchboard to the PC via the relevant serial cable, and start the
download software.
CAUTION: it is important to activate the function only when you want to download
the names from a PC. To disable it, the switchboard must be turned off by means
of the ON/OFF key.
ENTRY BY MEANS OF A PC
OPERATION
DISPLAY
DESCRIPTION
Starting condition:
A
(—-) 21:40
stand-by.
WED 12/03/07
Press MENU
1-CHANGE TIME
The display shows
2-CHANGE DATE
are displayed.
Using the
keys, select
6-DOWNLOAD
to select the desired menu.
NAMES FROM PC
Press SERVICE
ACTIVE
N.B: If you decide not to
download the names
once the service is active
to select the desired
Followed by:
it is necessary to
option.
deactivate it by switching
(DOWNLOAD
6-DOWNLOAD
off the switchboard.
NAMES FROM PC)
NAMES FROM PC
You can now proceed
to download the
Press ESC
A
(——) 21:40
names using Art. 1249/A.
WED 12/03/07
The service is automatically
disabled on completion
of the download.
6
MNO
• AUTO MODE
The system can be set to switch automatically from DAY mode to NIGHT mode at
established times which can be programmed by the user. A maximum of four times
can be set. These times allow the day to be divided into time bands during which the
system operates in DAY mode or NIGHT mode.
It is extremely important to set the times for switching from one mode to another
correctly;
TIME 1: determines the first mode switch: from NIGHT mode to DAY mode
TIME 2: determines the second mode switch: from DAY mode to NIGHT mode
TIME 3: determines the third mode switch: from NIGHT mode to DAY mode
TIME 4: determines the fourth mode switch: from DAY mode to NIGHT mode
EXAMPLE:
All 4 TIMES must be set (as shown in the following example) even though only 2
switchovers are needed:
EXAMPLE:
You want to configure the switchboard with the following parameters:
00:00 – 07:00 Day mode operation
07:00 – 24:00 Night mode operation
TIME 1: 00:00
NIGHT / DAY
TIME 2: 07:00
DAY / NIGHT
TIME 3: 24:00
NIGHT / DAY
TIME 4: 24:00
DAY /NIGHT
You can also decide to organise the week by selecting these three operating modes
for each day:
- AUTO: the system switches from DAY mode to NIGHT mode at the programmed
times.
It is not possible to set different time bands for the different days in which the
system operates in AUTO mode.
- NIGHT: the system is in this mode for the whole day.
- DAY: the system is in this mode for the whole day.
00:00
TIME 1
TIME 2
TIME 3
TIME 4
24:00
NIGHT MODE
DAY MODE
NIGHT MODE
DAY MODE
NIGHT MODE
OPERATION
DISPLAY
DESCRIPTION
ACTIVATING/DISABLING AUTO MODE
Starting condition:
A
(——) 21:40
If the service is already active
stand-by.
WED 12/03/07
the display shows the word
AUTO in DAY mode.
Press MENU button
1-CHANGE TIME
The possible options
2-CHANGE DATE
are displayed.
Use the
keys
3- DAY NIGHT
to select the desired menu.
AUTOMATIC
Press the key
1-ON/OFF
to select the desired
2-SET TIME
option. (AUTOMATIC DAY
NIGHT)
Press
SERVICE
DAY/NIGHT mode is
ACTIVE activated
automatically
to select the desired
Or:
option (ON/OFF).
SERVICE
DISABLED
Followed by:
To exit press
1-ON/OFF
ESC.
2-SET TIMES
3
DEF
1
Содержание MT 01
Страница 17: ...MT SBC 01 15 MT SBC 01 U P yellow green A L T O A L T O MIC U P U P 8 9 10 11 12 13...
Страница 18: ...GROUP S P A MT SBC 01 16 U P UP U P UP ALTO UP 1 2 P U P 14 15 16 SOLUTION A SOLUTION B...
Страница 30: ...GROUP S P A MT SBC 01 28 1 6 7 2 3 4 5 Installation instructions for N AV 4 audio external unit yellow green...
Страница 41: ...MT SBC 01 39 MT SBC 01 2 3 1 6 5 4 6 Mounting the monitor on desktop base Art 5712...


