M
`
If the channel is set to <
Covert1
> or <
Covert2
> mode, the channel's sound is not hearable.
However, the channel's sound is recorded if its Audio setting is set to <
ON
>, even the sound is not heard in Live mode.
•
Audio
- If set to <
On
>, you can turn the audio of the channel ON/OFF on the Live screen.
- If set to <
OFF
>, the channel's audio is off on the Live screen and not recorded.
•
Camera Name : Provide a camera Name.
`
You can enter up to 15 characters including space.
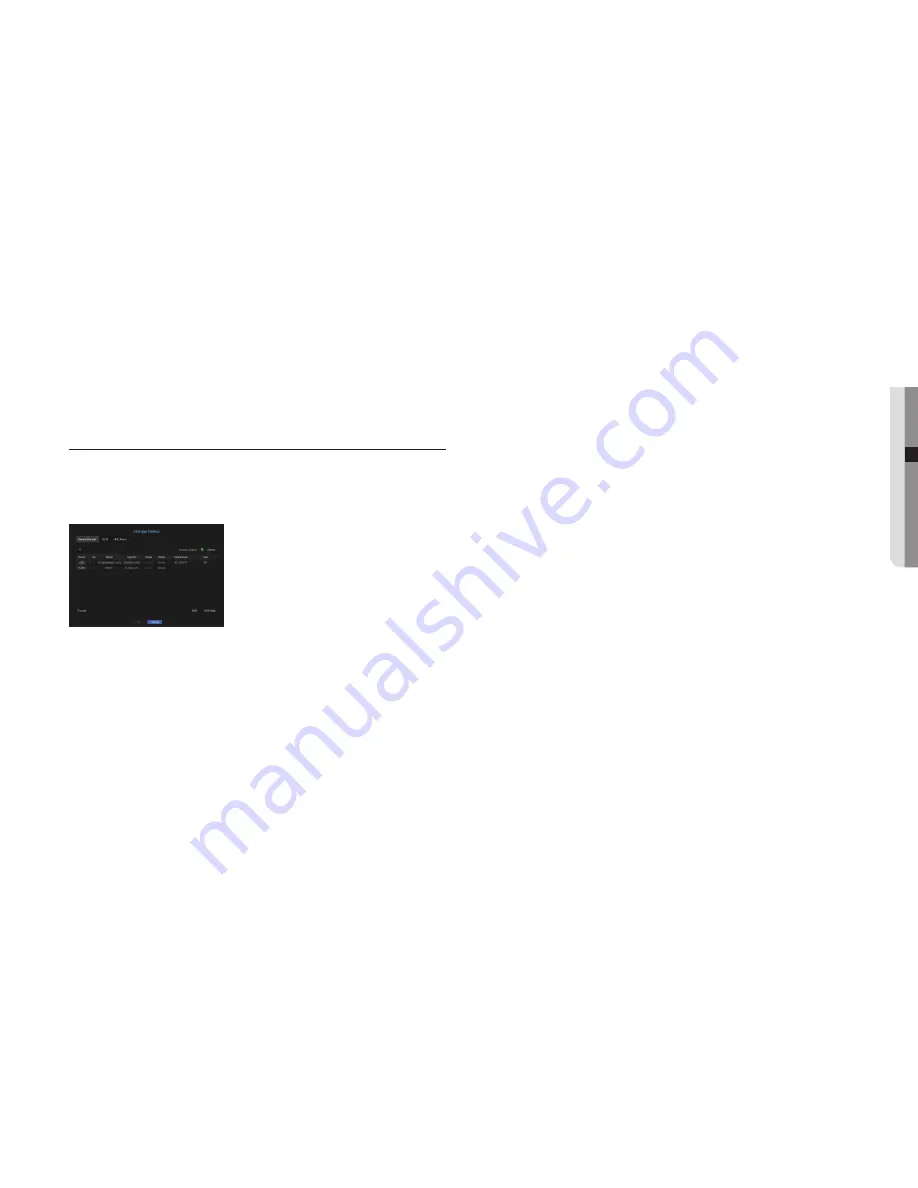
Storage Device
You can check information on storage devices.
Device/Format
You can check storage devices and their capacity, usage as well as status.
HDD, E-SATA, iSCSI and USB (memory or HDD) can be connected as a storage device.
•
Storage Status : Displays the working status of a storage device.
- Red : Displays the situation of video loss.
- Green : Displays the normal situation without video recording losses.
- Status
`
Total bps
: Displays the current rate of recording.
`
Present Loss
: Displays the current recording loss rate.
`
Worst Loss
: Displays the maximum amount of losses up until now.
`
If the recording loss persists, please refer to the "
Troubleshooting
" in order to perform checks. (Page 78)
•
No. : You can check the designated number for the built-in HDD.
`
If you want the find out about the location corresponding to the HDD number, refer to the <
HDD Map
>.
•
Capacity : Displays the amount of storage device use and the full capacity.
•
Usage : Designate the purpose of use for a storage device. (However, only the display function is available for
iSCSI and ARB)
•
Status : Displays the current working condition of a storage device.
For inspection or replacement of HDD alarms, please refer to "
hDD Alarm Setting.
" (Page 39)
- Normal : It is displayed during normal operation.
- Inspection : Operating with partial problems.
- Replacement : It is displayed when you can no longer use it.
•
Temperature : You can check the temperature of the HDD mounted in the NVR.
•
Time : Displays the use time of an HDD.
•
Format : Select a device and click on format after which a format confirmation window appears.
Click on the <
OK
> button to format the selected storage device.
J
`
Formatting will delete all the recording data that has been saved. Be careful.
`
While formatting is ongoing, you cannot record video.
`
Do not remove a formatting device until it is finished.
•
ARB : Video that was not recorded due to a camera disconnection can be backed up after the connection
with the camera is re-established. Press the button and an <
Auto Recovery Backup
> window is opened.
- ARB storage : Select a storage device to be set to ARB.
- ARB channel Selection : Select a channel to run the ARB.
`
You can select multiple channels.
If you select <
All CHs
>, all channels will be selected.
- ARB bandwidth : Select a bandwidth for the ARB function.
M
`
Only our camera products support the ARB function. The SD card recording function should be used.
`
To use the ARB function correctly, both the camera and NVR should be time synchronized with the time server. (Page
27
)
`
ARB function is activated when NVR starts/when the channel camera set is reconnected/when an NVR recording missing
section recurs at regular intervals after NVR starts.
`
NVR recording missing section that can be restored with the ARB function is for 24 hours backwards from the point when the
ARB function is activated.
`
You can check which channels have ARB function activated through the message on each channel screen that is displayed
when selecting a channel. (Page
20
)
•
HDD Map : You can check the location according to the assigned number for the HDDs installed inside.
`
Refer to this when servicing or installing an additional HDD.
J
`
Do not add or remove an HDD while NVR is running.
English
_37
●
menu setup


