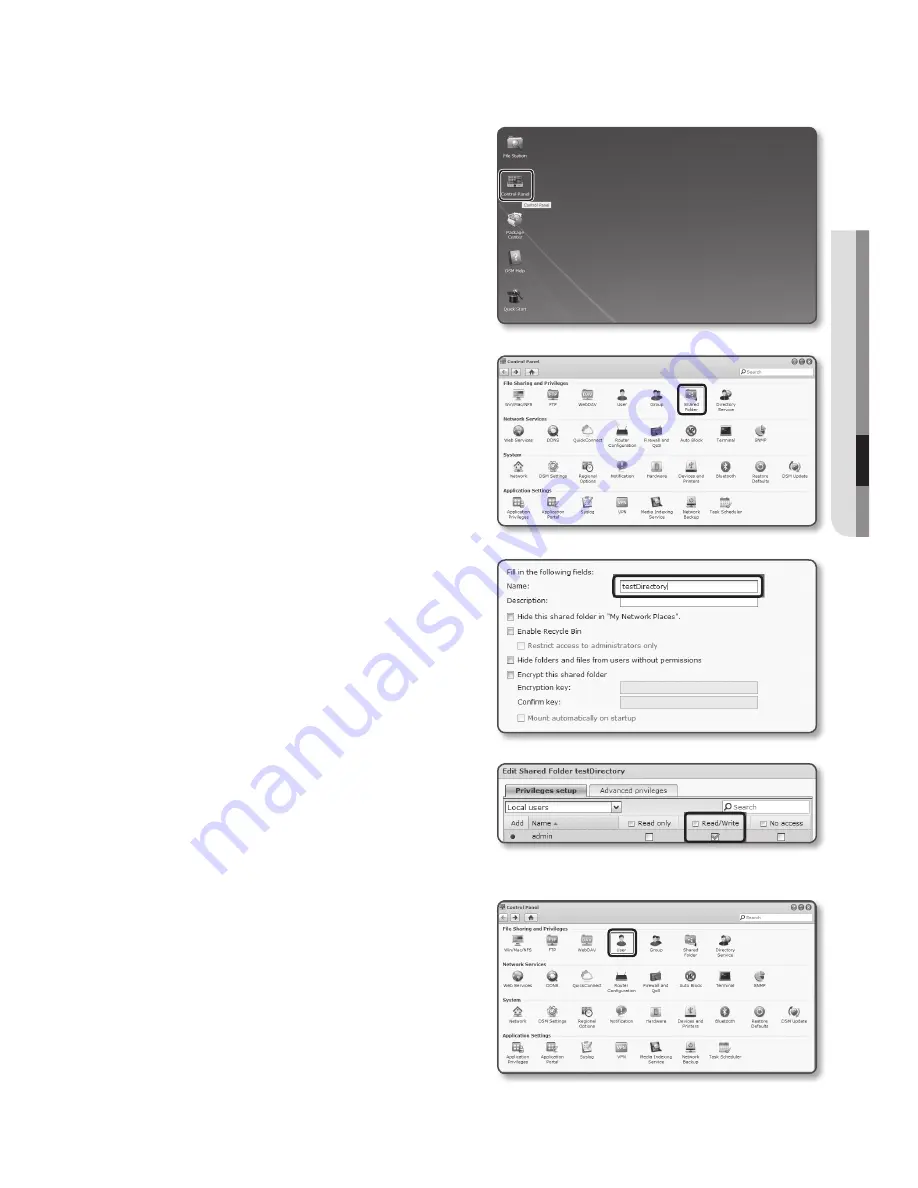
2.
If you access it as an admin, the
following screen will be displayed. Click
the [
control panel
].
3.
Click the <
Shared folder
> in the file
sharing and privilege menu.
4.
Click the [
create
] button.
5.
After entering the shared folder
name(ID), click the [
oK
] button to
create a shared folder.
In this example, the shared folder name
is [
testDirectory
].
6.
In Windows, for NAS access, set
the privilege for the shared folder as
follows.
Check the admin’s [
read/write
].
7.
Click on the <
user
> in the file sharing
and privilege menu.
English
_119
●
Setup
Screen


