87
86
CHAPTER 7
Settings, preferences, upgrades, and extras
7
7
CHAPTER 7
Settings, preferences, upgrades, and extras
7
7
Chapter 7: Settings, preferences, upgrades, and extras
This chapter tells you how to use the DIRECTV menu system to control the way your
DIRECTV
®
HD Receiver operates. Its contents include:
Reading your mail
Setting system preferences
Reviewing and controlling caller ID
Setting the Local Time options
Installing a new Access Card
Viewing important information and a list of features supported by your DIRECTV
®
HD Receiver
Viewing information on automatic system upgrades
Viewing fun system extras
Remote Control setup
Reading your mail
The MAILBOX menu item allows you to read the mail sent to you by DIRECTV or your
service provider. Here’s how:
1
Press the MENU button on your remote control.
2
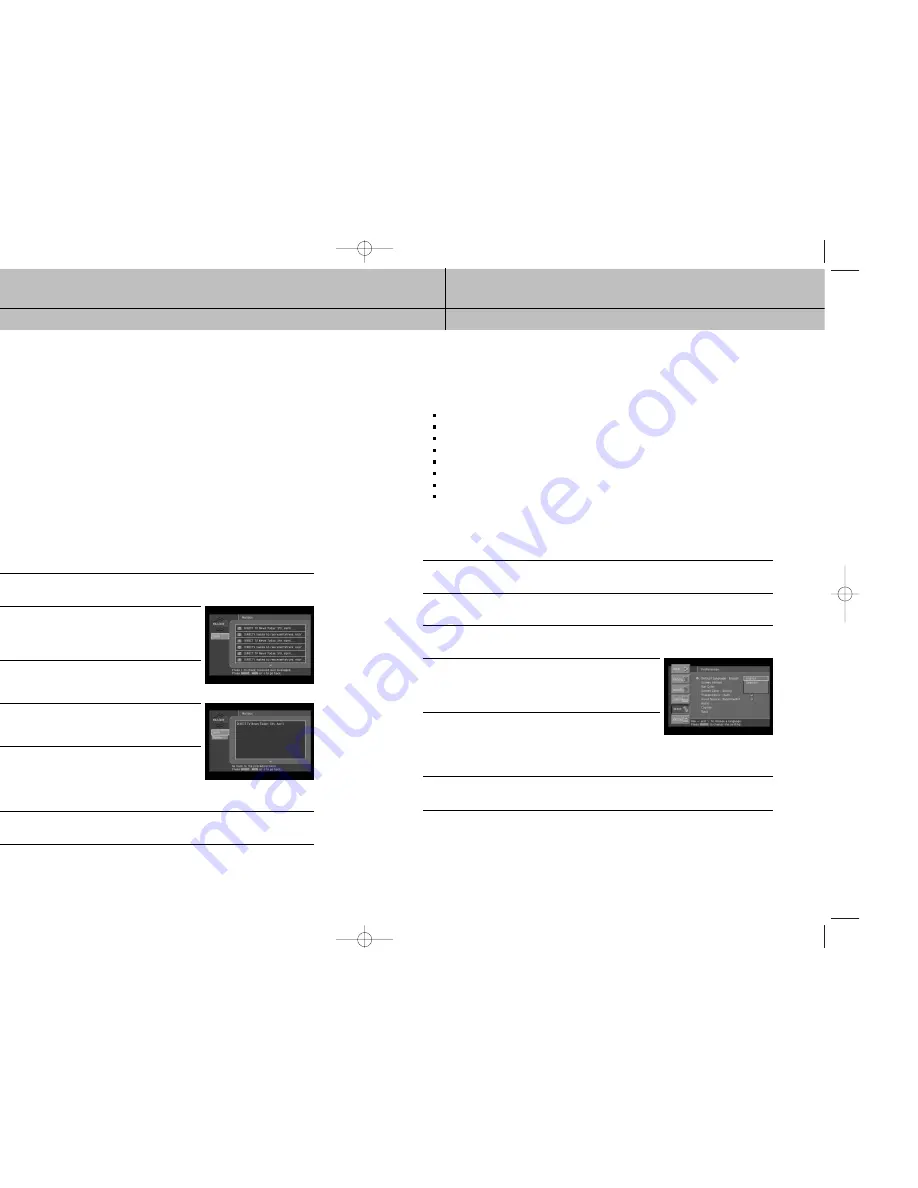
Highlight the MAILBOX menu item, then press the SELECT
button. The MAILBOX screen appears, displaying all of the
mail you have received (both read and unread).
3
To read one of the pieces of mail, highlight that piece of
mail in your mailbox, then press the SELECT button.
The selected mail message appears.
4
To delete the mail message (permanently removing it from
your MAILBOX), highlight the on-screen Delete button and
press the SELECT button on your remote control.
5
To leave the message in your MAILBOX and return to the
MAILBOX screen, highlight the on-screen BACK button and
press the SELECT button on your remote control.
The mail message disappears, and the MAILBOX screen
appears.
6
To clear the Menu from your screen, press the EXIT button on your remote control.
Setting system preferences
The Setup menu in your DIRECTV
®
HD Receiver’s Menu system allows you to control many
of the functions of the DIRECTV
®
HD Receiver. The first set of items you can control are
system preferences. Specifically, these preferences you can set include:
The language for the on-screen menu system.
The screen format to use for widescreen program broadcasts.
The color of bars in Letter box and Pillar box screen formats.
The closed caption settings.
The default screen color for Menu and Guide screens.
The default translucency for Menu and Guide screens.
A pair of audio settings (language, and PCM or Dolby Digital for digital audio broadcasts)
Input source setting
Setting the language for on-screen Menus and Guides
To choose a language for the Menu and Guide screens, follow these steps:
1
Press the MENU button on your remote control.
2
Highlight the Setup menu item, then press the SELECT button.
3
Highlight the Preferences menu item, then press the SELECT button.
4
Highlight the Default Language menu item, then press the
SELECT button.
A list of languages you can use for Guide and Menu screens
appears.
5
Highlight the language you wish to use to display Menu and
Guide screens, then press the SELECT button.
A message appears warning you that your DIRECTV
®
HD
Receiver needs to reboot (turn itself off and on) for the Default
Language to take effect.
6
To change the Default Language to the new setting, highlight the on-screen SELECT button,
then press the SELECT button on your remote control.
SIR-TS360-CHAPTER 7 12/15/03 11:59 AM Page 86


