107
Creating a Performance
With the Fantom-X, you have total control over a wide variety of
settings. Each item that can be set is known as a
parameter
. When
you change the values of parameters, you are doing what is referred
to as
Editing
. This chapter explains the procedures used in creating
Performances, and the functions of the Performance parameters.
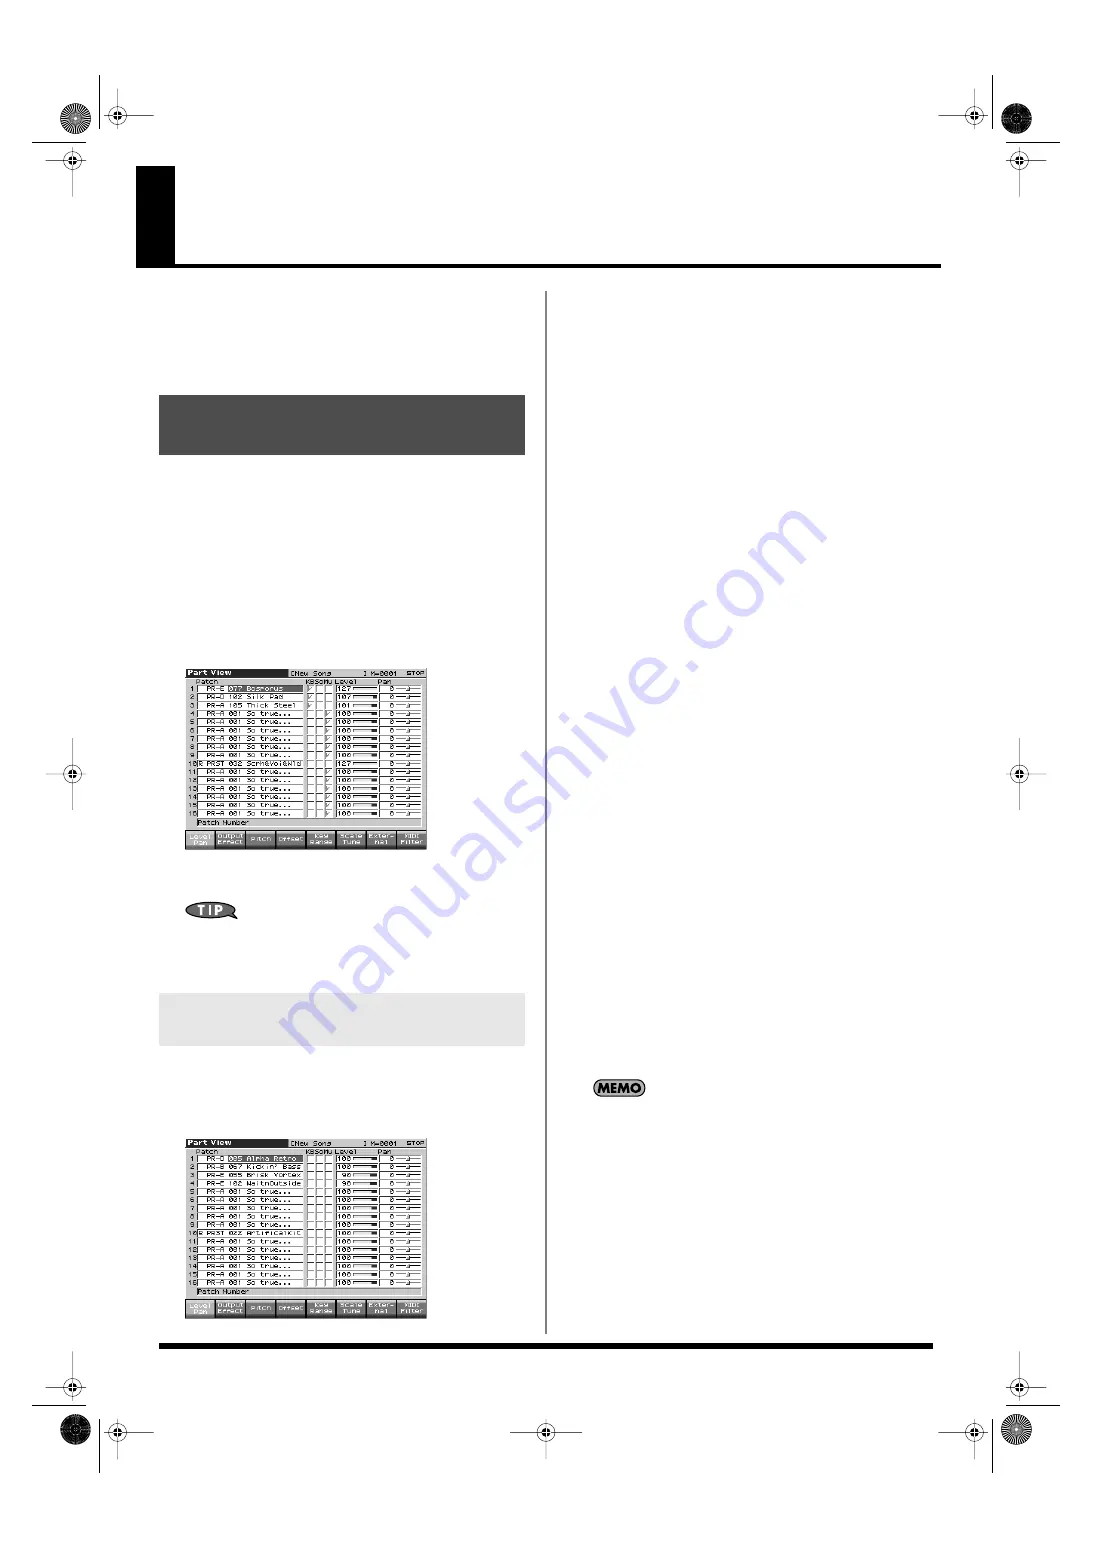
In Performance mode you can view the part settings as a list. This is
called the “Part View” screen. In this screen you can view a list that
shows settings for all parts at once, such as the patch assigned to
each part, and its volume and pan settings. You can also edit these
settings here, and make detailed settings that cannot be made in the
Layer screen, or Mixer screen.
1.
Access the Performance Layer or Mixer screen.
2.
Press [F2 (Part View)].
The Part View screen will appear.
fig.08-017_50
3.
When you have finished making settings, press [EXIT] to
return to the LAYER/SPLIT or Mixer screen.
When the cursor is at a patch group or patch number, you can
press [ENTER] to open the Patch List screen and choose a patch
from the list (p. 41).
1.
Access the Part View screen.
2.
Press [F1 (Level/Pan]–[F8 (MIDI Filter)] to select the
parameter.
fig.09-001_50
3.
Use [CURSOR] to move the cursor to the parameter you
want to change.
4.
Turn the VALUE dial or press [INC]/[DEC], set the value.
*
The name of the parameter at the cursor location is displayed in the
bottom line of the Part View screen.
[F1 (Level/Pan)]
Patch Type
Sets the assignment of a patch (Patch) or rhythm set (Rhythm) to
each of the parts.
Patch Bank
Selects the group to which the desired patch or rhythm set belongs.
Value
USER:
User
PRA–H:
Preset A–H
GM:
GM (GM2)
CARD:
Card
XP-A–D:
Wave Expansion Boards installed in EXP-A–D Slots
Patch Number
Selects the desired patch or rhythm set by its number.
Value:
001–
Keyboard Switch
Specifies, for each part, whether or not the keyboard controller
section will be connected to the internal sound generator.
Value:
OFF, ON (
✔
)
Solo Switch
Check “
✔
” this setting if you want to hear the part by itself; this is
called “soloing” the part.
Value:
OFF, ON (
✔
)
Mute Switch
Mutes (
✔
) or un-mutes (OFF) each part.
Use this setting when, for example, you want to use the instrument
for karaoke by muting the part playing the melody, or when you
want to play something using a separate sound module.
Value:
OFF, ON (
✔
)
The Mute Switch parameter does not turn the part off, but sets
the volume to minimum so that no sound is heard. Therefore,
MIDI messages are still received.
Viewing the Part Settings as a
List (Performance Part View)
Adjusting the Parameters of Each
Part
Fantom-X678_r_e.book 107 ページ 2005年5月12日 木曜日 午後4時40分


