Preparing for Use
R&S
®
SMU200A
27
Quick Start Guide 1007.9822.62 ─ 13
Risk of instrument damage
For rack installation, make sure that all fan openings are unobstructed and that the airflow
perforations are unimpeded. This helps to prevent the instrument from overheating.
2.3.3 Connecting the Instrument to the AC Supply
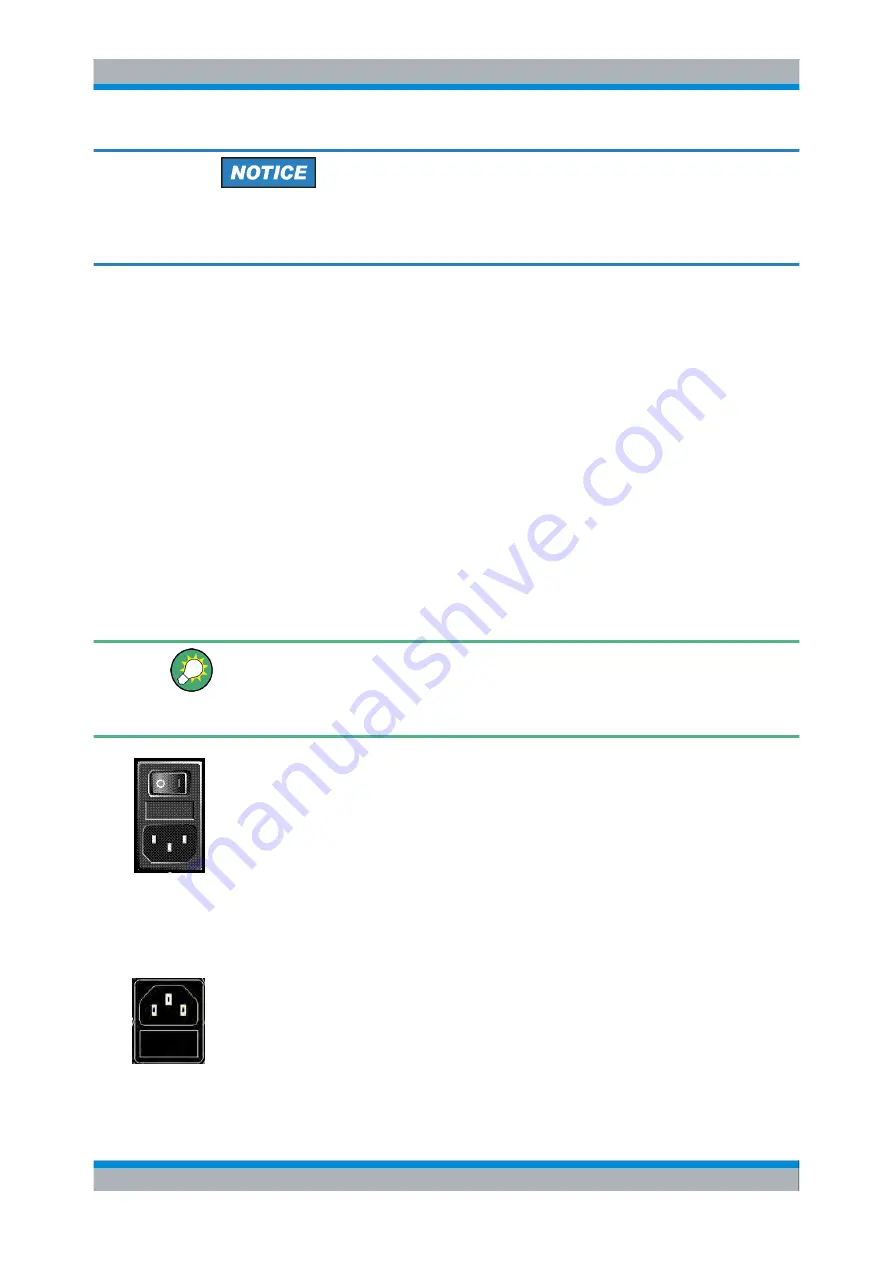
The R&S SMU is automatically adapted to the AC voltage supplied. There is no need to
set the voltage manually or change fuses. The
is
at the rear of the unit.
► Connect the instrument to the AC power source using the AC power cable delivered
with the instrument.
Note:
The instrument is in compliance with safety class EN61010-1.
Connect the instrument only to a socket with earthing contact.
2.3.4 Starting the Instrument
The R&S SMU comes with or without a power switch, depending on the design of the
otherwise technically equivalent power supply unit.
Switching off the AC power
You can leave the AC power on permanently to preserve your last instrument settings.
Switching off is required only if the instrument must be completely disconnected from all
power supplies.
Starting up instruments with power switch
1.
Connect the instrument to the AC supply.
2. To turn the power on, press the main power switch to position I (On).
After power-up, the instrument is in
of the ON/STANDBY key at the front panel of the instrument when the instrument
was switched off for the last time.
3. In case the instrument is in standby mode, i.e. the yellow LED is on, press the ON/
STANDBY key to switch the instrument to ready state.
Starting up instruments without power switch
1.
Connect the instrument to the AC supply.
After connection to the AC supply, the instrument is in
,
depending on the state of the ON/STANDBY key at the front panel of the instrument
when the instrument was switched off for the last time.
Putting into Operation
Содержание 1141.2005.02
Страница 27: ......
Страница 74: ...Preparing for Use R S SMU200A 57 Quick Start Guide 1007 9822 62 13 LXI Configuration ...
Страница 75: ......
Страница 95: ......
Страница 134: ...Manual Operation R S SMU200A 117 Quick Start Guide 1007 9822 62 13 Legend of Front Panel Controls ...
Страница 135: ......
Страница 140: ...Hardware Interfaces R S SMU200A 123 Quick Start Guide 1007 9822 62 13 Fig 1 2 BERT circuit diagram BERT Connector ...
Страница 141: ......
Страница 144: ...Index R S SMU200A 127 Quick Start Guide 1007 9822 62 13 Winbar 89 Windows XP 33 access 34 ...


