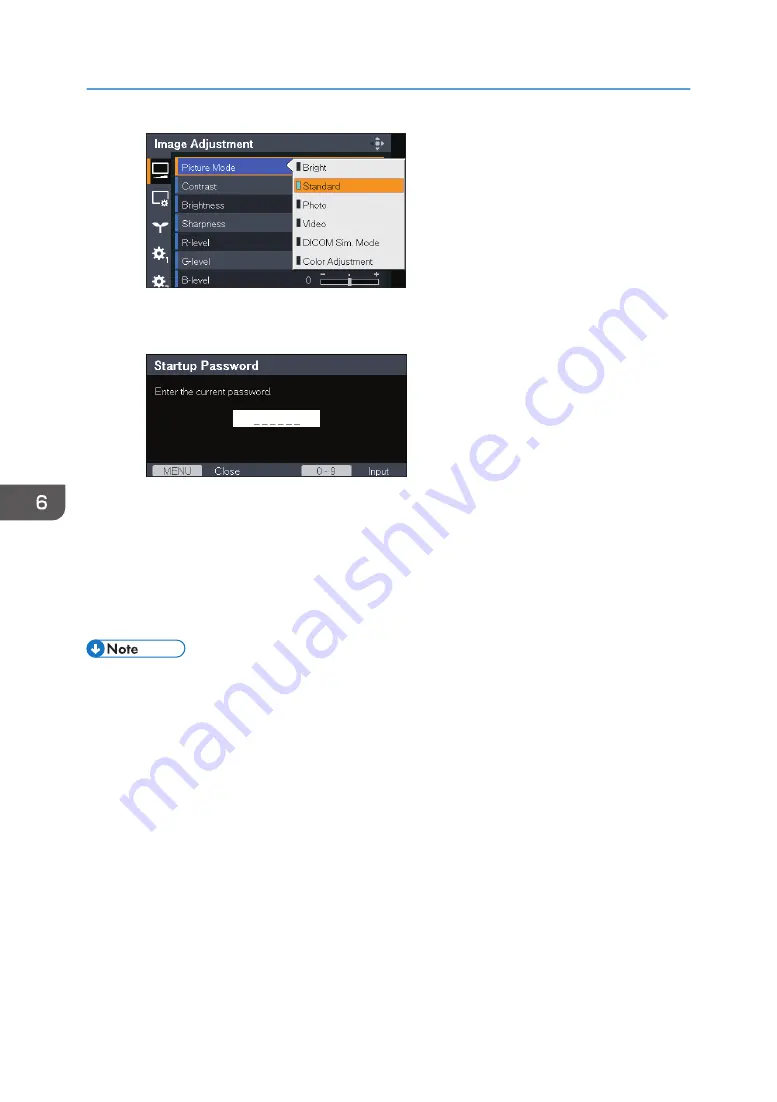
• Inputting numbers
Use the number buttons on the remote control to input numbers.
• Inputting text
Use the keyboard that is displayed on screen to input text. You can also use the number
buttons on the remote control to input numbers.
7.
If a confirmation screen appears, select [OK], and then press the [Enter] button.
8.
Press the [Menu] button.
9.
If a confirmation screen appears, select [Reflect], and then press the [Enter] button.
• The Network/USB Settings menu tab includes the USB Settings menu, Network Settings menu, and
Network Application Settings menu. Open the menu according to the settings you want to change,
and then go to Step 2 to change the settings.
• The menu screen closes automatically thirty seconds after the last operation. Changes to the settings
are automatically applied when you close the menu screen. You do not need to press the [Enter]
button.
• Settings in the Network/USB Settings menu are not applied until you select [Reflect] on the
confirmation screen.
• The menu screen is not accessible if you are projecting images from a USB memory device or
server. Stop projecting the images to open the menu screen.
6. Changing the Projector Settings
84
Содержание PJ WX4153N
Страница 2: ......
Страница 36: ...1 Preparations for Using the Projector 34...
Страница 48: ...2 Projecting an Image 46...
Страница 122: ...6 Changing the Projector Settings 120...
Страница 135: ...You can search the knowledge base by product name or keyword Common Problems 133...
Страница 136: ...7 Troubleshooting 134...
Страница 170: ...9 Appendix 168...
Страница 175: ...2020 Ricoh Co Ltd...
Страница 176: ...Y0E5 7520 AU EN US EN GB EN...


