1.
If [USB Memory] is not selected as the input signal, press the [Input] button.
2.
Switch the input signal to [USB Memory].
For details about how to switch the input signal, see page 36 "Projecting an Image".
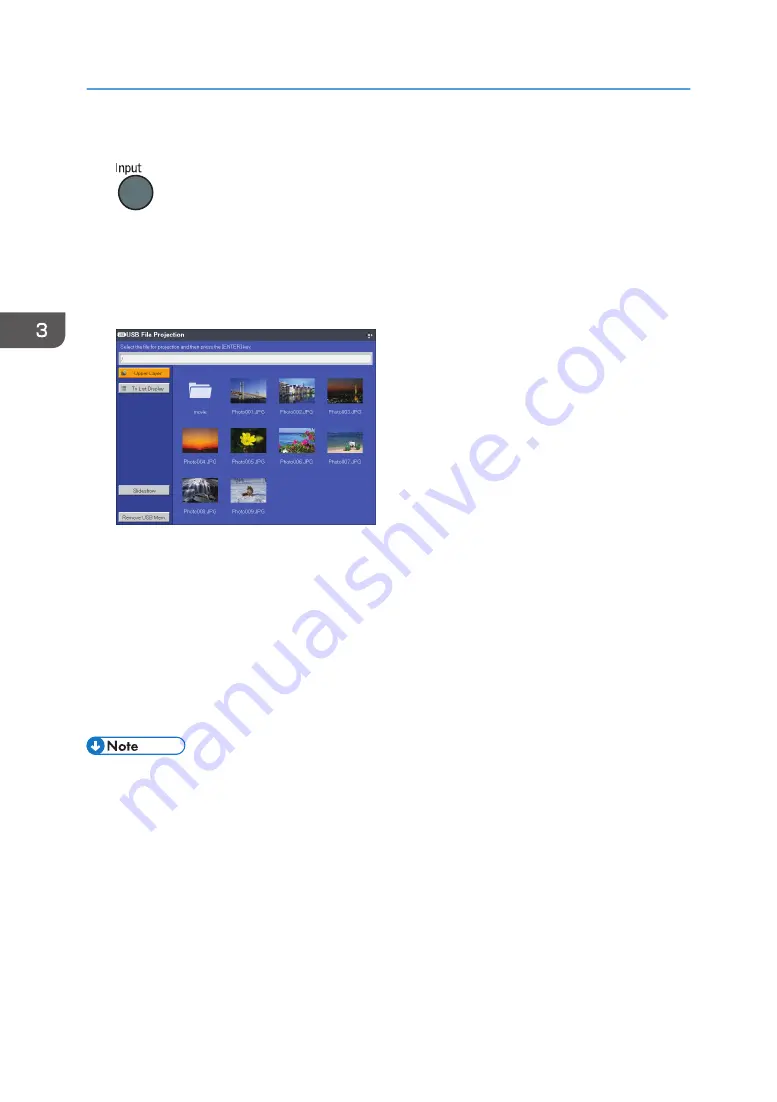
The files within the root directory are displayed.
3.
Select the file, [Slideshow], or folder, and then press the [Enter] button.
• When a file is selected
If you select a JPEG file, its image is projected. If you select an MPEG file or Quick time file,
the video plays.
• When [Slideshow] is selected
A slide show starts with the files in the current folder.
• When a folder is selected
The file list within the folder is displayed. Repeat Step 3 until the file you want to project is
displayed.
• You can also control the projected images using the control panel on the projector.
• Images are displayed in the numerical and alphabetical order of their file name headers.
• You can specify the slide show switching interval for still images in [Display Interval (sec.)] under
[USB Settings].
• If a video file is in a folder that has been selected for a slide show, the entire video plays. When the
video finishes, the next file is displayed.
• You can switch the display format of the file list. Select [To Thumbnail] to switch to thumbnail
display, or select [To List Display] to switch to file name list display.
3. Projecting Images from a USB Memory Device or Digital Camera
50
Содержание PJ WX4153N
Страница 2: ......
Страница 36: ...1 Preparations for Using the Projector 34...
Страница 48: ...2 Projecting an Image 46...
Страница 122: ...6 Changing the Projector Settings 120...
Страница 135: ...You can search the knowledge base by product name or keyword Common Problems 133...
Страница 136: ...7 Troubleshooting 134...
Страница 170: ...9 Appendix 168...
Страница 175: ...2020 Ricoh Co Ltd...
Страница 176: ...Y0E5 7520 AU EN US EN GB EN...


